One of rare more positive features in 2020 – is that despite everything, this has become the year of the external lightmeter. Another Kickstarter has joined that fray with the Hedeco Lime One. And this offers some features that might tempt you away from its rivals.
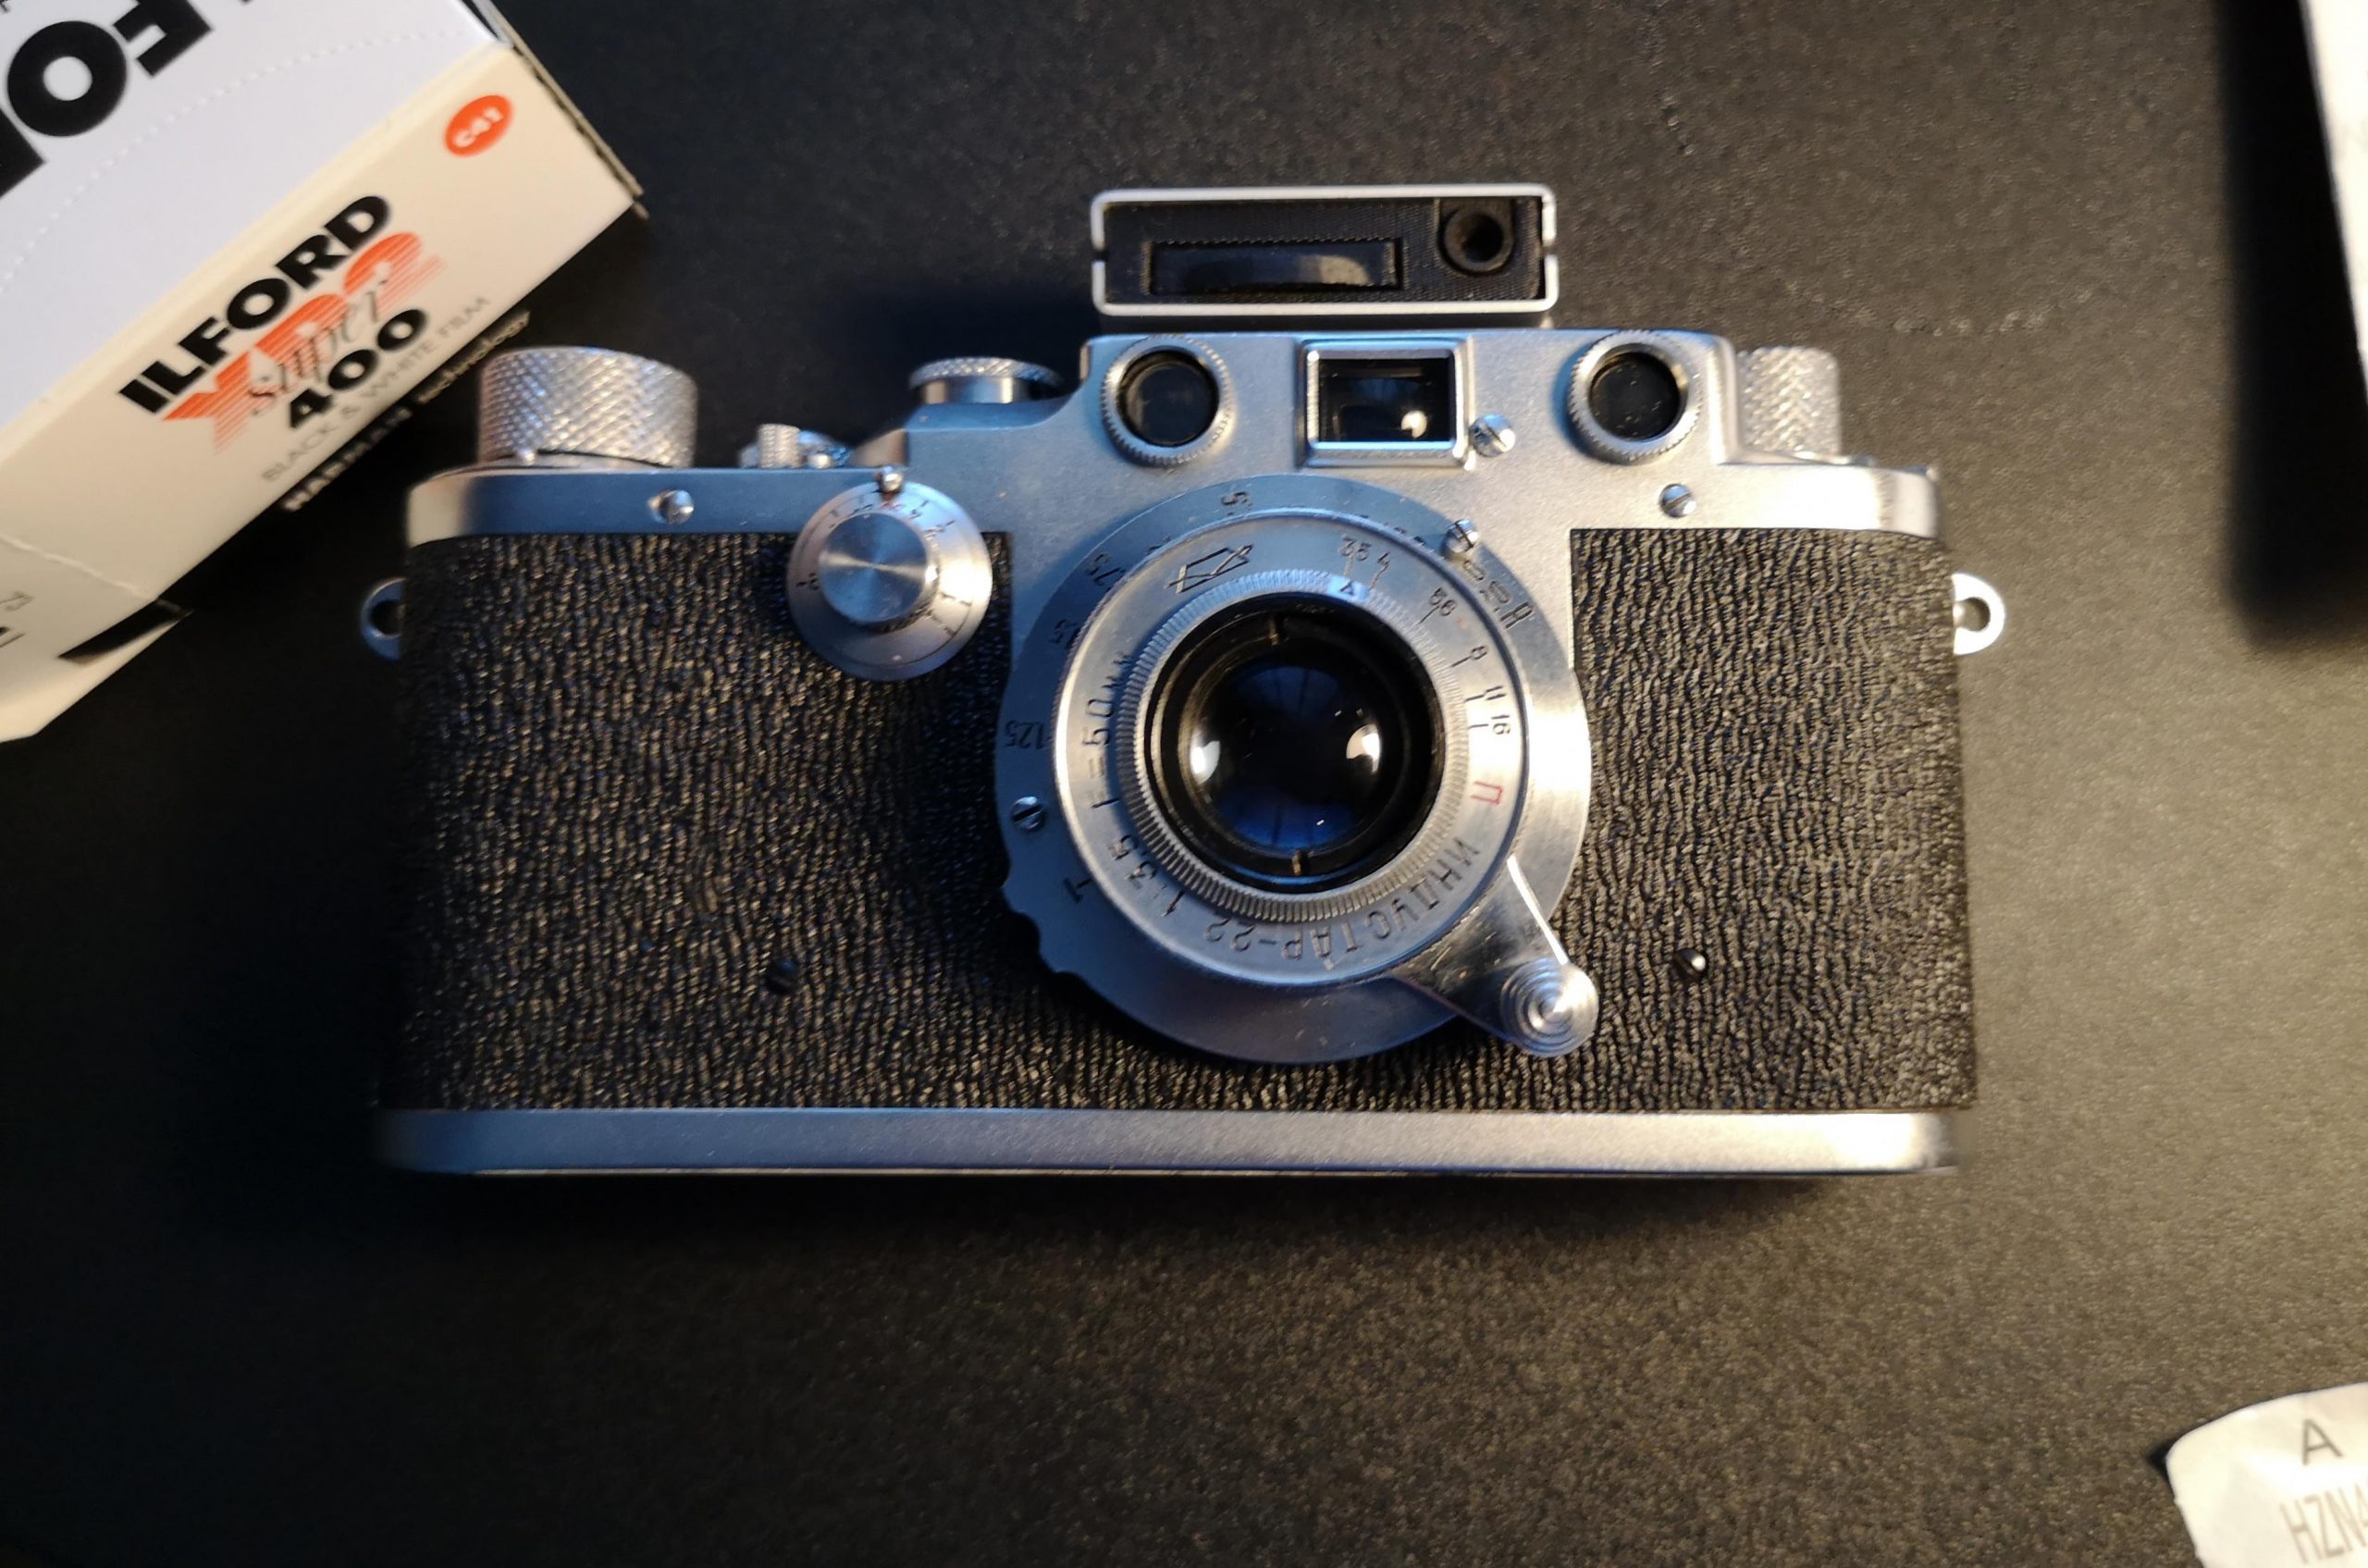
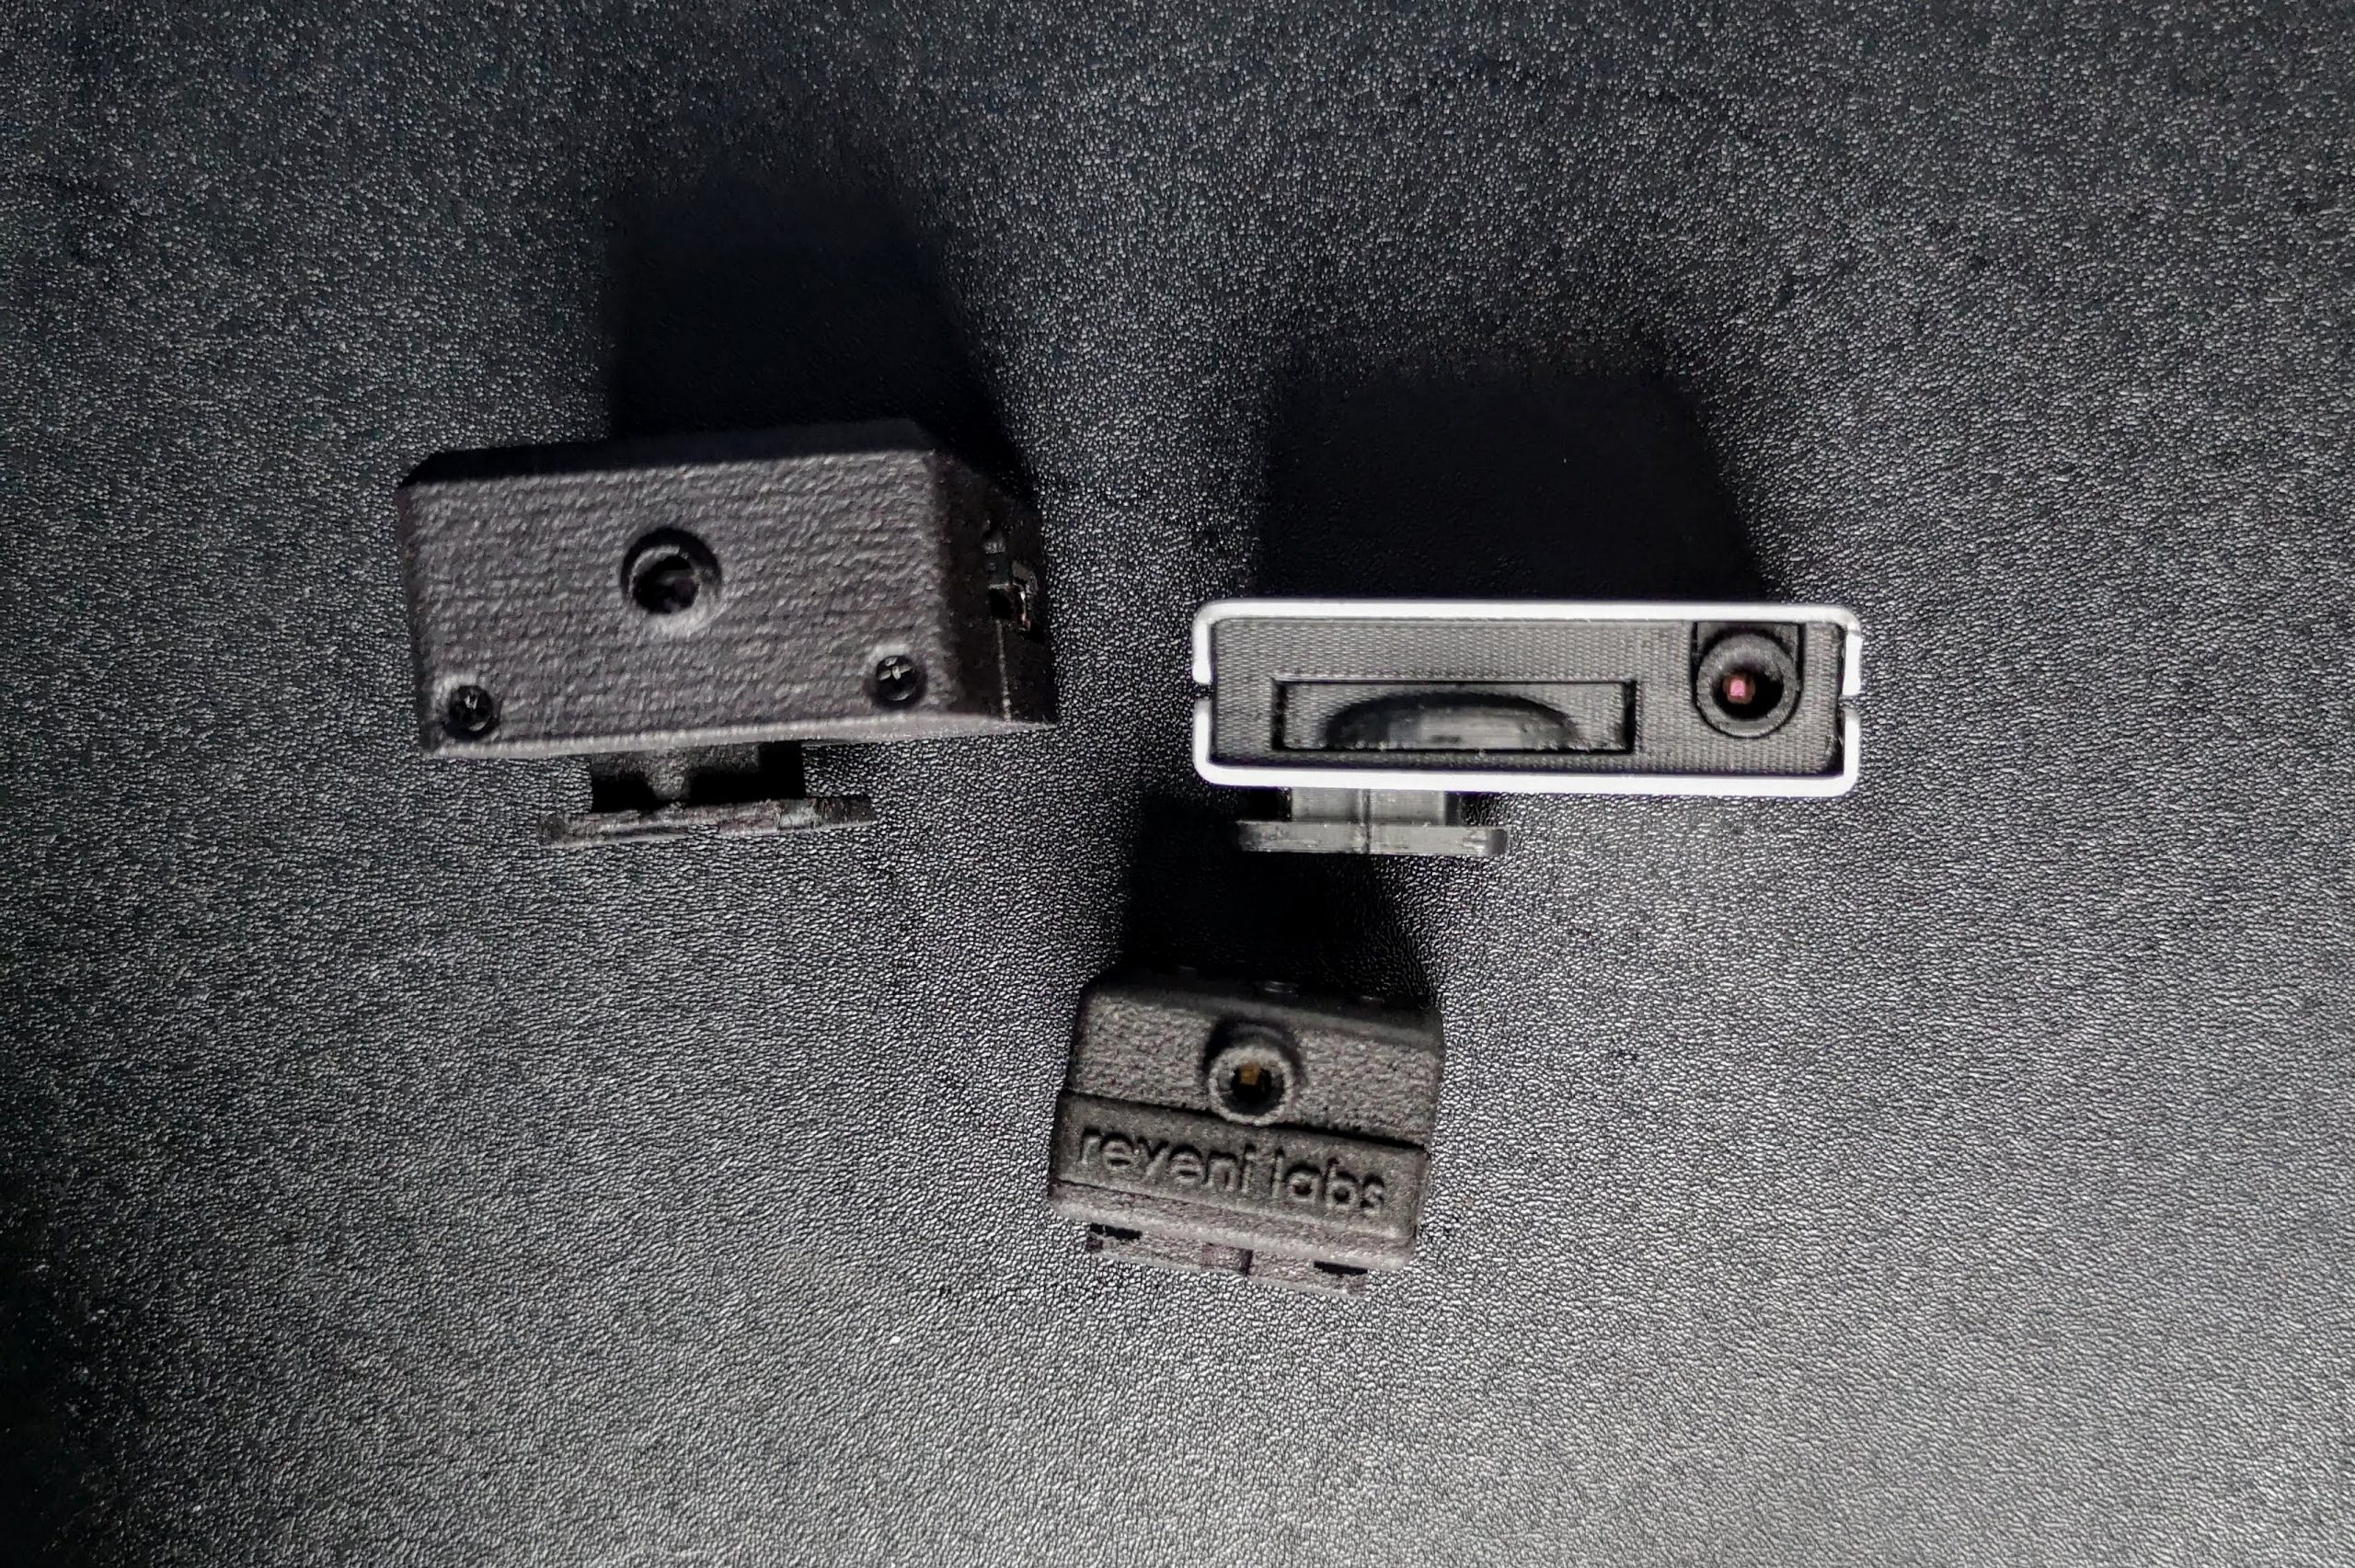
The 2020 accessory shoe lightmeter craze was kicked off by Matt Bechberger’s Reveni Labs meter on Kickstarter. But in a cruel twist, the Reveni was beaten into production by cheap Chinese models like the V-201X. Before 2020 you would have needed to either get a vintage meter or shell out for Voigtländer’s wonderful but expensive VCII.
But 2020 wasn’t done with us (on sooooo many levels). Enter Johannes Heberlein and his Hedeco Lime One which has launched on Kickstarter
I managed to get my hand on a pre-production copy thanks to Hamish Gill of 35mmc (you can read his take on this here). Although Hamish got permission from Hedeco’s Johannes Heberlein to send this to me, I’ve had no direct contact with Johannes.
Looks & layout
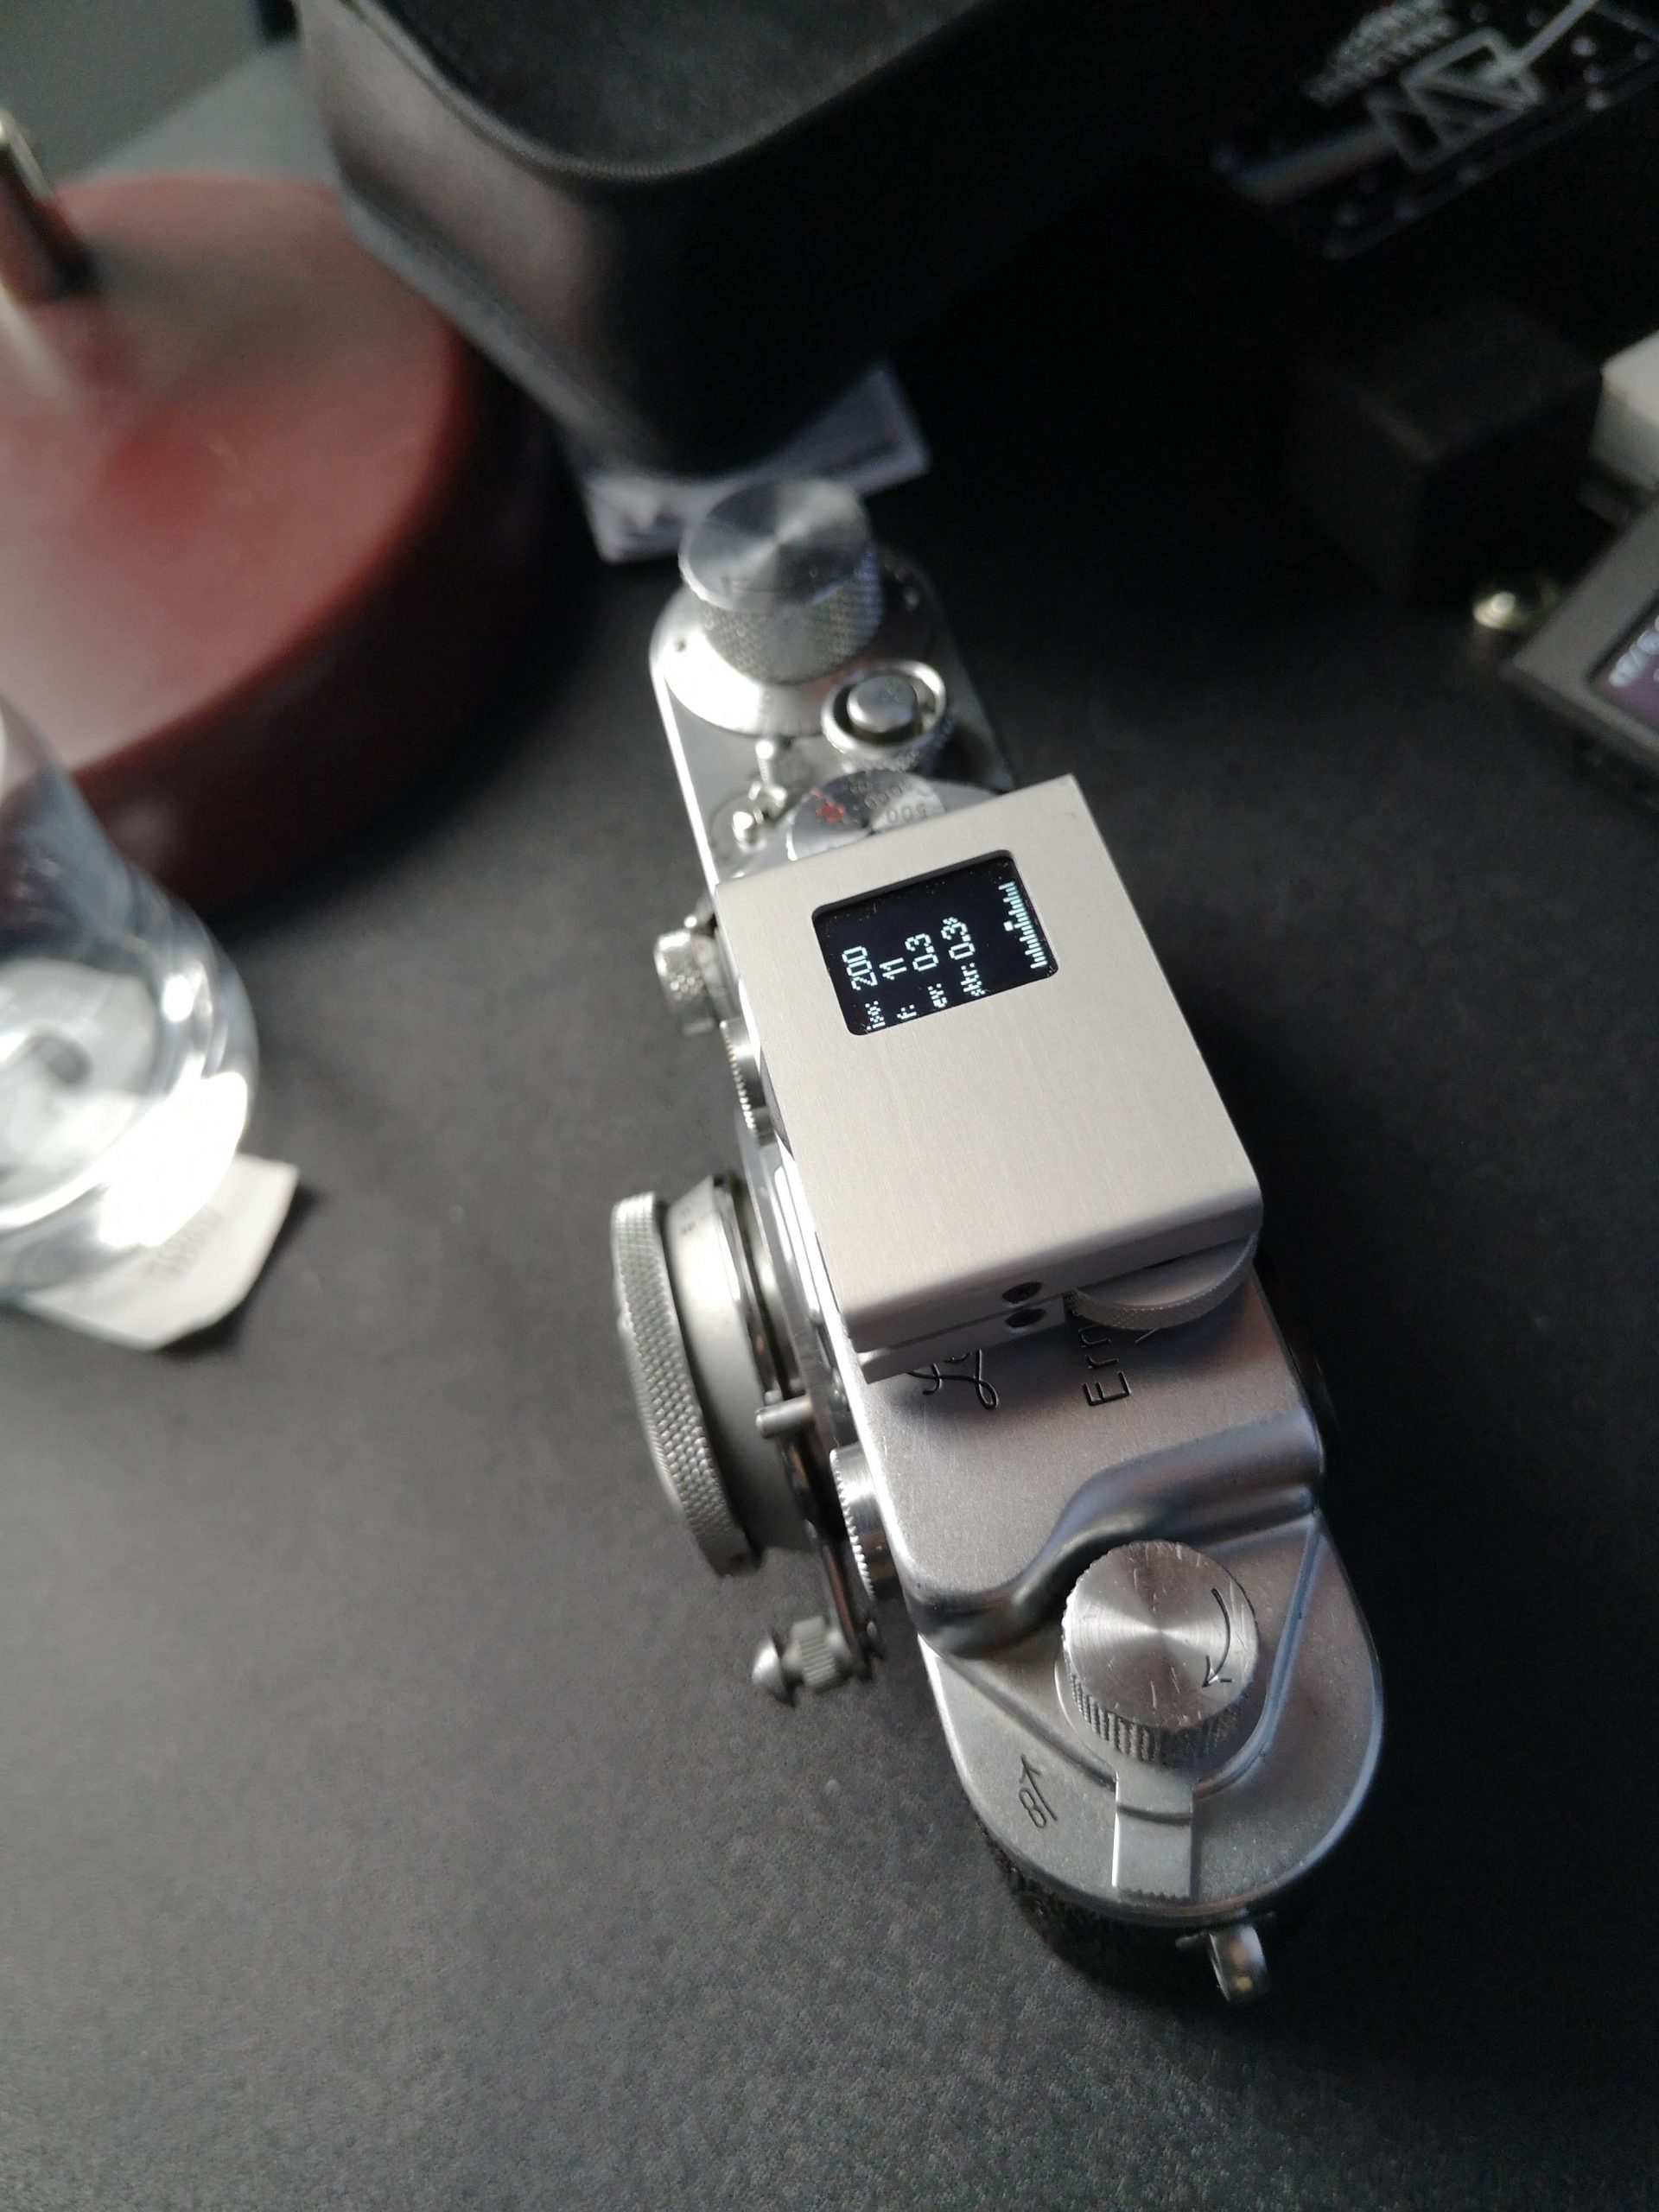
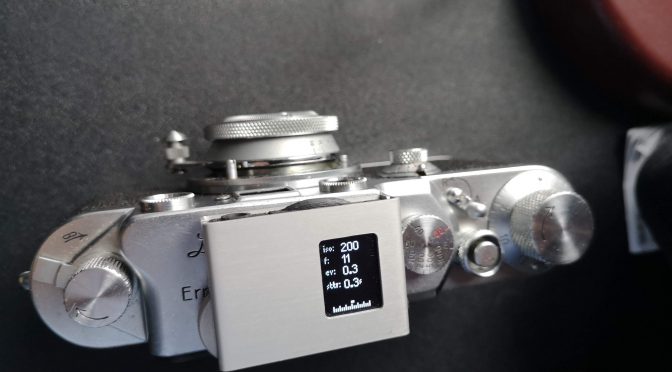
The Lime one has a default metal body with a flatter wider profile compared to the Reveni or V-201x. Unlike those two it only comes in a part brushed metal body (the V-201X does have that as an option). This wraps around a plastic core but works well. My Pre-production was a brushed anodised aluminium but a black version is also being offered. Hedeco also have a range of mounts and a case as part of their offering making the meter more useable on waist level cameras like TLRs just like Reveni did.
The low profile and metal body gives it a more naturalistic appearance on a vintage 35mm camera along with its USP – a metal jog dial. On the other side of the body is a button for accessing the menu options or being held in conjunction with the jog dial for EV compensation on the fly. There is a top down OLED display.
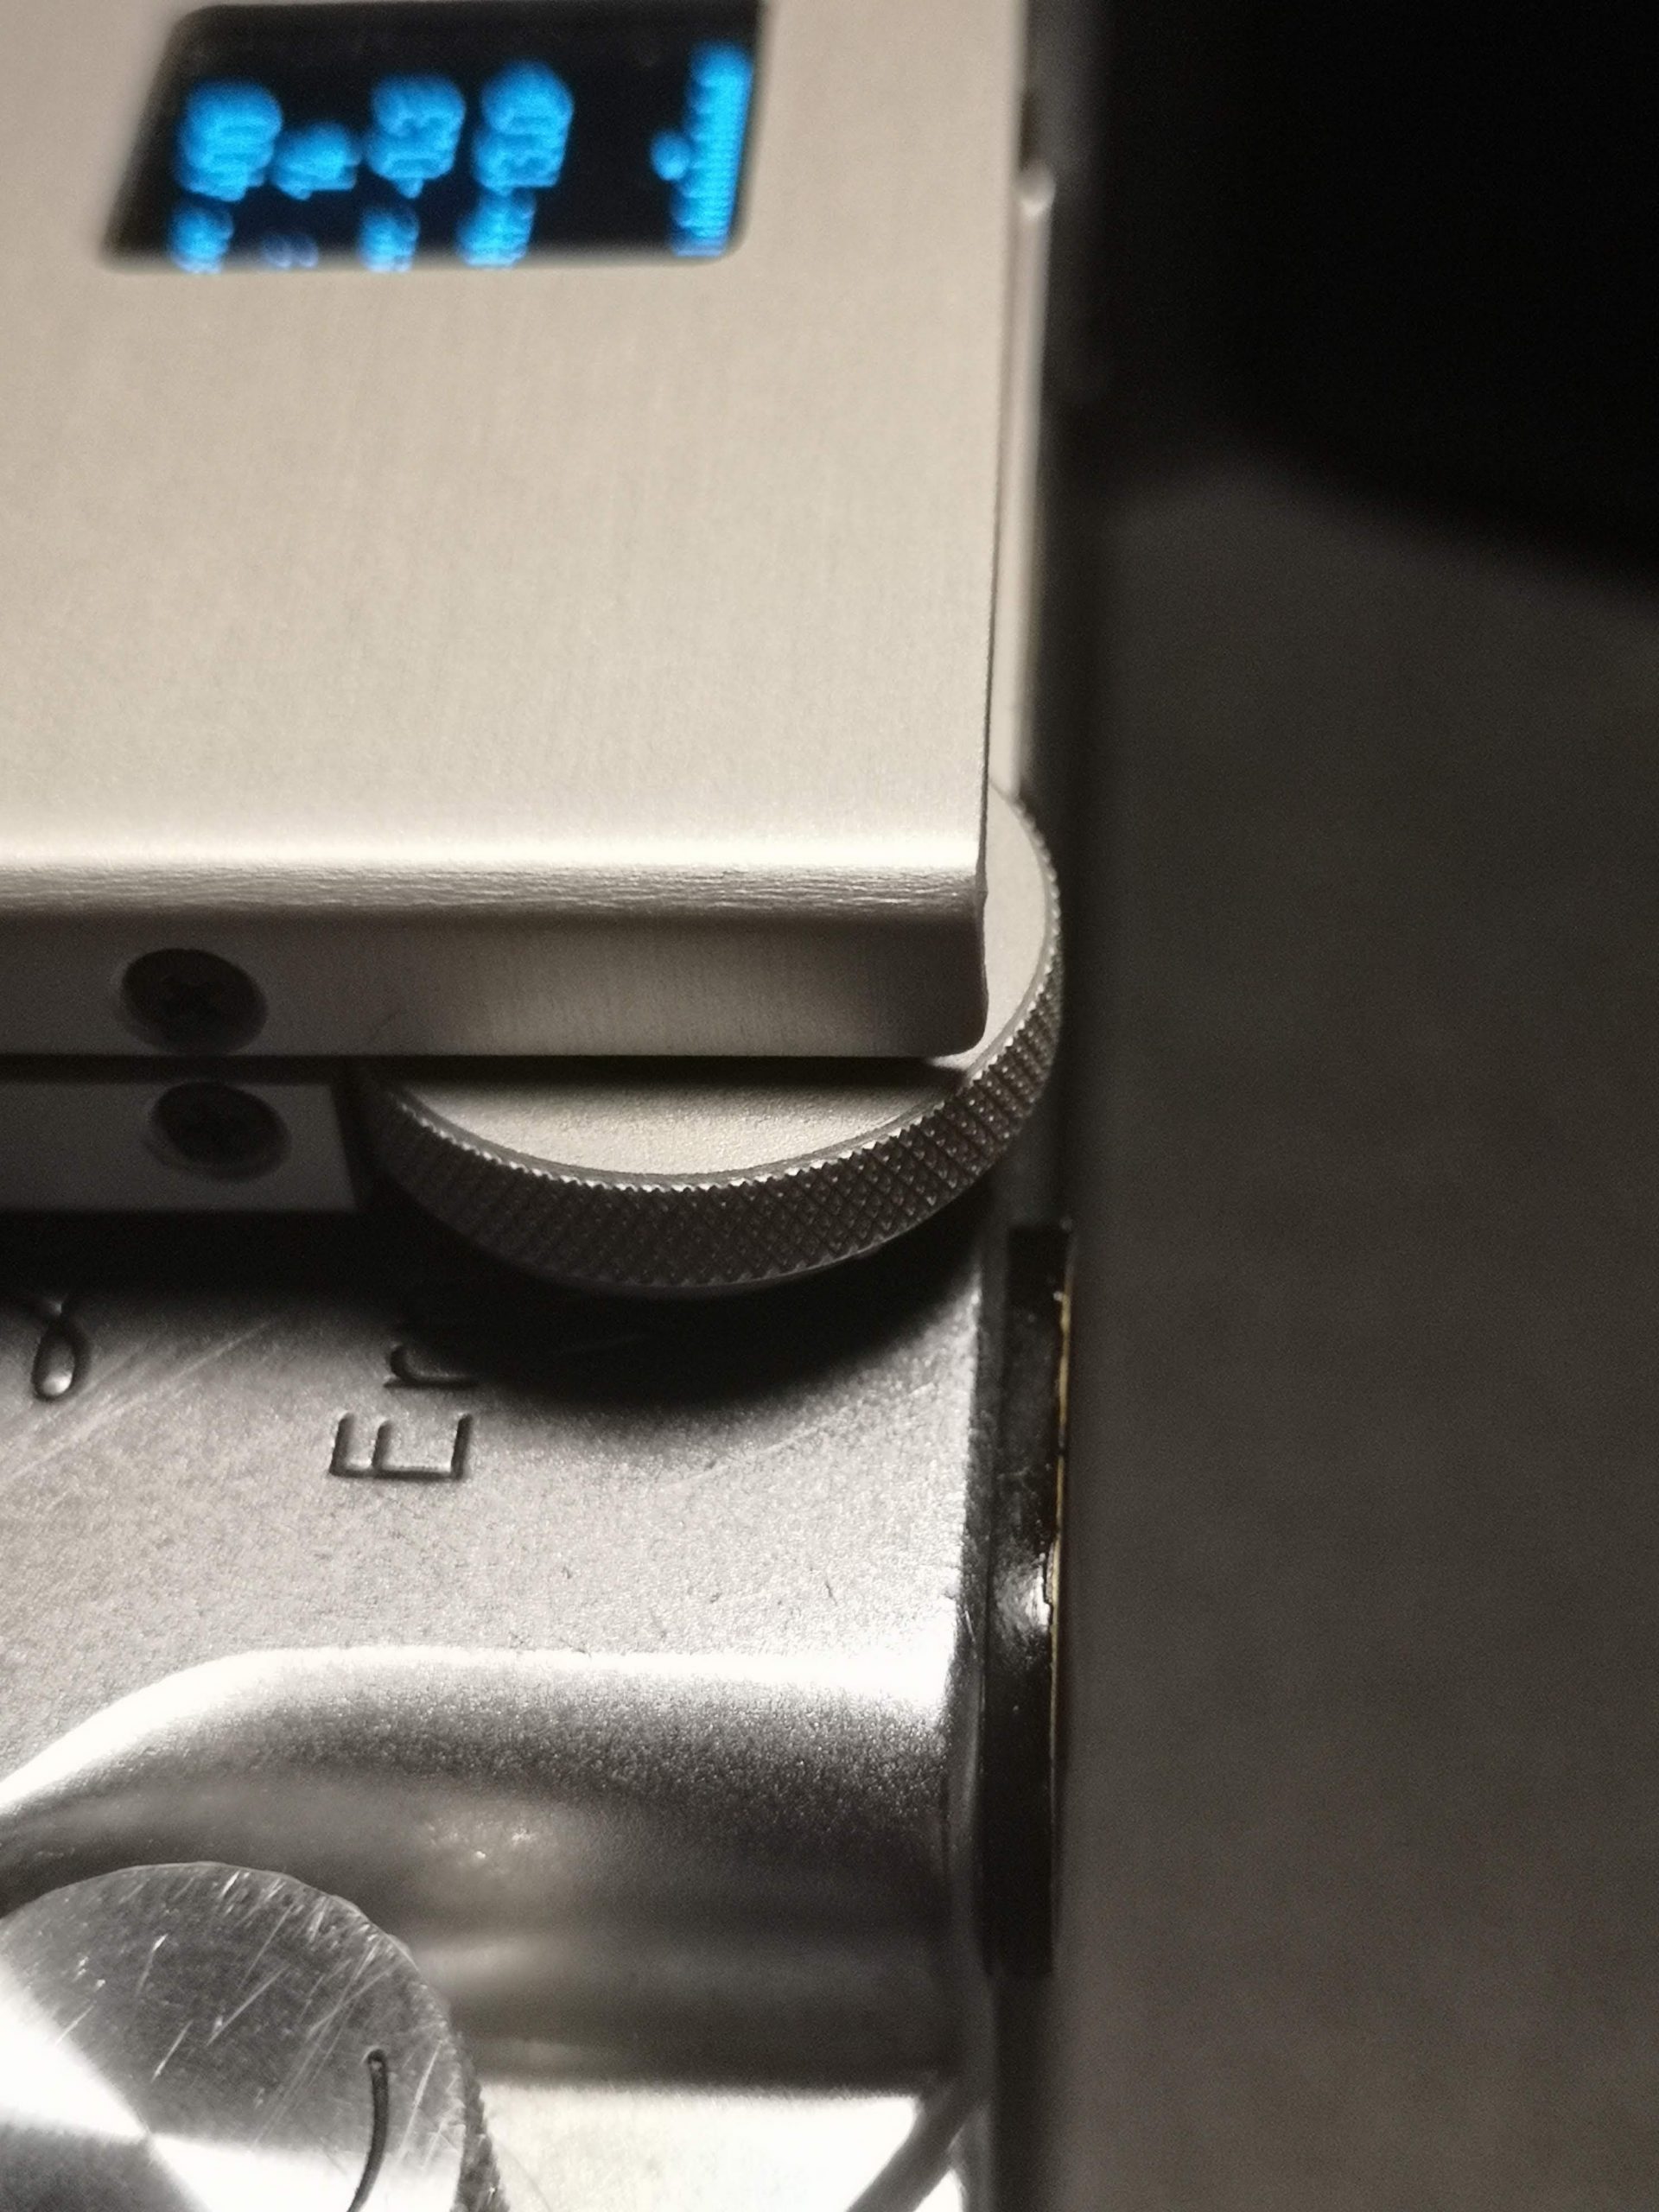
It looks good.
If i’m being picky the pull out drawer for the CR2032 battery would have been better on the back leaving a smoother front face but that may have been a technical impossibility given the battery size. The 3V lithium CR2032 cells are widely available. Poundland sell 4 in a pack (along with CR2016 & CR2025 batteries) for a quid but you’ll find them widely on the high street and on line.
This is of course a pre production version but it feels like a finished product. I think the final version will have some minimalist Hedeco brand styling but looks to be identical.
Metering specs
The lime one reads dynamically when turned on unlike the static Reveni. The Lime One can be set to meter for aperture priority, shutter priority, manual or just to display an EV value.
The metering range for aperture f/0.7 to f/128 and for shutter speeds of 1/8000 to 24minutes. ISO values set from 3 to 12800 ISO. You can set for intermediate stops for all of these. Usually in 1/3 steps but above f/16 you get more graduate steps than that
In both shutter and aperture priority you have the option of adding in EV compensation of up to ±3EV in 1/3 steps.
In EV mode you seem limited to readings of 0 to 18EV. But in other modes the meter seems to work well beyond this parameters, In reality the meter is still working at least down to EV -5. There is an option for calibration in the menu.
There is a 35° field of view which Johannes picked as it matches that of a 50mm lens.
LCD
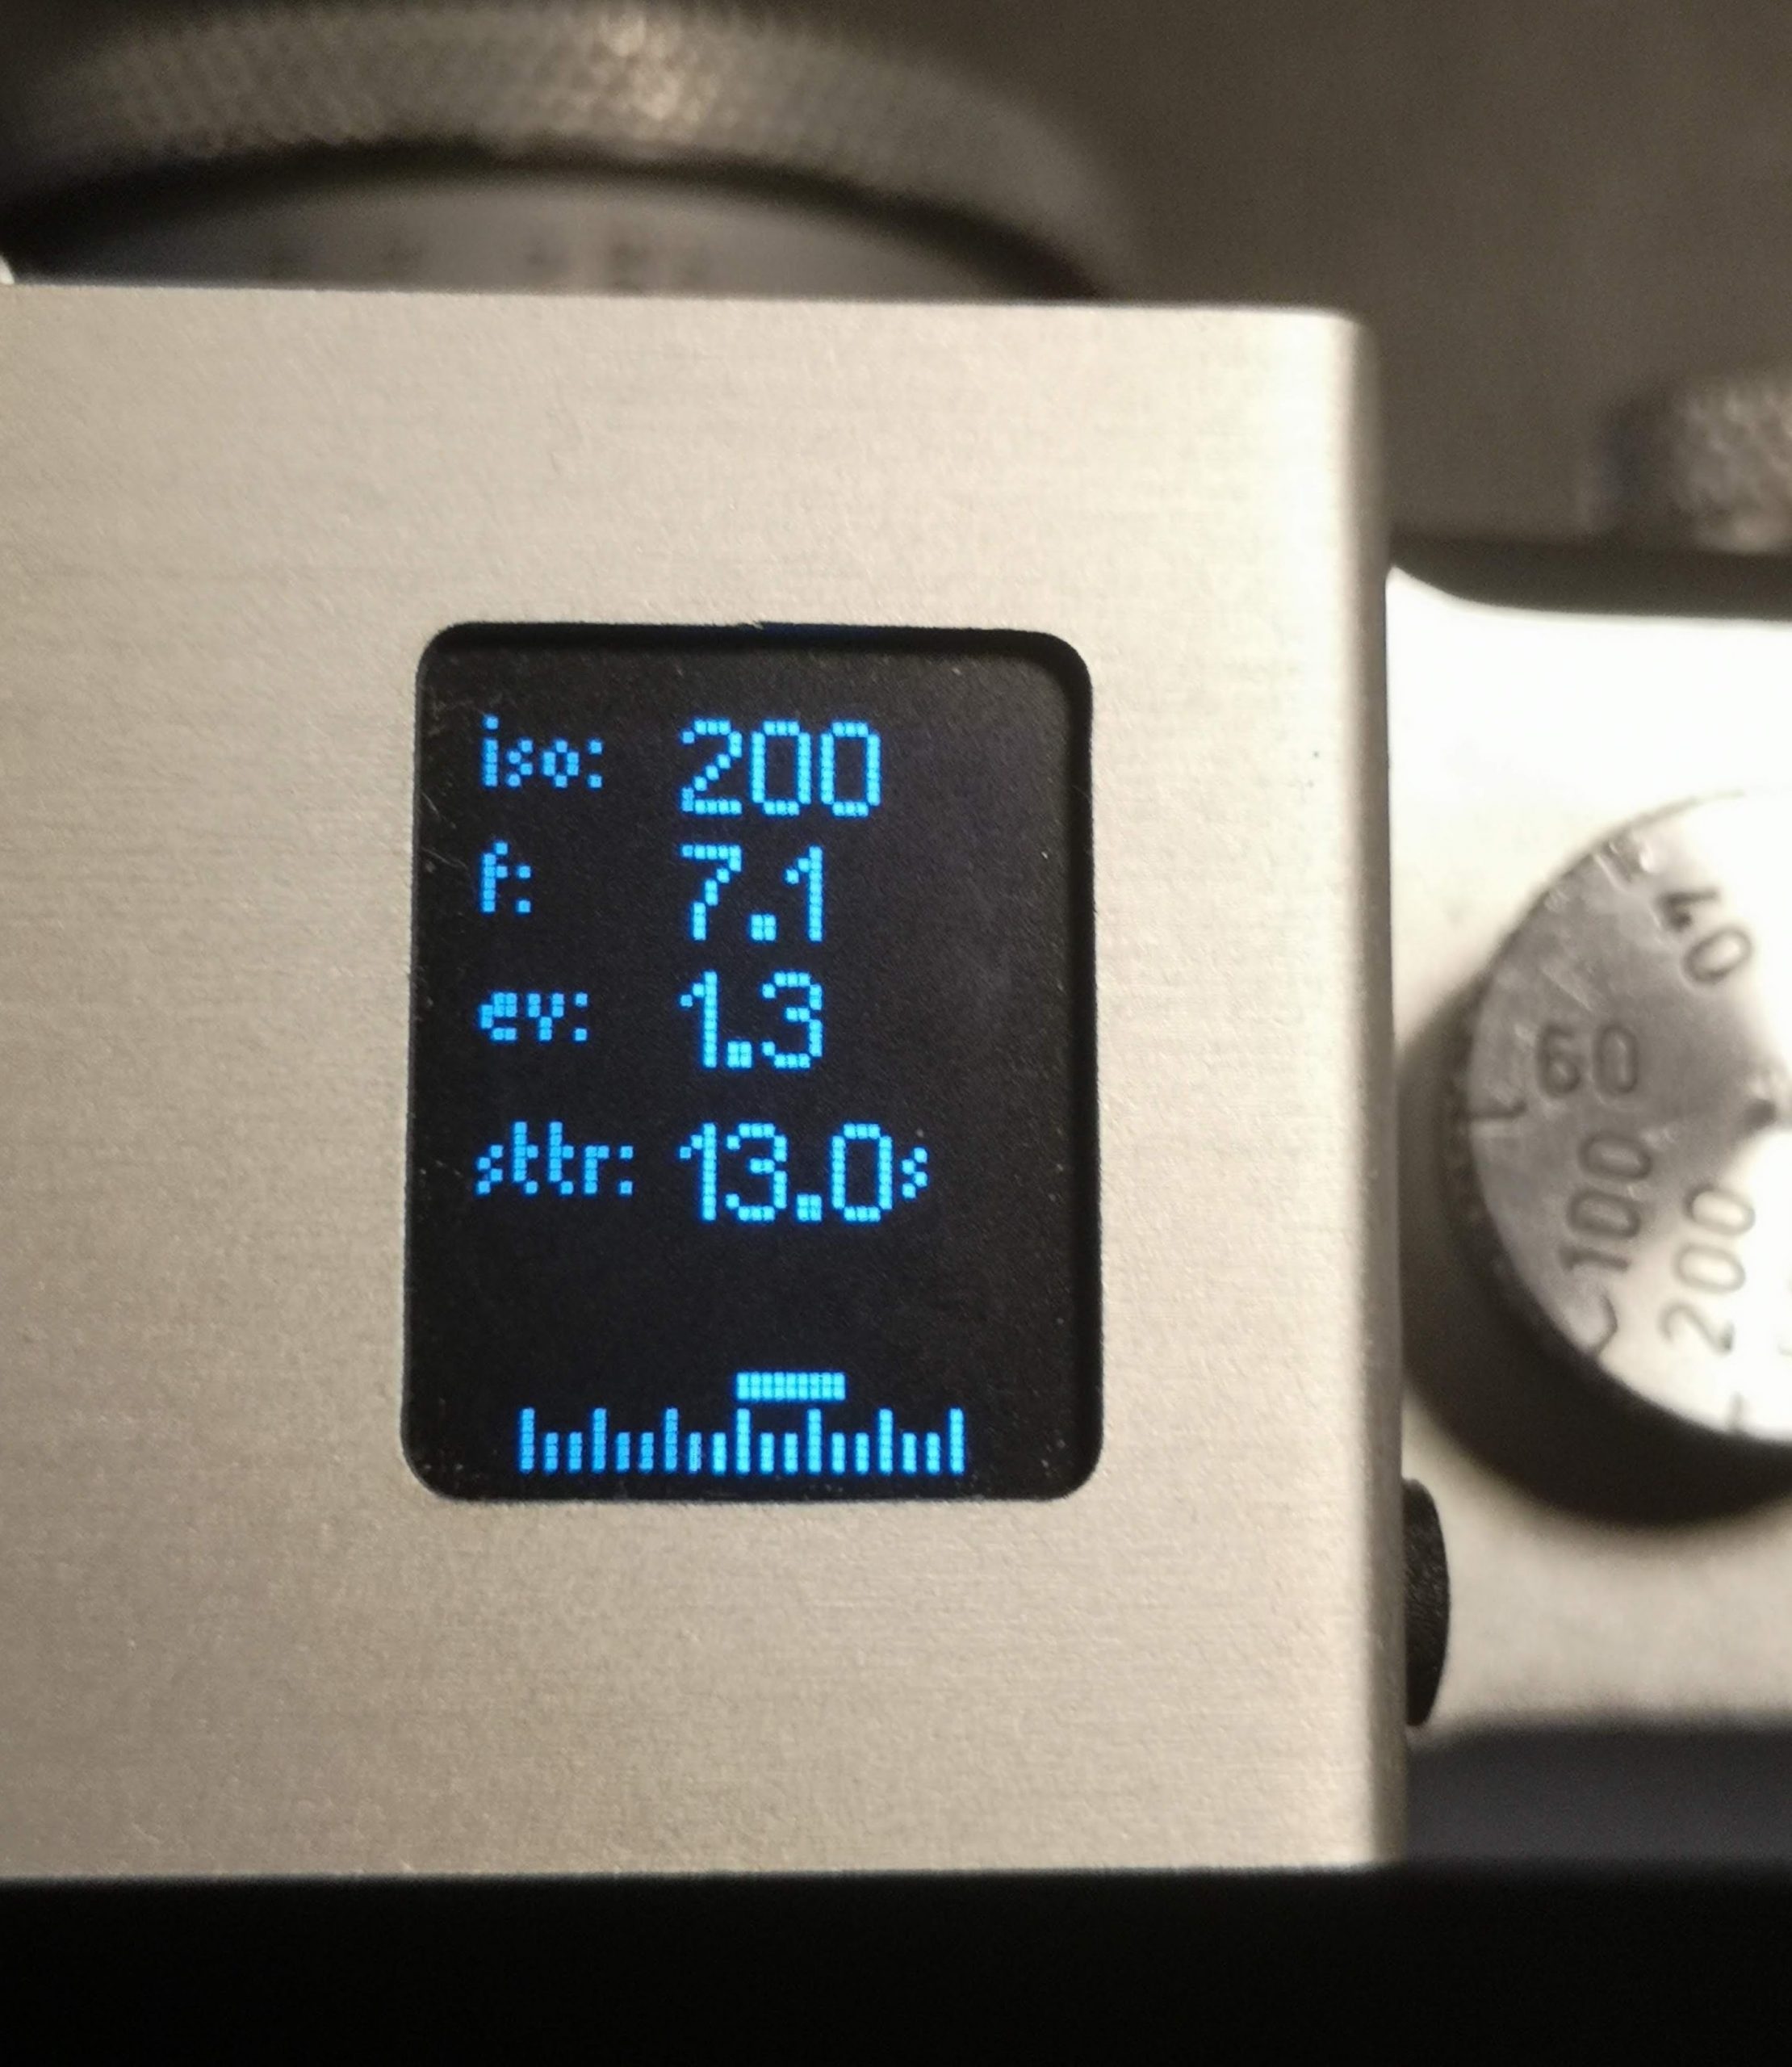
A OLED LCD panel is used and sits on top . It has 5 lines of text/information. These are in AP mode ISO, Aperture, EV, Shutter and an EV scale. It is quite small in writing and the top down view will suit some but not others – I slight prefer the rear view of the Reveni which sit at your eye level but that is a personal view.
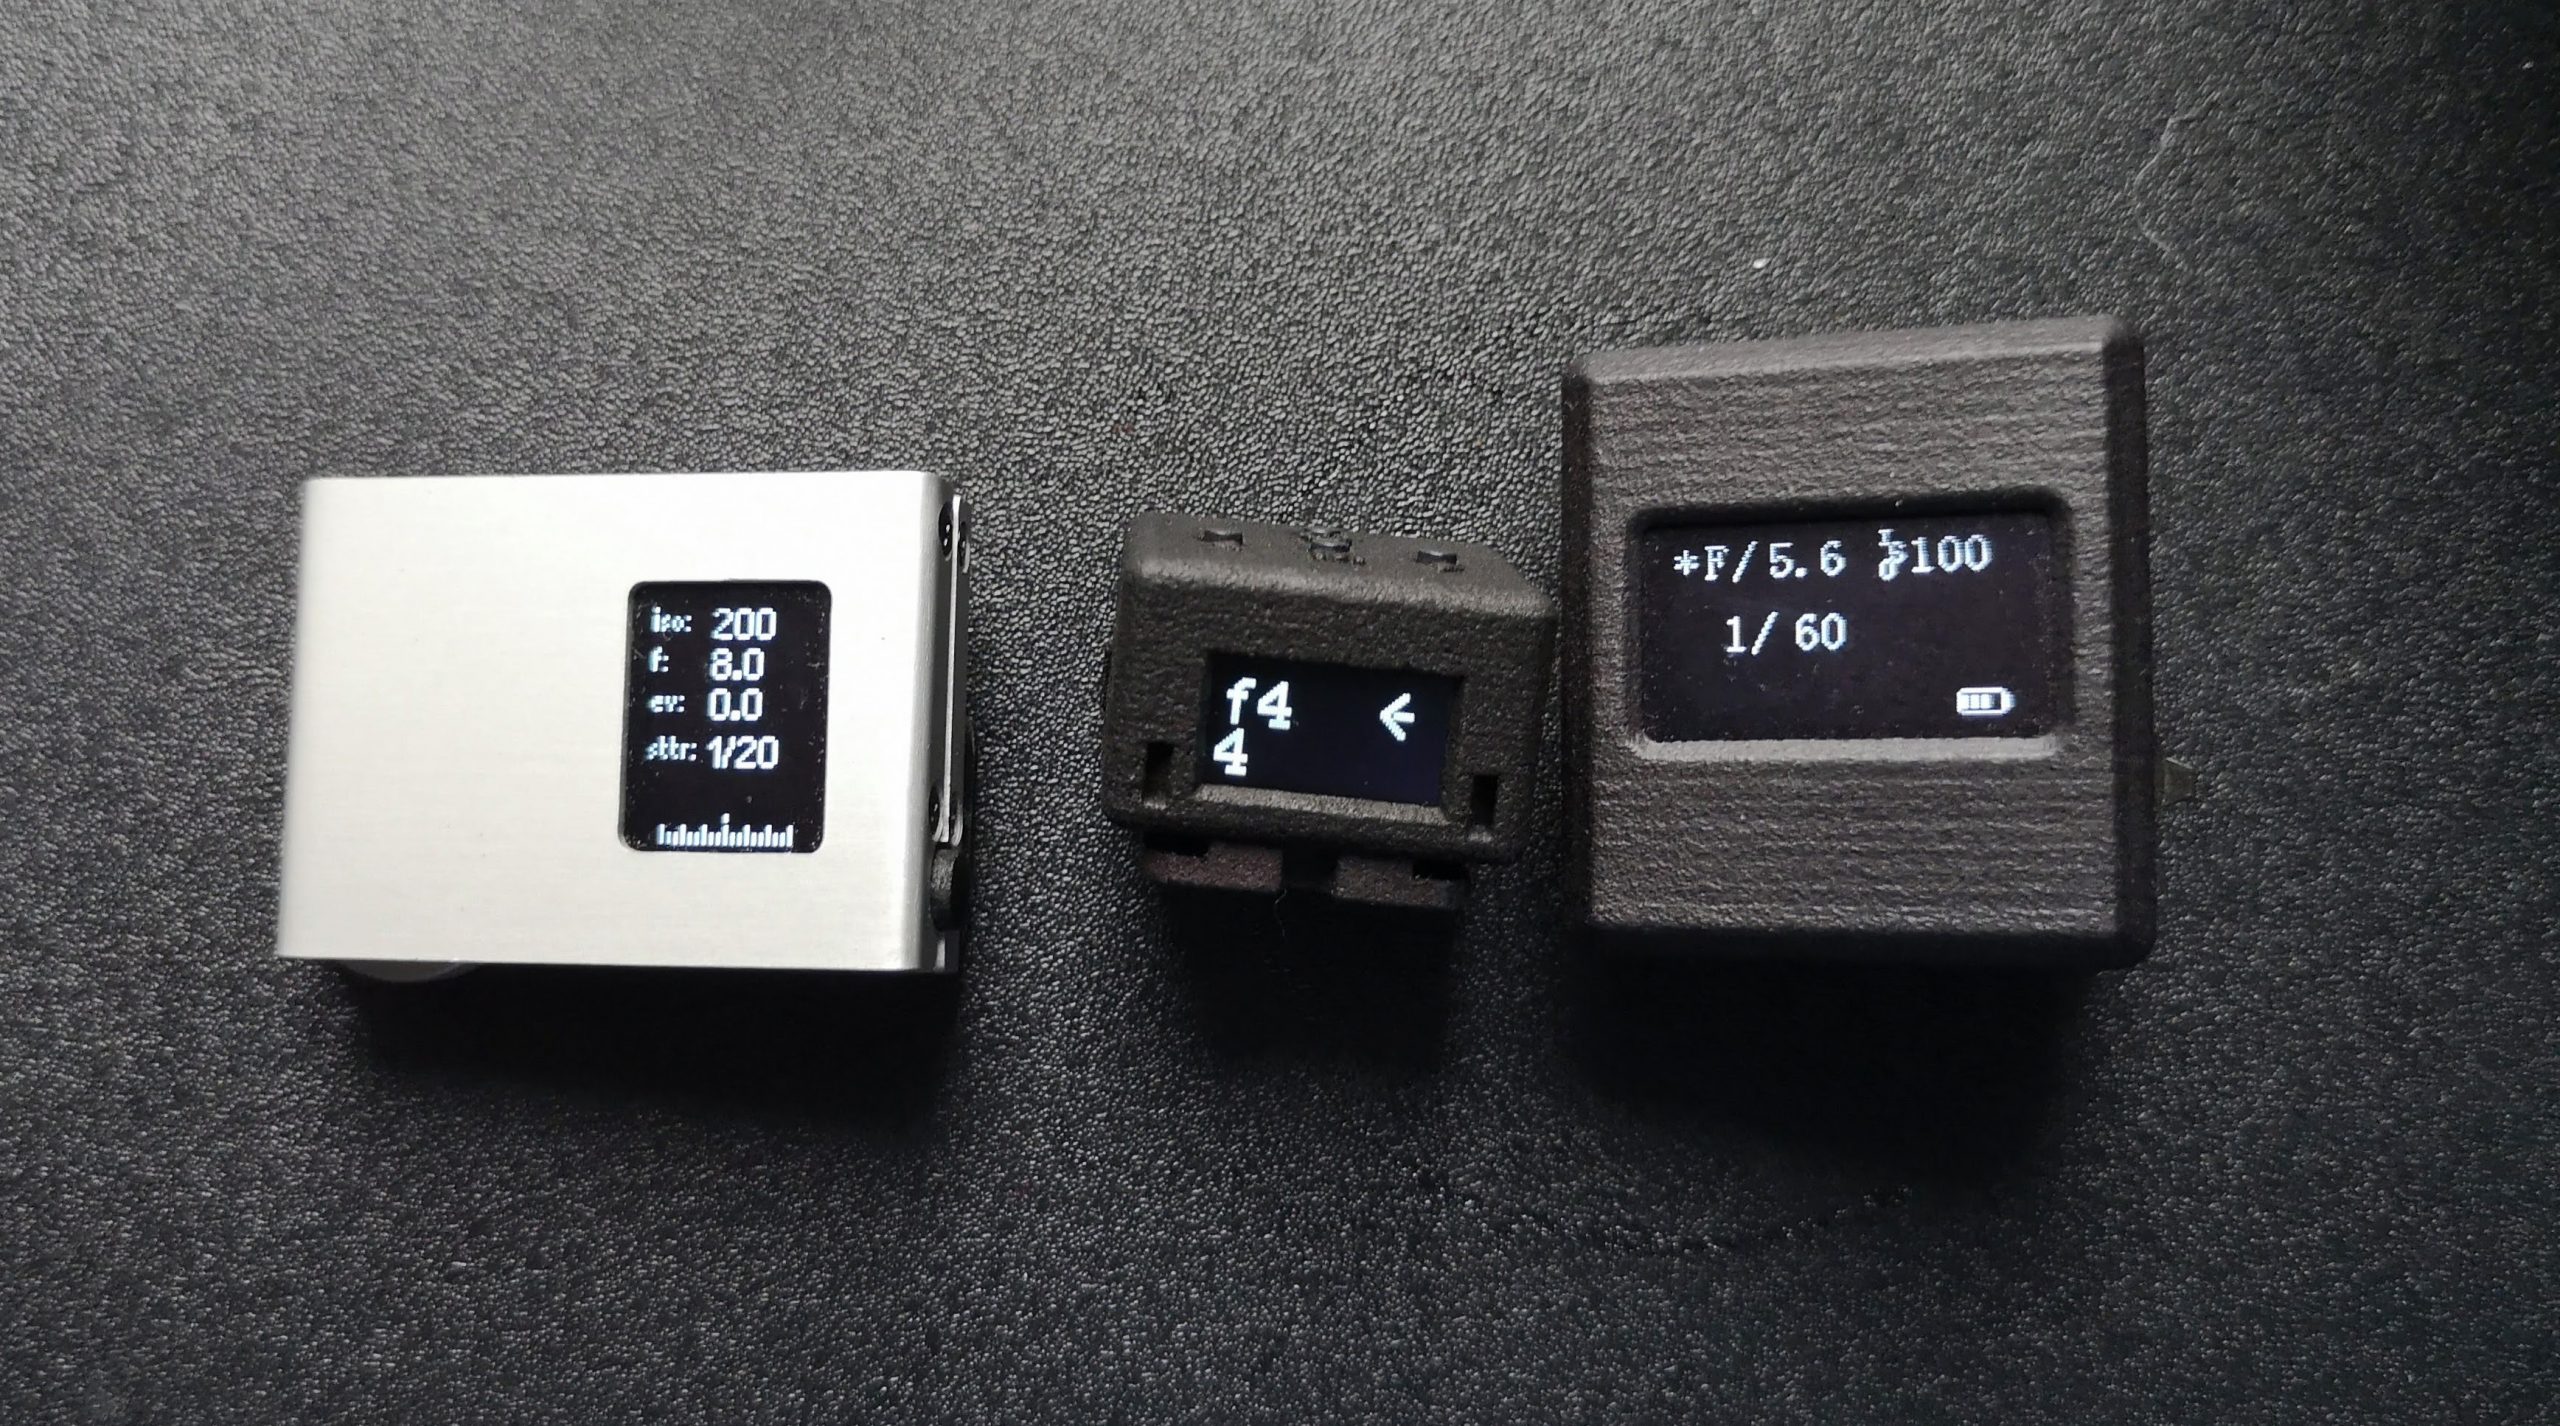
It’s bright but can be a little hard to read in brilliant sunlight. But whilst the Reveni is much easier to read in bright light this is better than the V-201X.
It also adjusts to the ambient light levels.
Use
Lime one actually fitted most of my cameras without a fuss unlike the V-201X and the Reveni. Oddly it was loose on my Halina 35x but really tight on my Halina Paulette – go figure !
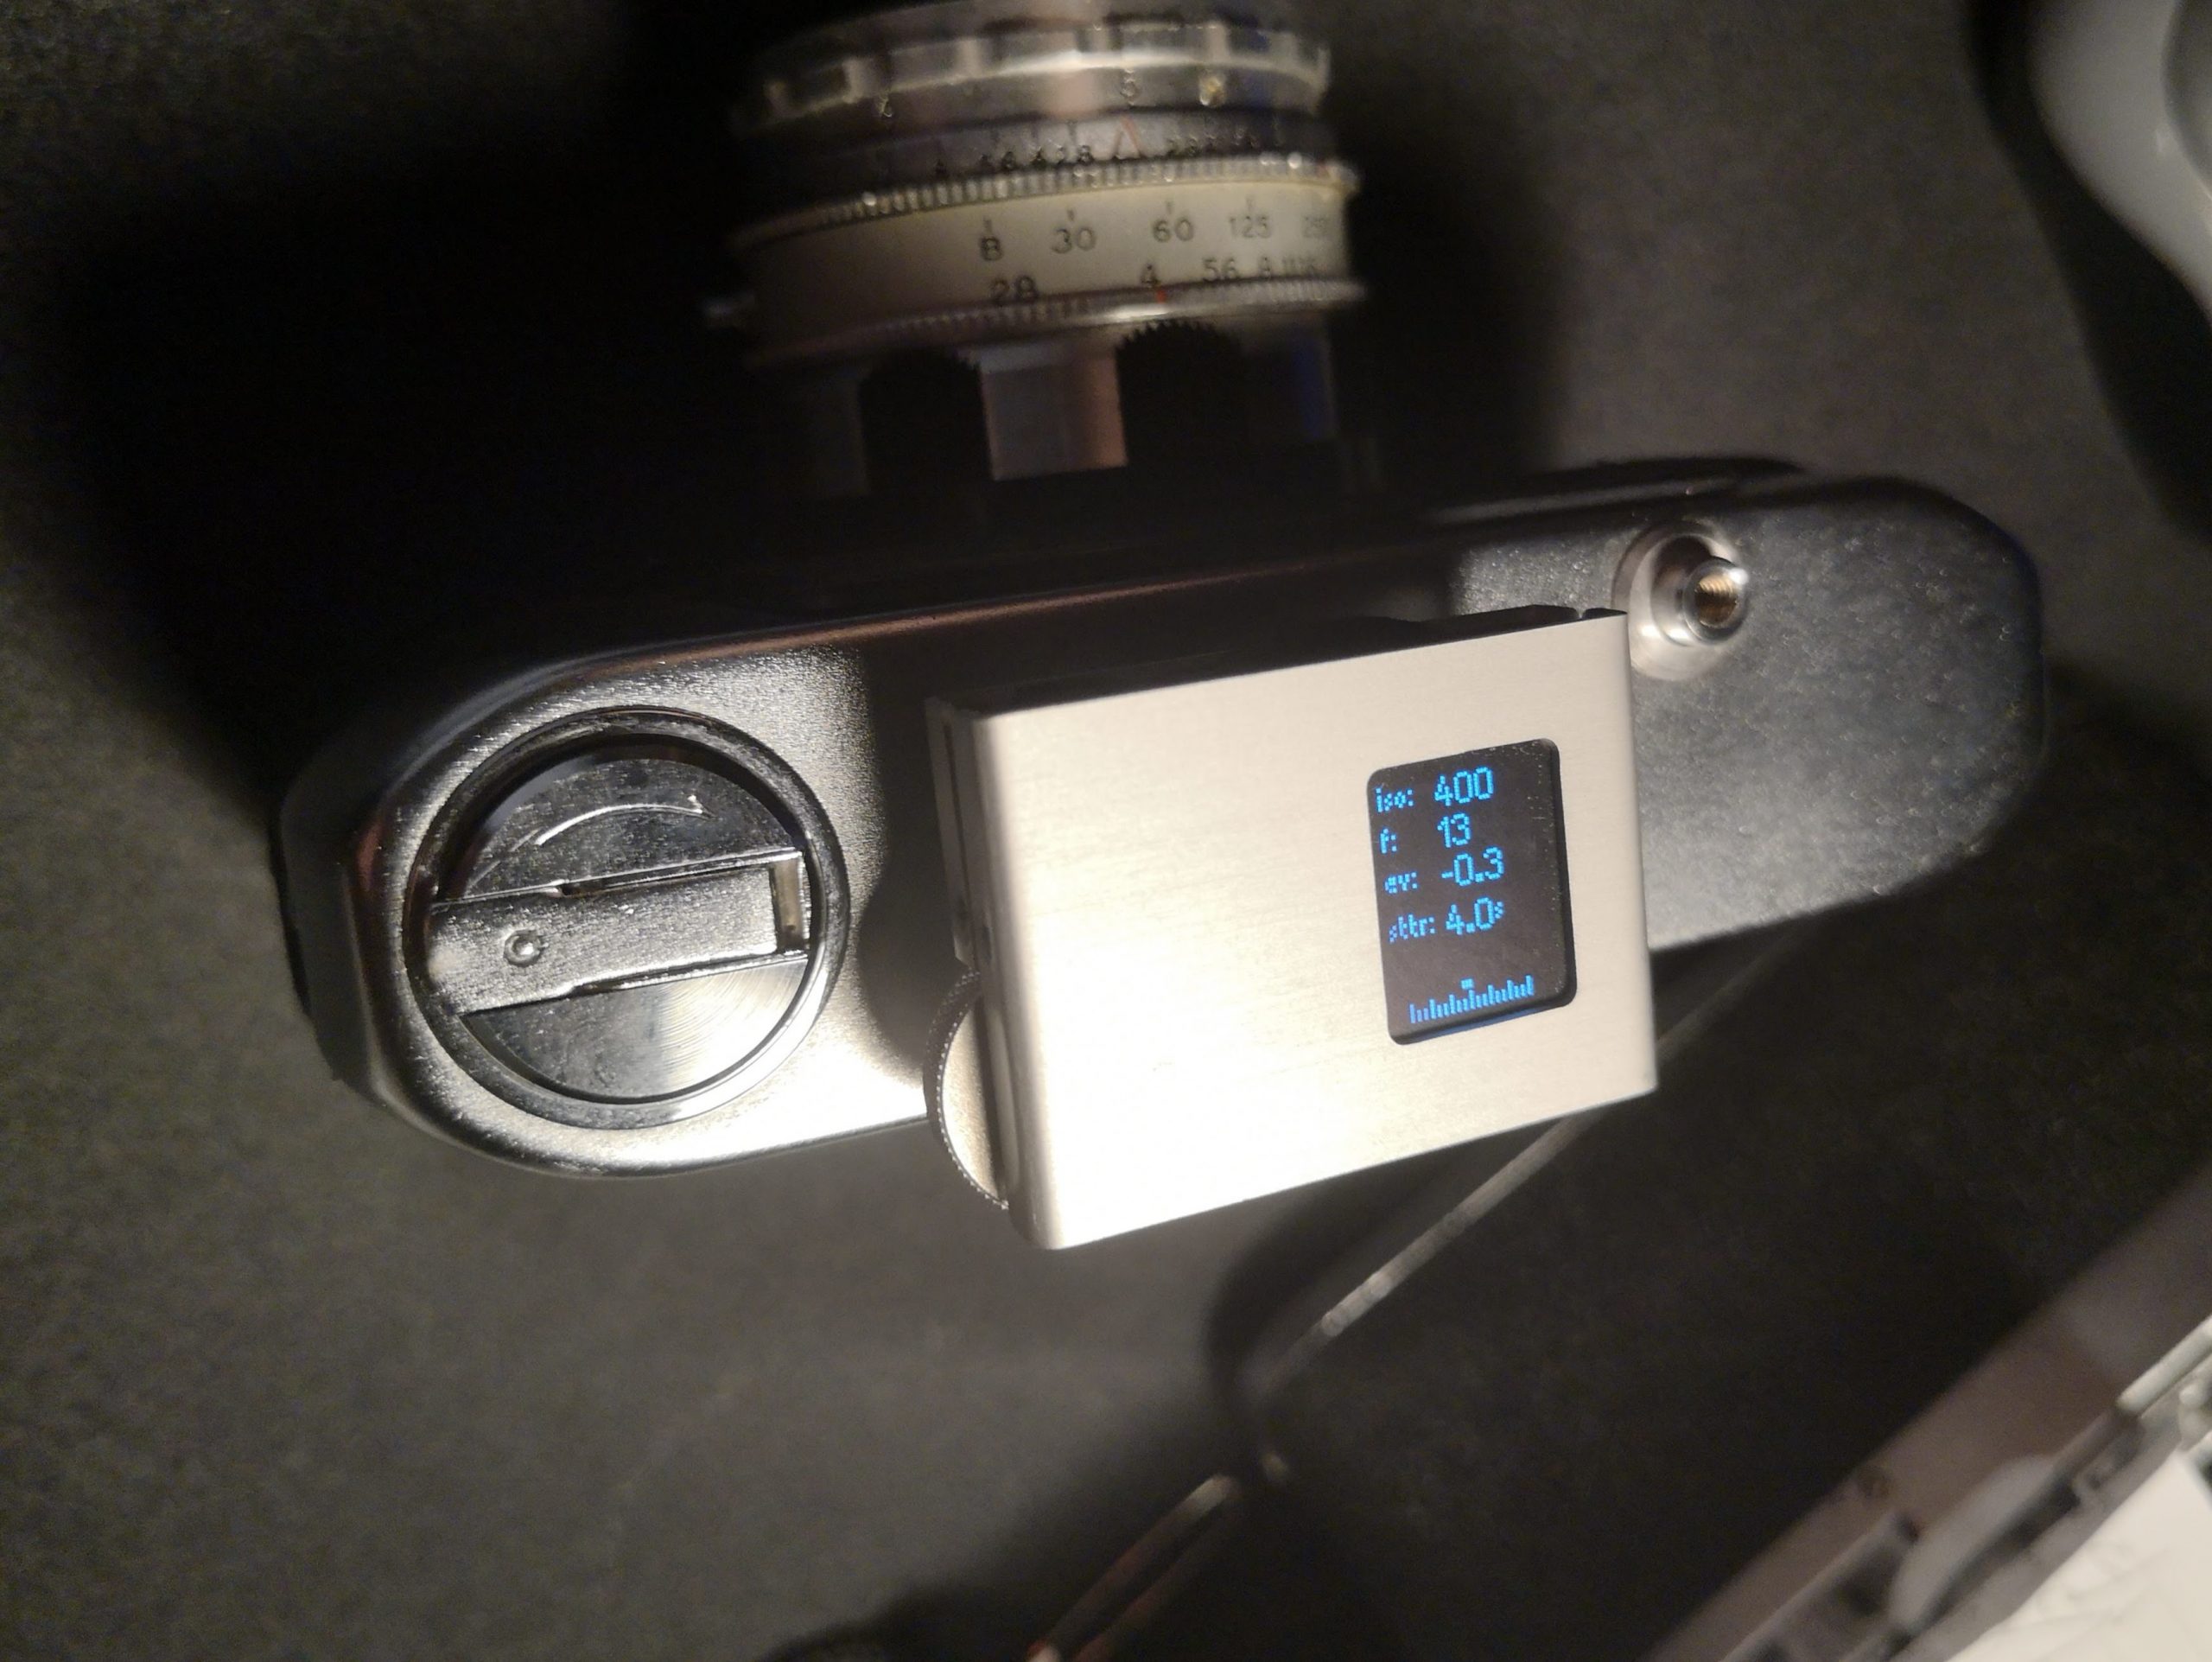
To power on you tap the button. It will read for about ~40 seconds before shutting down unless interacted with. It recalls your settings when re started.
Mines was set to aperture priority. You can easily change this by double clicking the button to access the menu. The first option is to switch between the 4 metering modes. But you can also change ISO and calibrate the meter.
The menu shows a battery value which is neat.
Adjusting settings
In Aperture priority turning the jog dial adjust the aperture but if you hold the button and turn the dial you can add in EV compensation. Shutter priority works the same with the shutter speed not aperture being adjusted. This is all live and responds to the meter reading.
EV mode just gives a straight EV reading. If you depress the button and turn the jog dial you can adjust the ISO speed. The Manual mode allows you to adjust both the aperture and shutter. Here the EV scale is used to indicate how far out you are. Turning the wheel adjust shutter and holding in the button and turning the jog dial changes aperture.
It works well and is by far the most user friendly meter I’ve tested this year
Accuracy
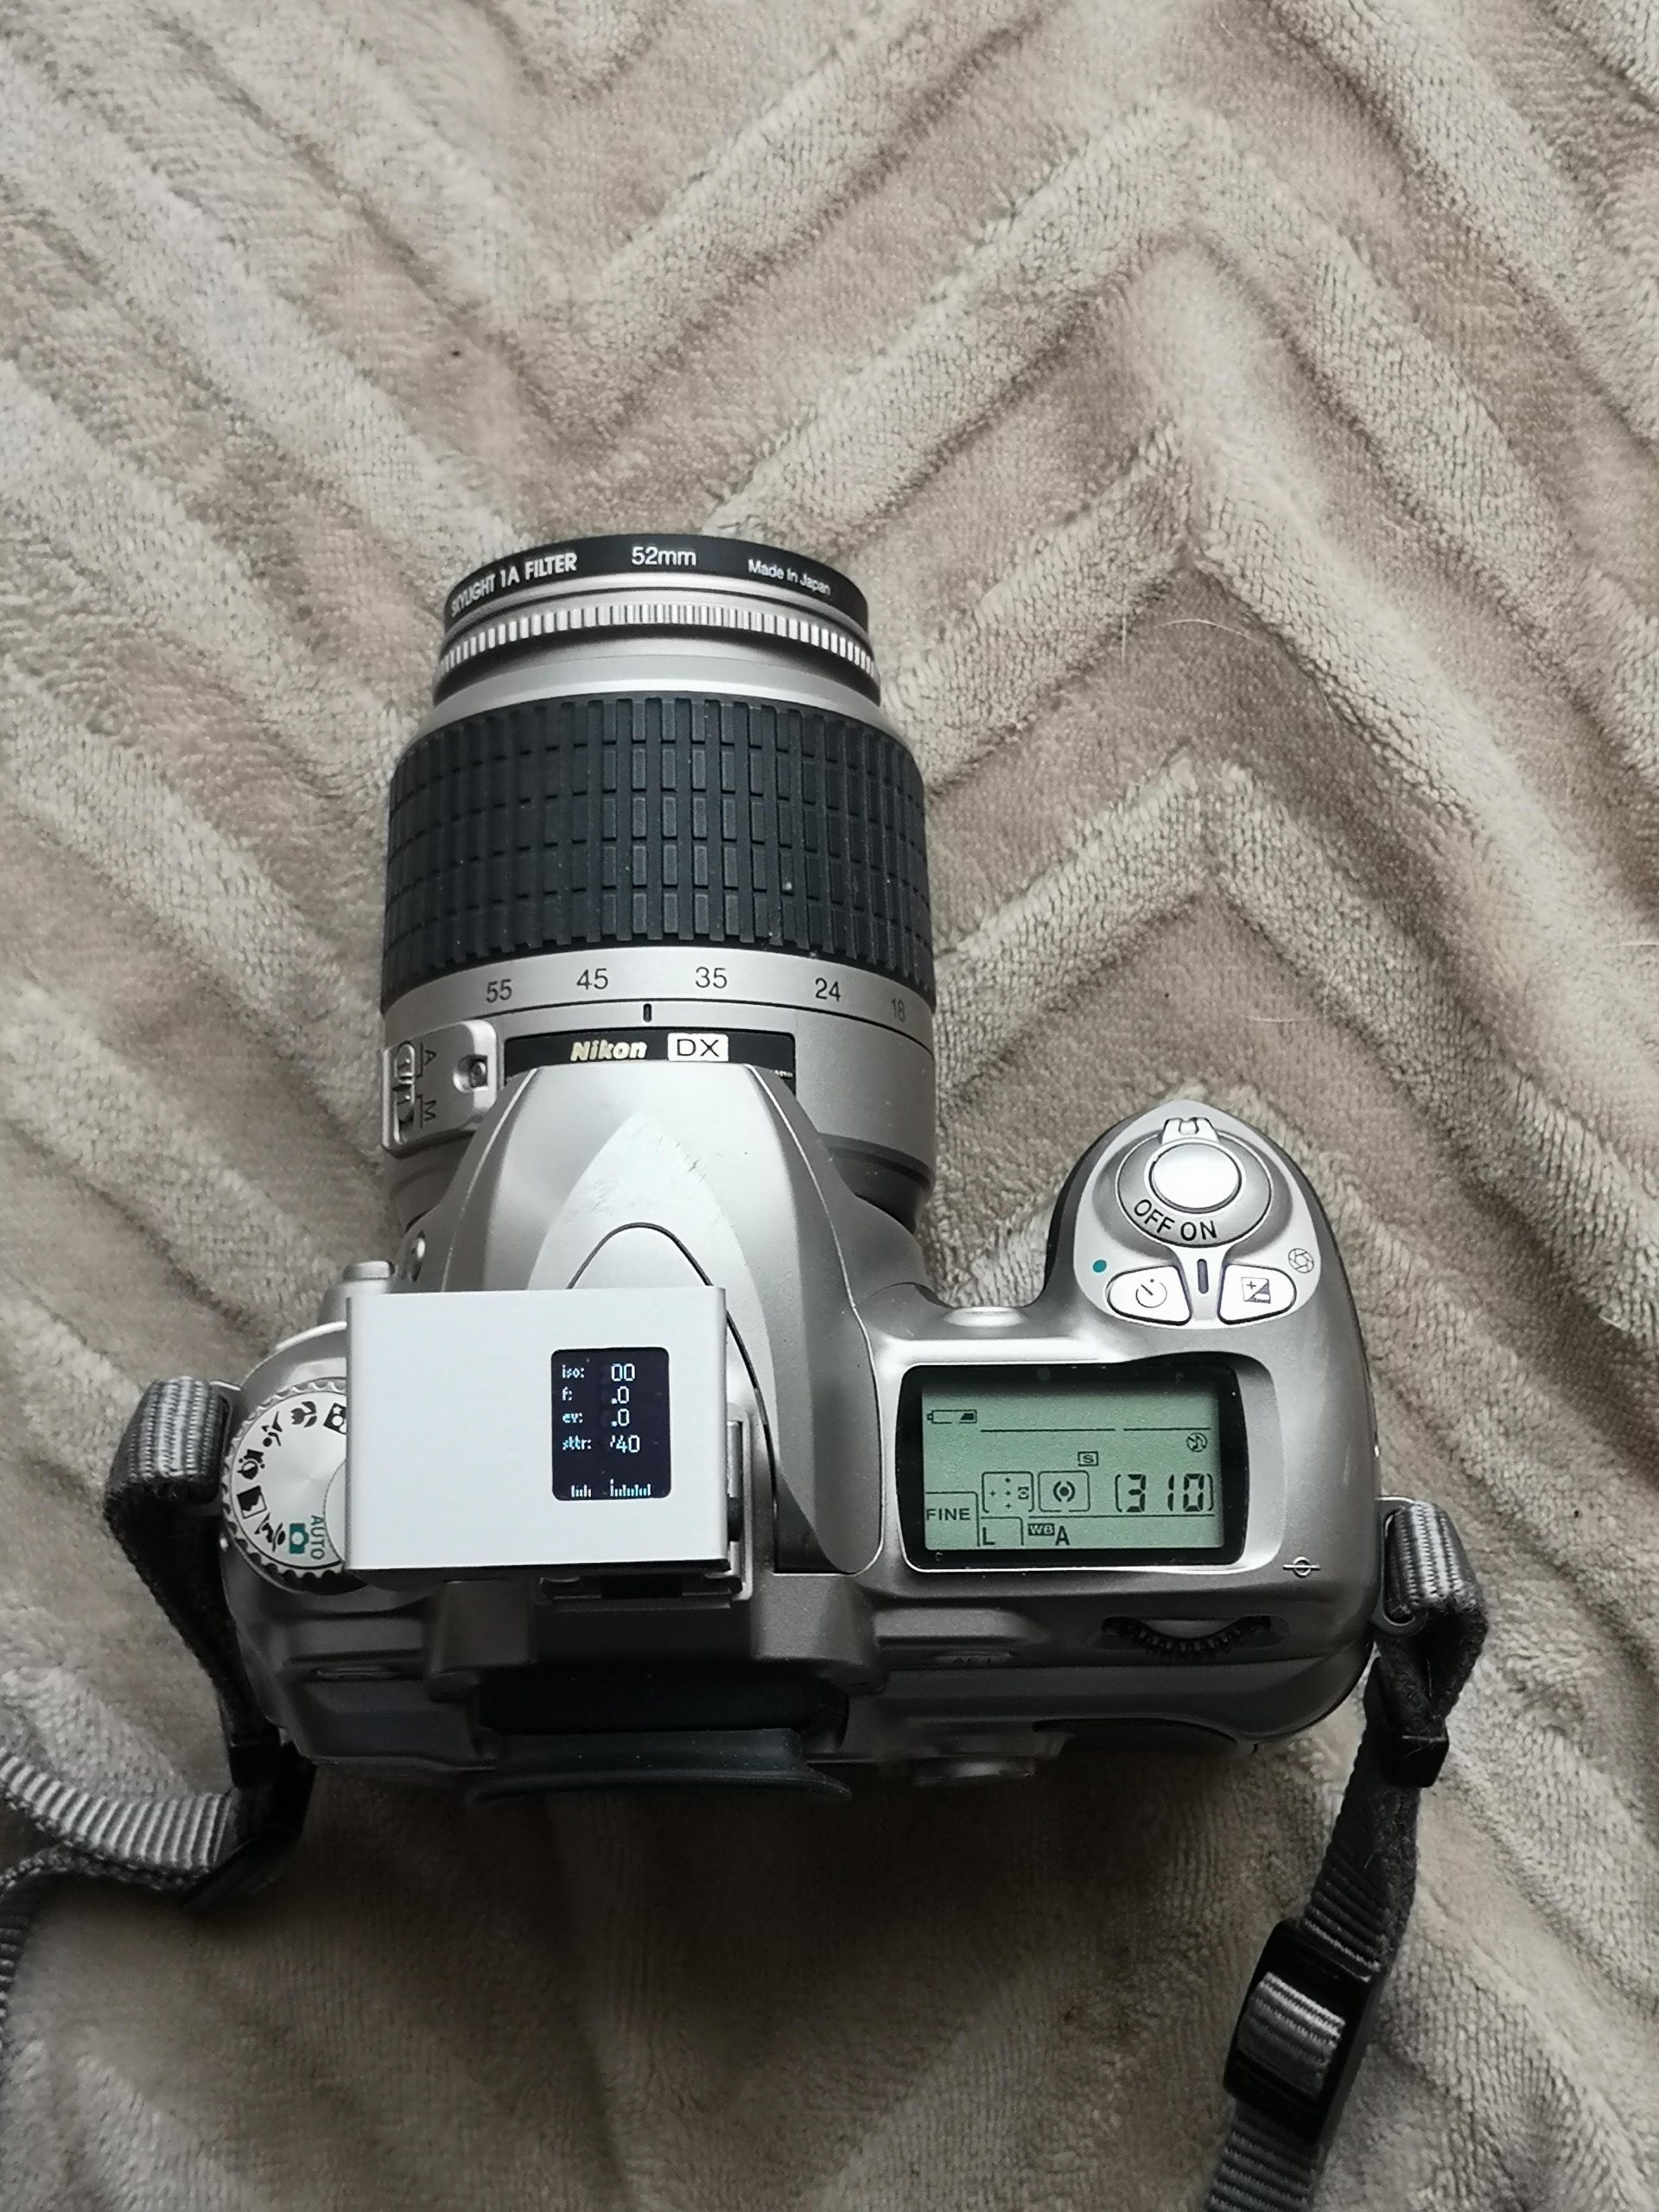
I mounted this on my Nikon D50 with a AF-S Nikkor DX 18-55mm1:3.5-5.6G kit lens kept at around 35mm (about the same as a 50mm full frame). Metering was switched to centre-weighted. I shot from very low light to EV14 conditions (yeah I live in Scotland so EV16 at this time of the year ain’t happening).
I shot around 40 matched shots at ISO200 with a f/8 aperture fixed. Only 2 shots were more than 2 stops out. This is one
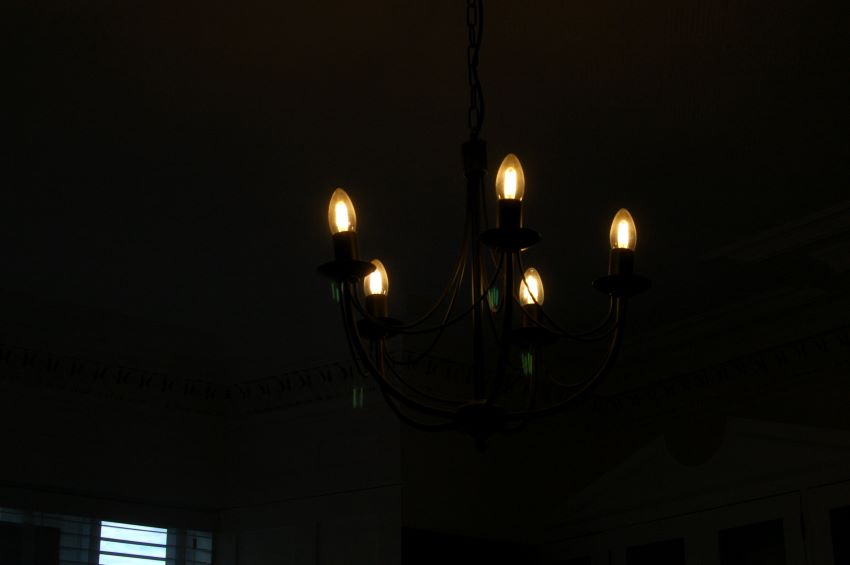
The centre-weighted meter of the camera over egged the lights near centre. The meter suggested a 2.5 stops longer exposure shich I felt was right. the other shot was similar
Discounting these 95% of the shots were within 1 stop and 85% within 0.5 stop (35% were identical). These are the best results I’ve had with any of the recently tested meters but I must stress I didn’t do any comparison directly.
The meter and the centreweighted camera fell for the usually issues of stronger backlighting as you can see in this shot where the matched shutter speeds exactly. A stop or 2 more would have brought out the foreground as both are being overly influenced by the sky

Or even more tellingly here (again both matched shutter speeds)
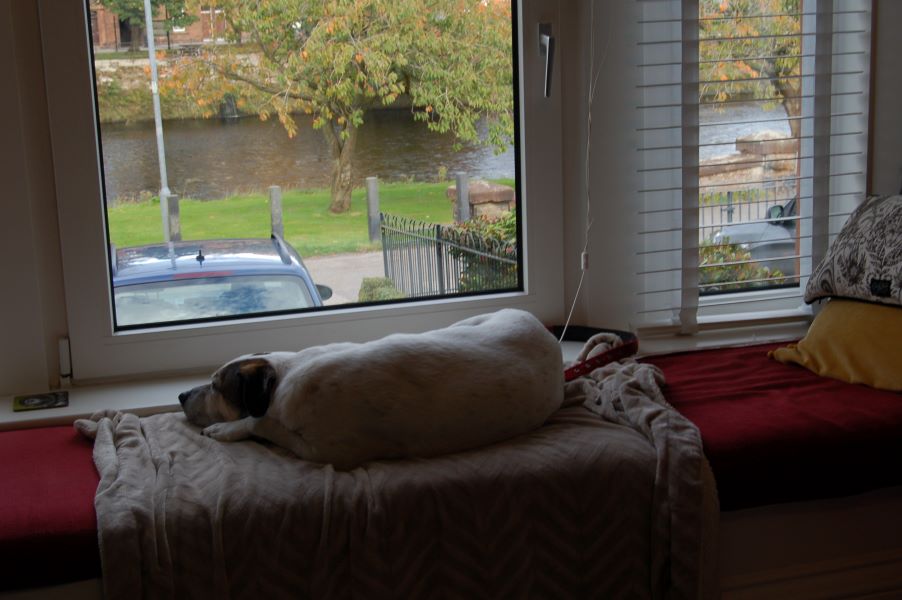
That said this is an issue with all area meters. this was no worse than it;s rivals and matched the dSLR’s hobbled performance
Final thoughts on the Hedeco Lime One
Of the 3 meters I’ve tested Hedeco Lime One is the most polished. And that’s despite being a pre-production copy. It also is the most user friendly of the bunch.
It’s only major flaw is the OLED does struggle a bit in bright light. Not as badly as the V-201X but certainly the Reveni steals the point here. I also personally prefer the Reveni’s rear eye level LCD but that is a personal taste.
That aside this really raises the bar stylistically and in build
All of these meters have their strengths and weaknesses and I guess what one would suit you is down to preferences. You have the cheap V-201X type meters for those of you whom can live with the weak screen in exchange for a lot less cash. The Reveni has the brightest screen that sits eye level and is tichy. But it has fiddly controls and gives static reading. This is the most polished but the top down display won’t be for all.
But the Hedeco is lovely bit of kit.

One thought on “Light Engineering – Hedeco Lime One Review”