
In 2020 I got a chance to test one of the best accessory light meters on the market the Hedeco Lime One. But Johannes Heberlein, the brains behind the brand has not rested on his laurels. A new improved version is just out and I’ve had a chance to test a pre-release copy.
To be clear I had a final pre production copy so things have been mildly tweaked in the finished product (mainly cosmetically). I haven’t been paid to do this post and the only incentive I have had the chance to try it out. These views are mines and not influenced by Hedeco.
The Lime One appeared late in the race for the affordable accessory meter but made an impact. German know how, build quality and attention to detail made it the stand out. I rated it the best of the class.
The Lime II builds from that good base with some tweaking of both specs and style. It also will be launched with a range of optional accessories dealing with issues you might have mounting it.
So what exactly is this
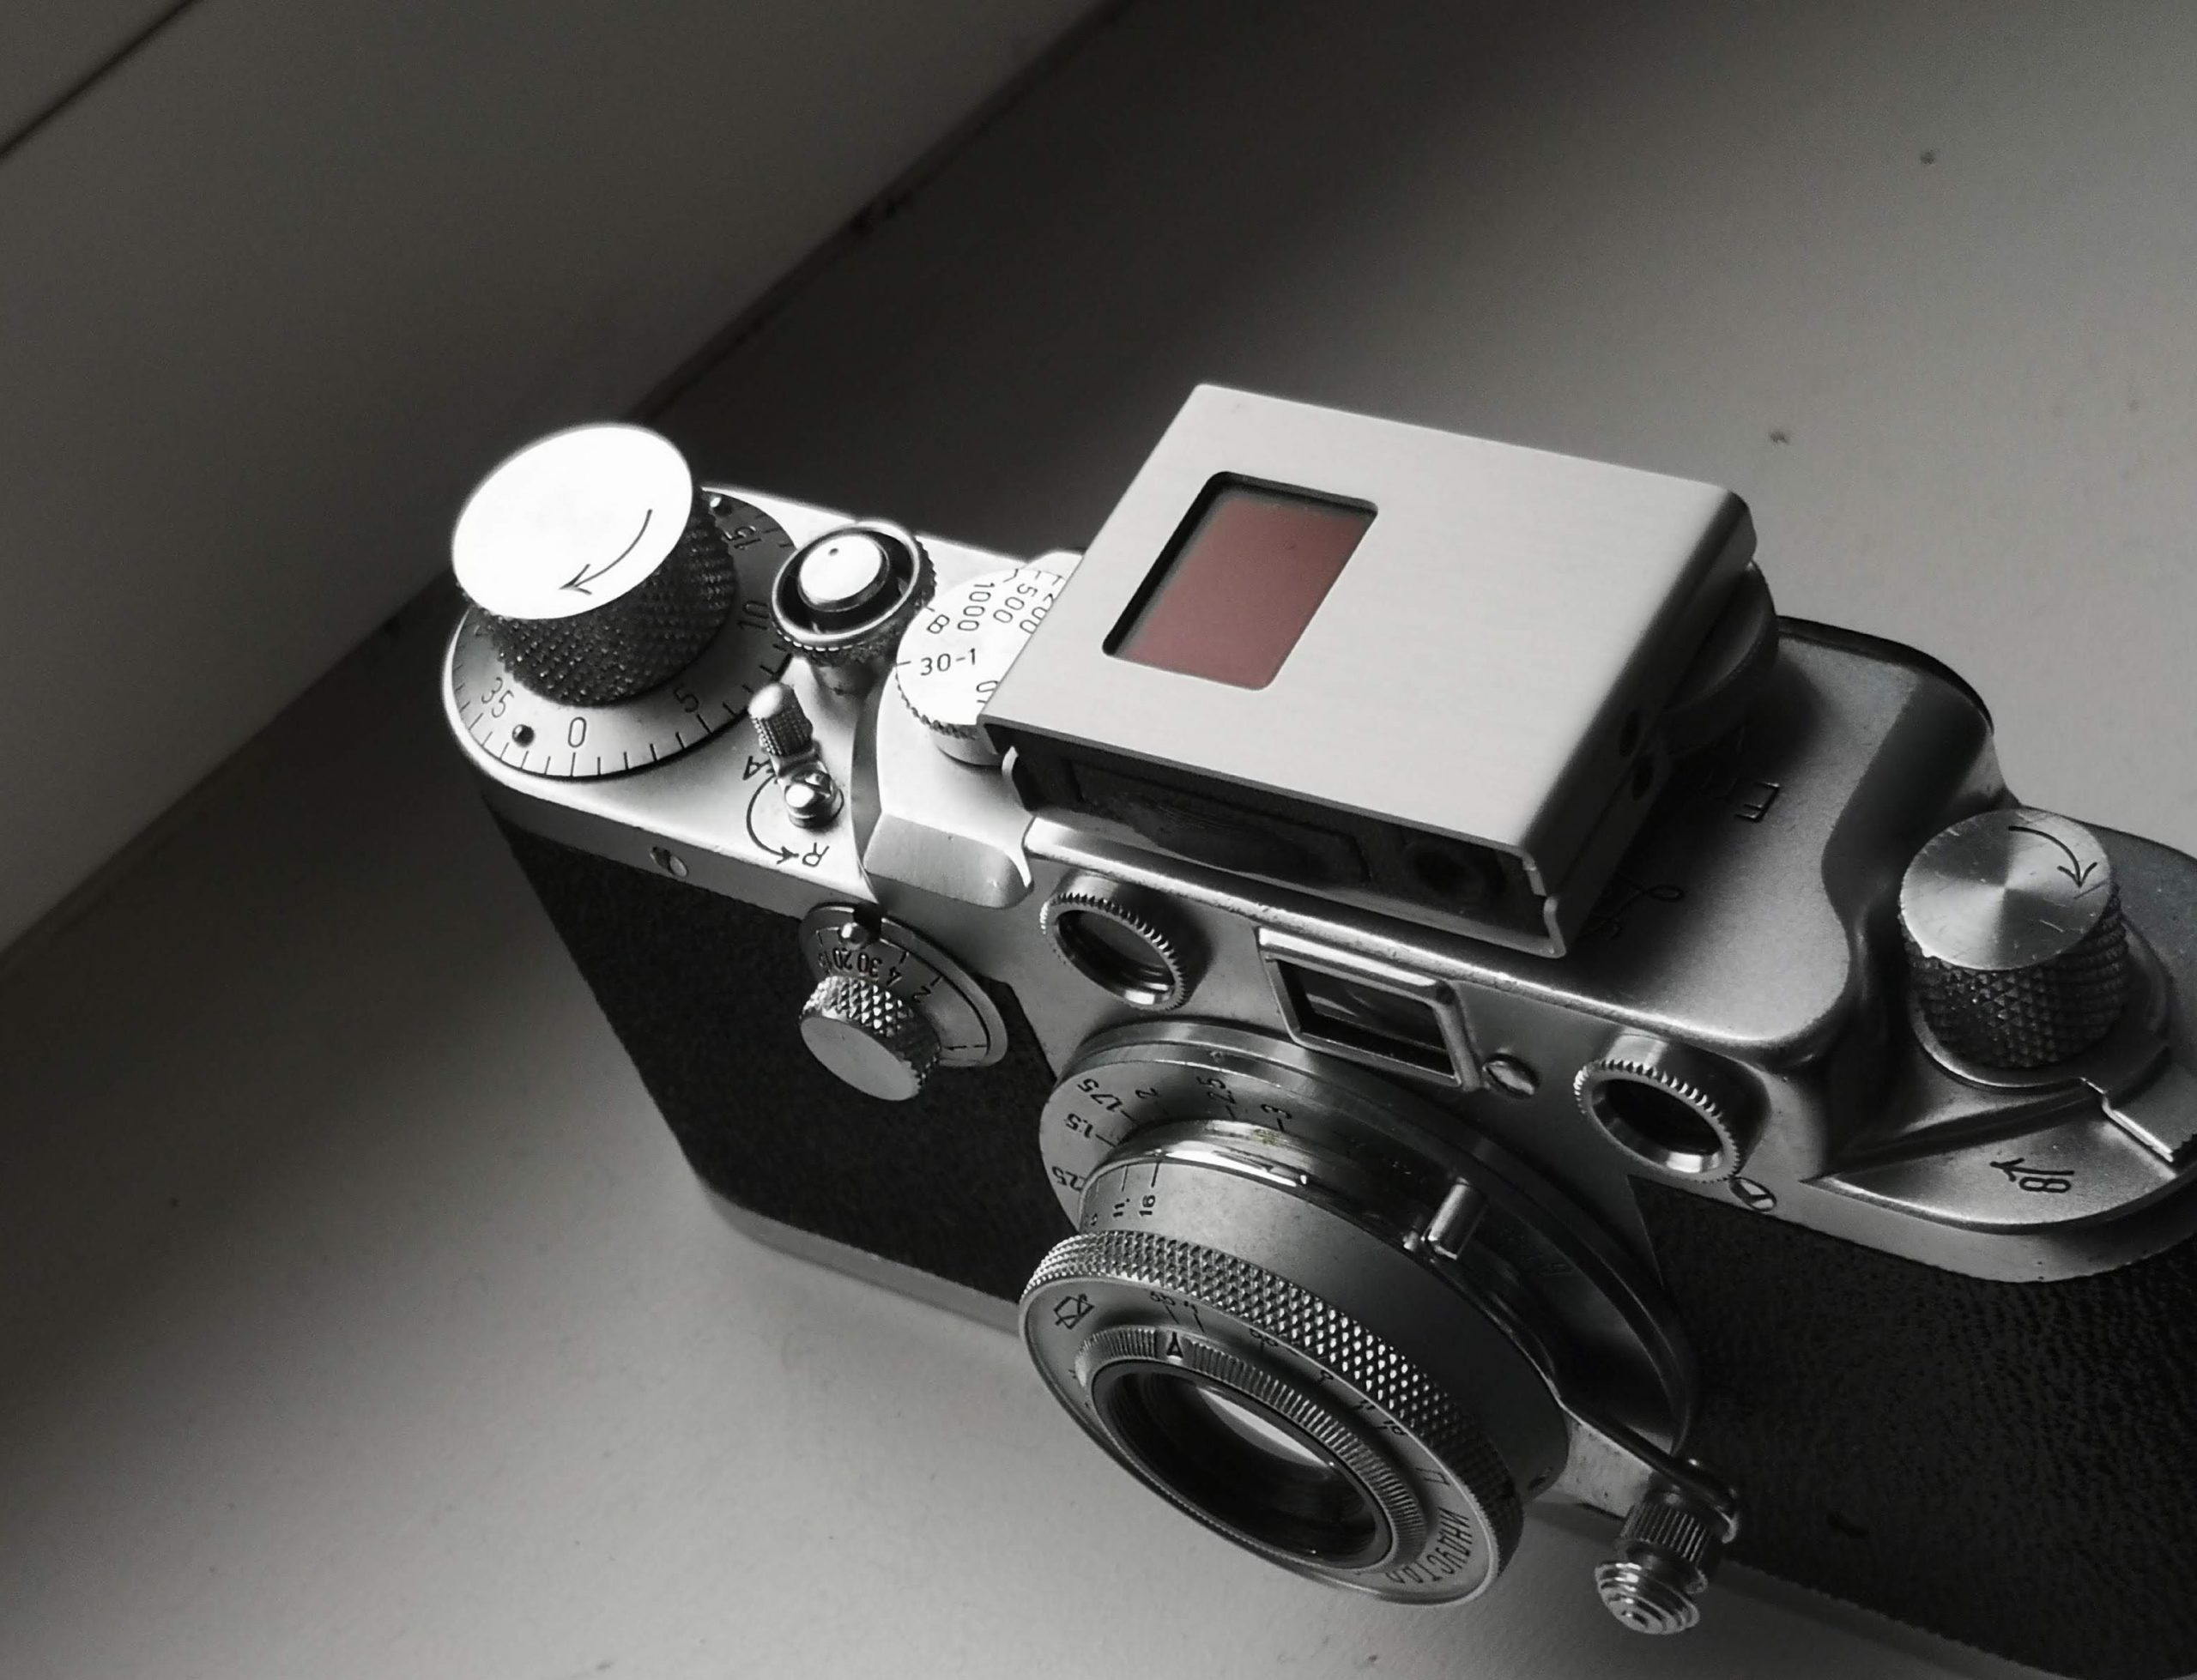
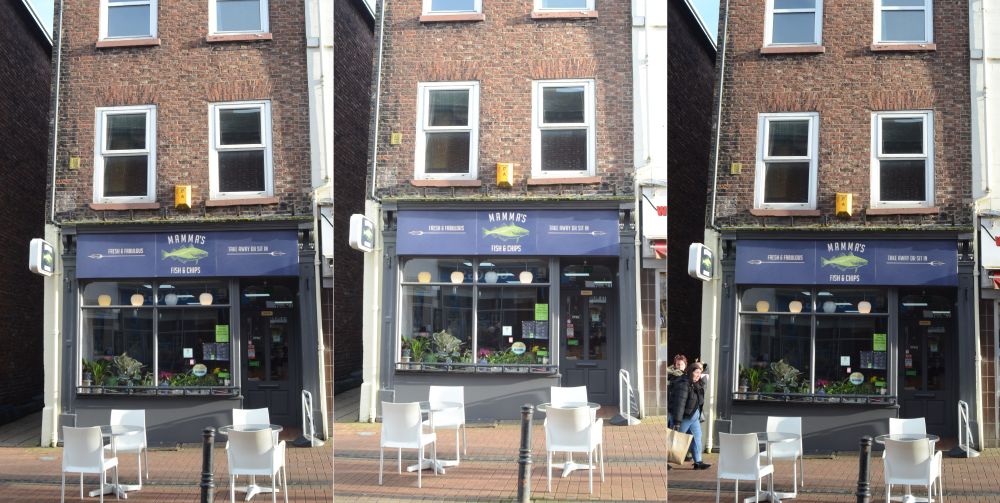
This is an accessory meter, designed to be clipped on to you camera on the hot/cold shoe or another anchoring point. It provides a means of adding a meter for older vintage camera which don’t have or where the meter has become a bit dodgy.
Like the meter found on many compact film cameras, this is an area or average meter. A sensor captures and averages light level from in front of it and displays a suggested set of exposure values. You can set it to show a matching shutter speed for a aperture you have selected or vice versa. Or you can adjust both values with the meter output how out you are. It can also show raw exposure value (EV) data
Average meters were the main stay until the arrival of TTL metering. They should work well enough with evenly and uncomplicated lit situations. But they can be prone to error particularly when estimating the exposure for strongly backlit subjects. But so is your Olympus Trip 35, mju-II, that Leitz clip on meter you use with your Leica M3 etc. In the really world you’d add a little more exposure over the meter reading.
Looks
The Lime one was one of the most graceful of the sub £100 meters when it launched. The market has become increasingly competitive and we’ve seen the arrival of first the Doomo and later TTArtisans (pretty much a rebranded Doomo) with vintage style dials.
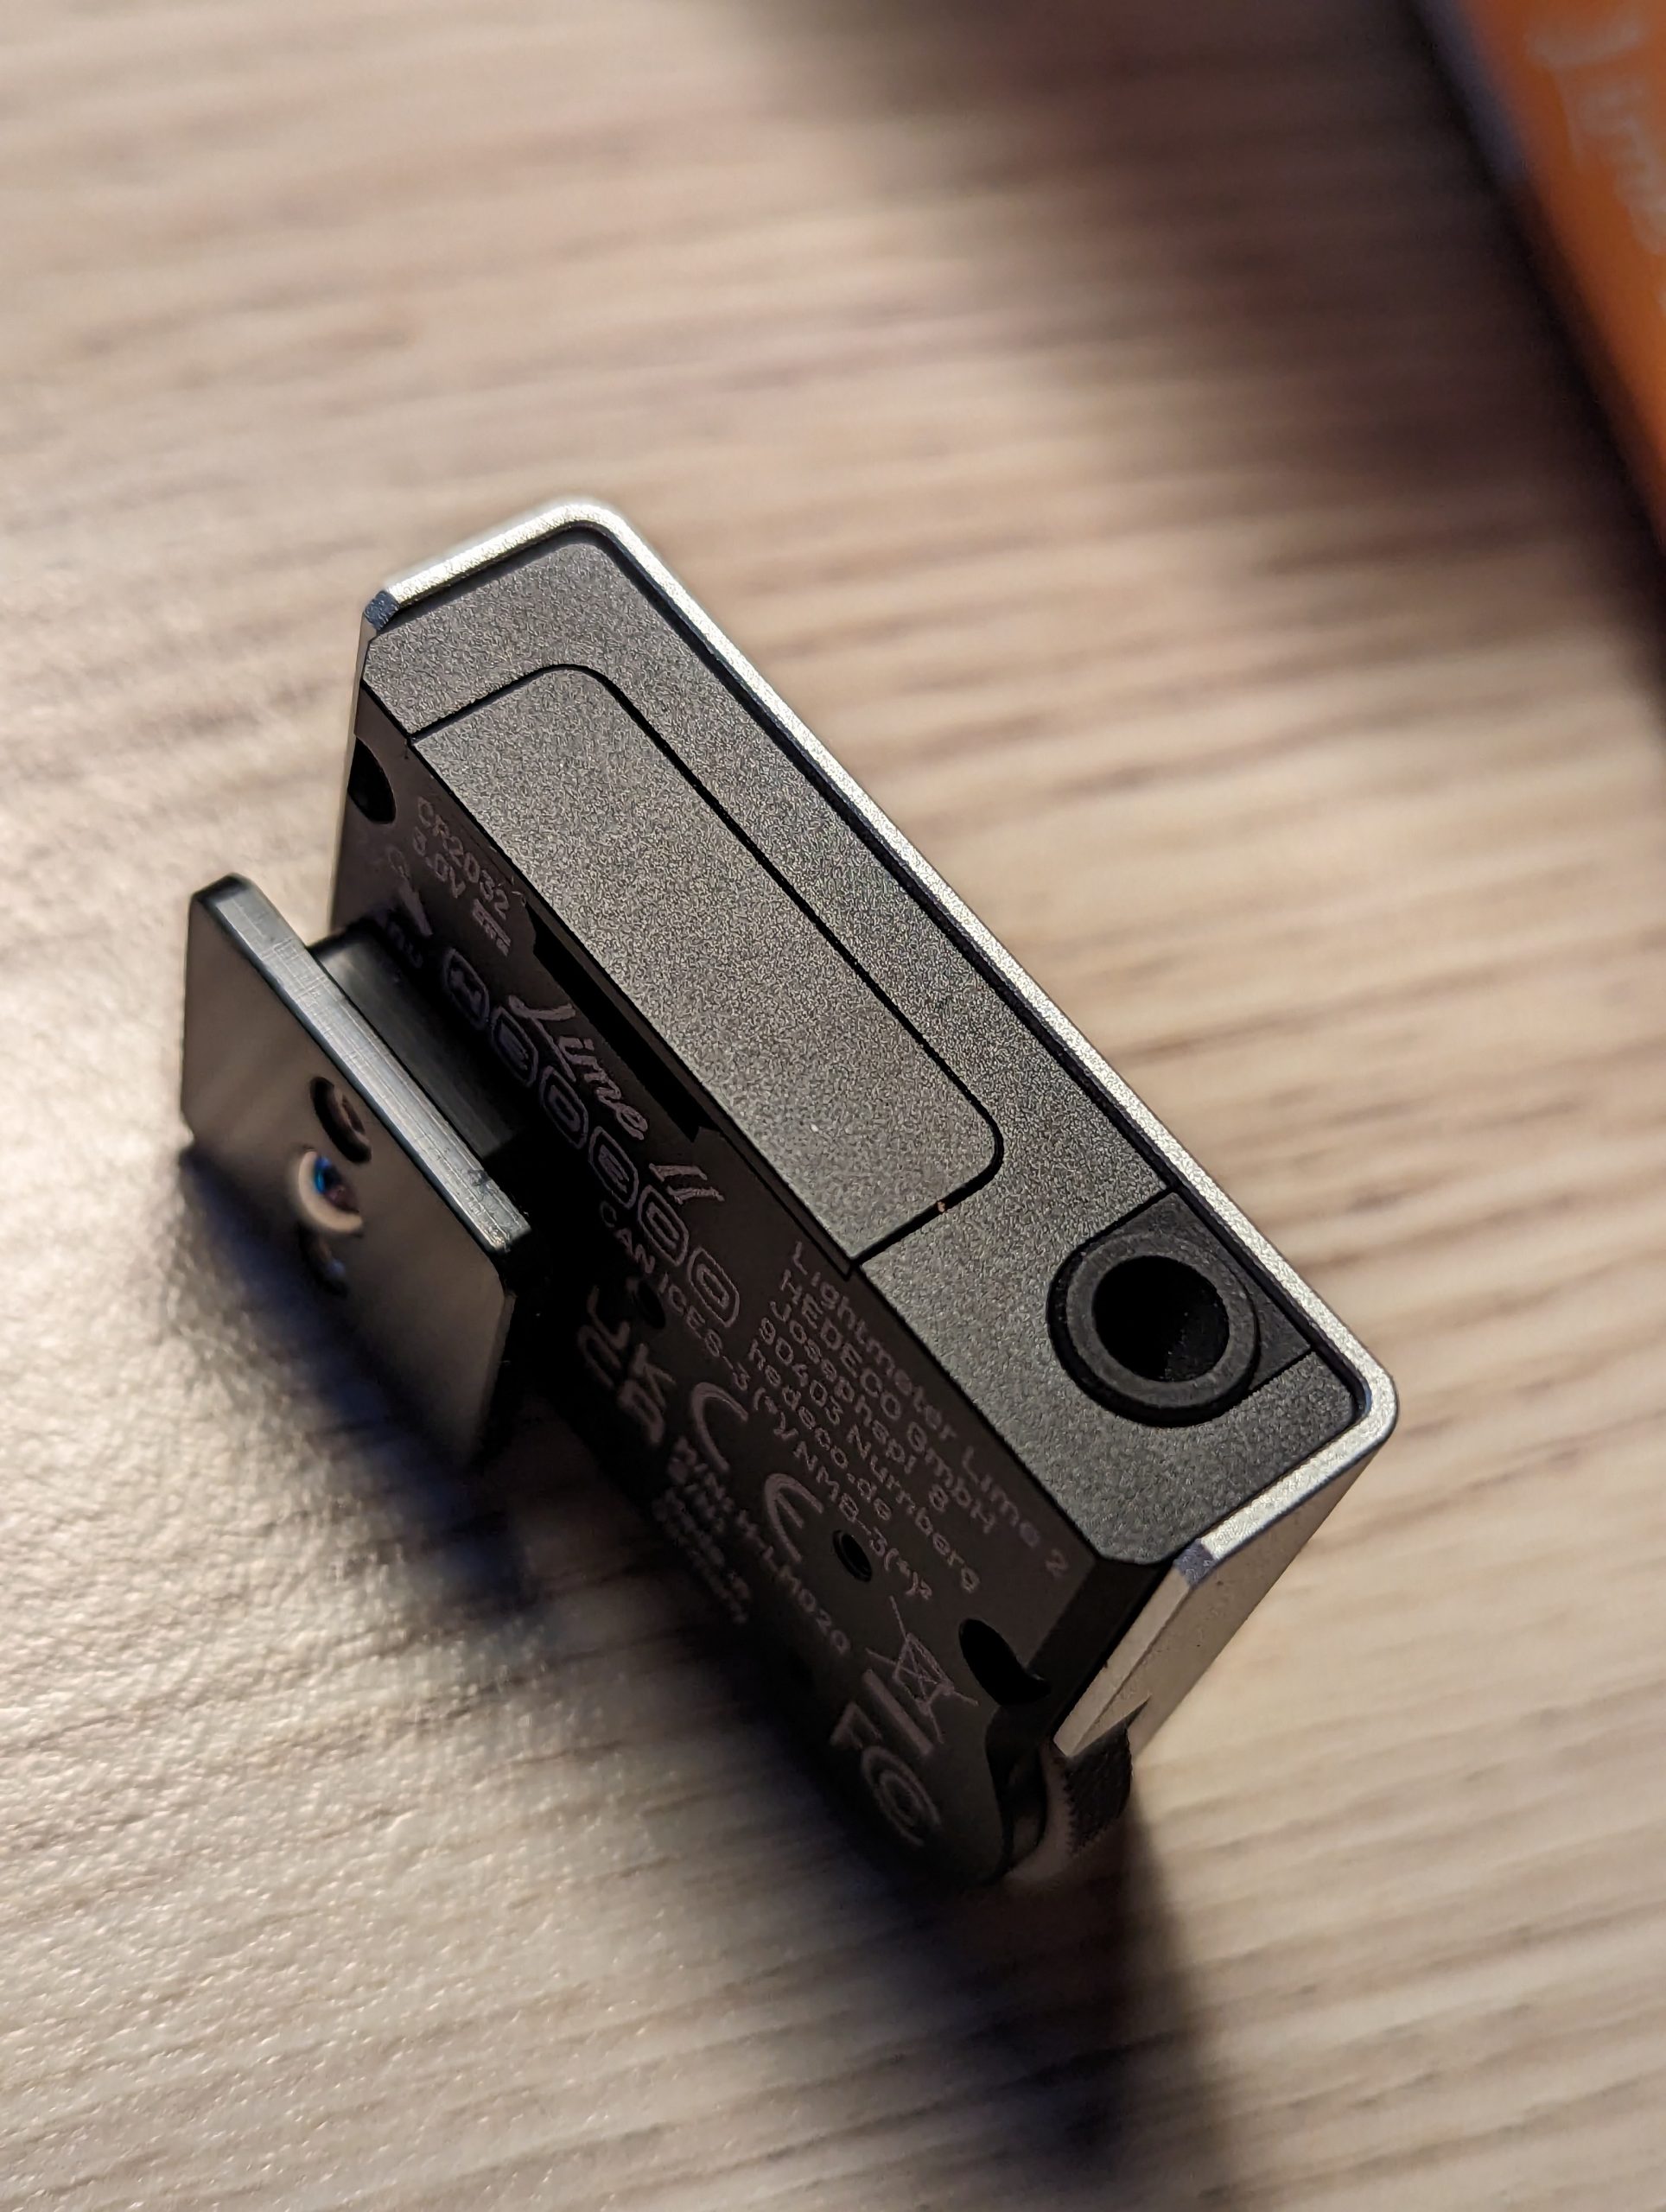
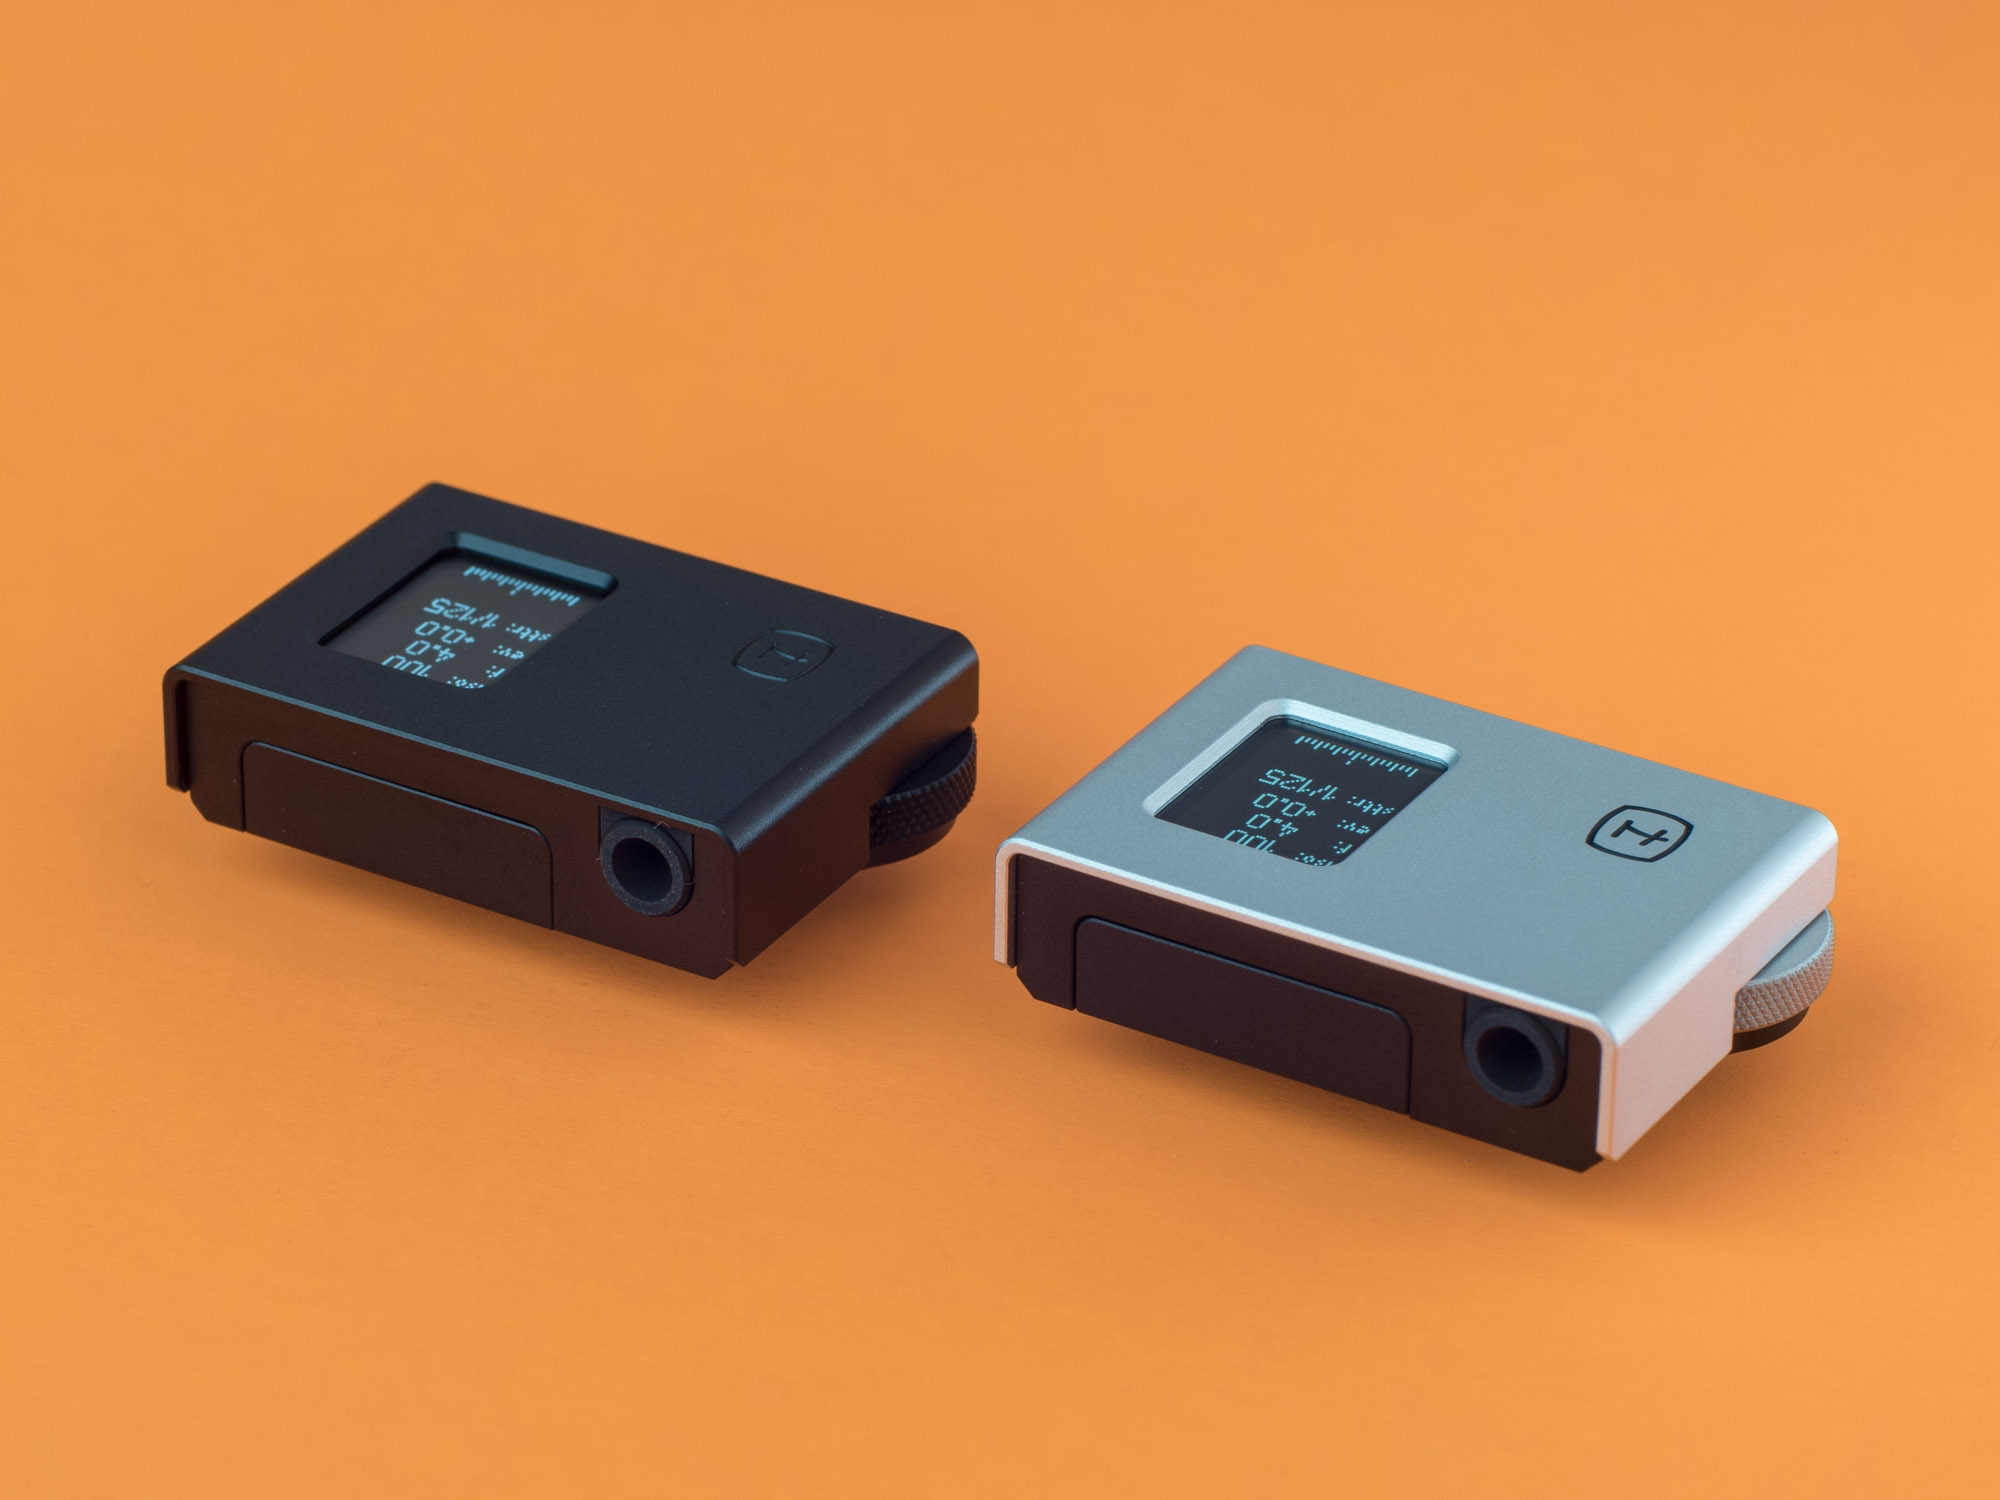
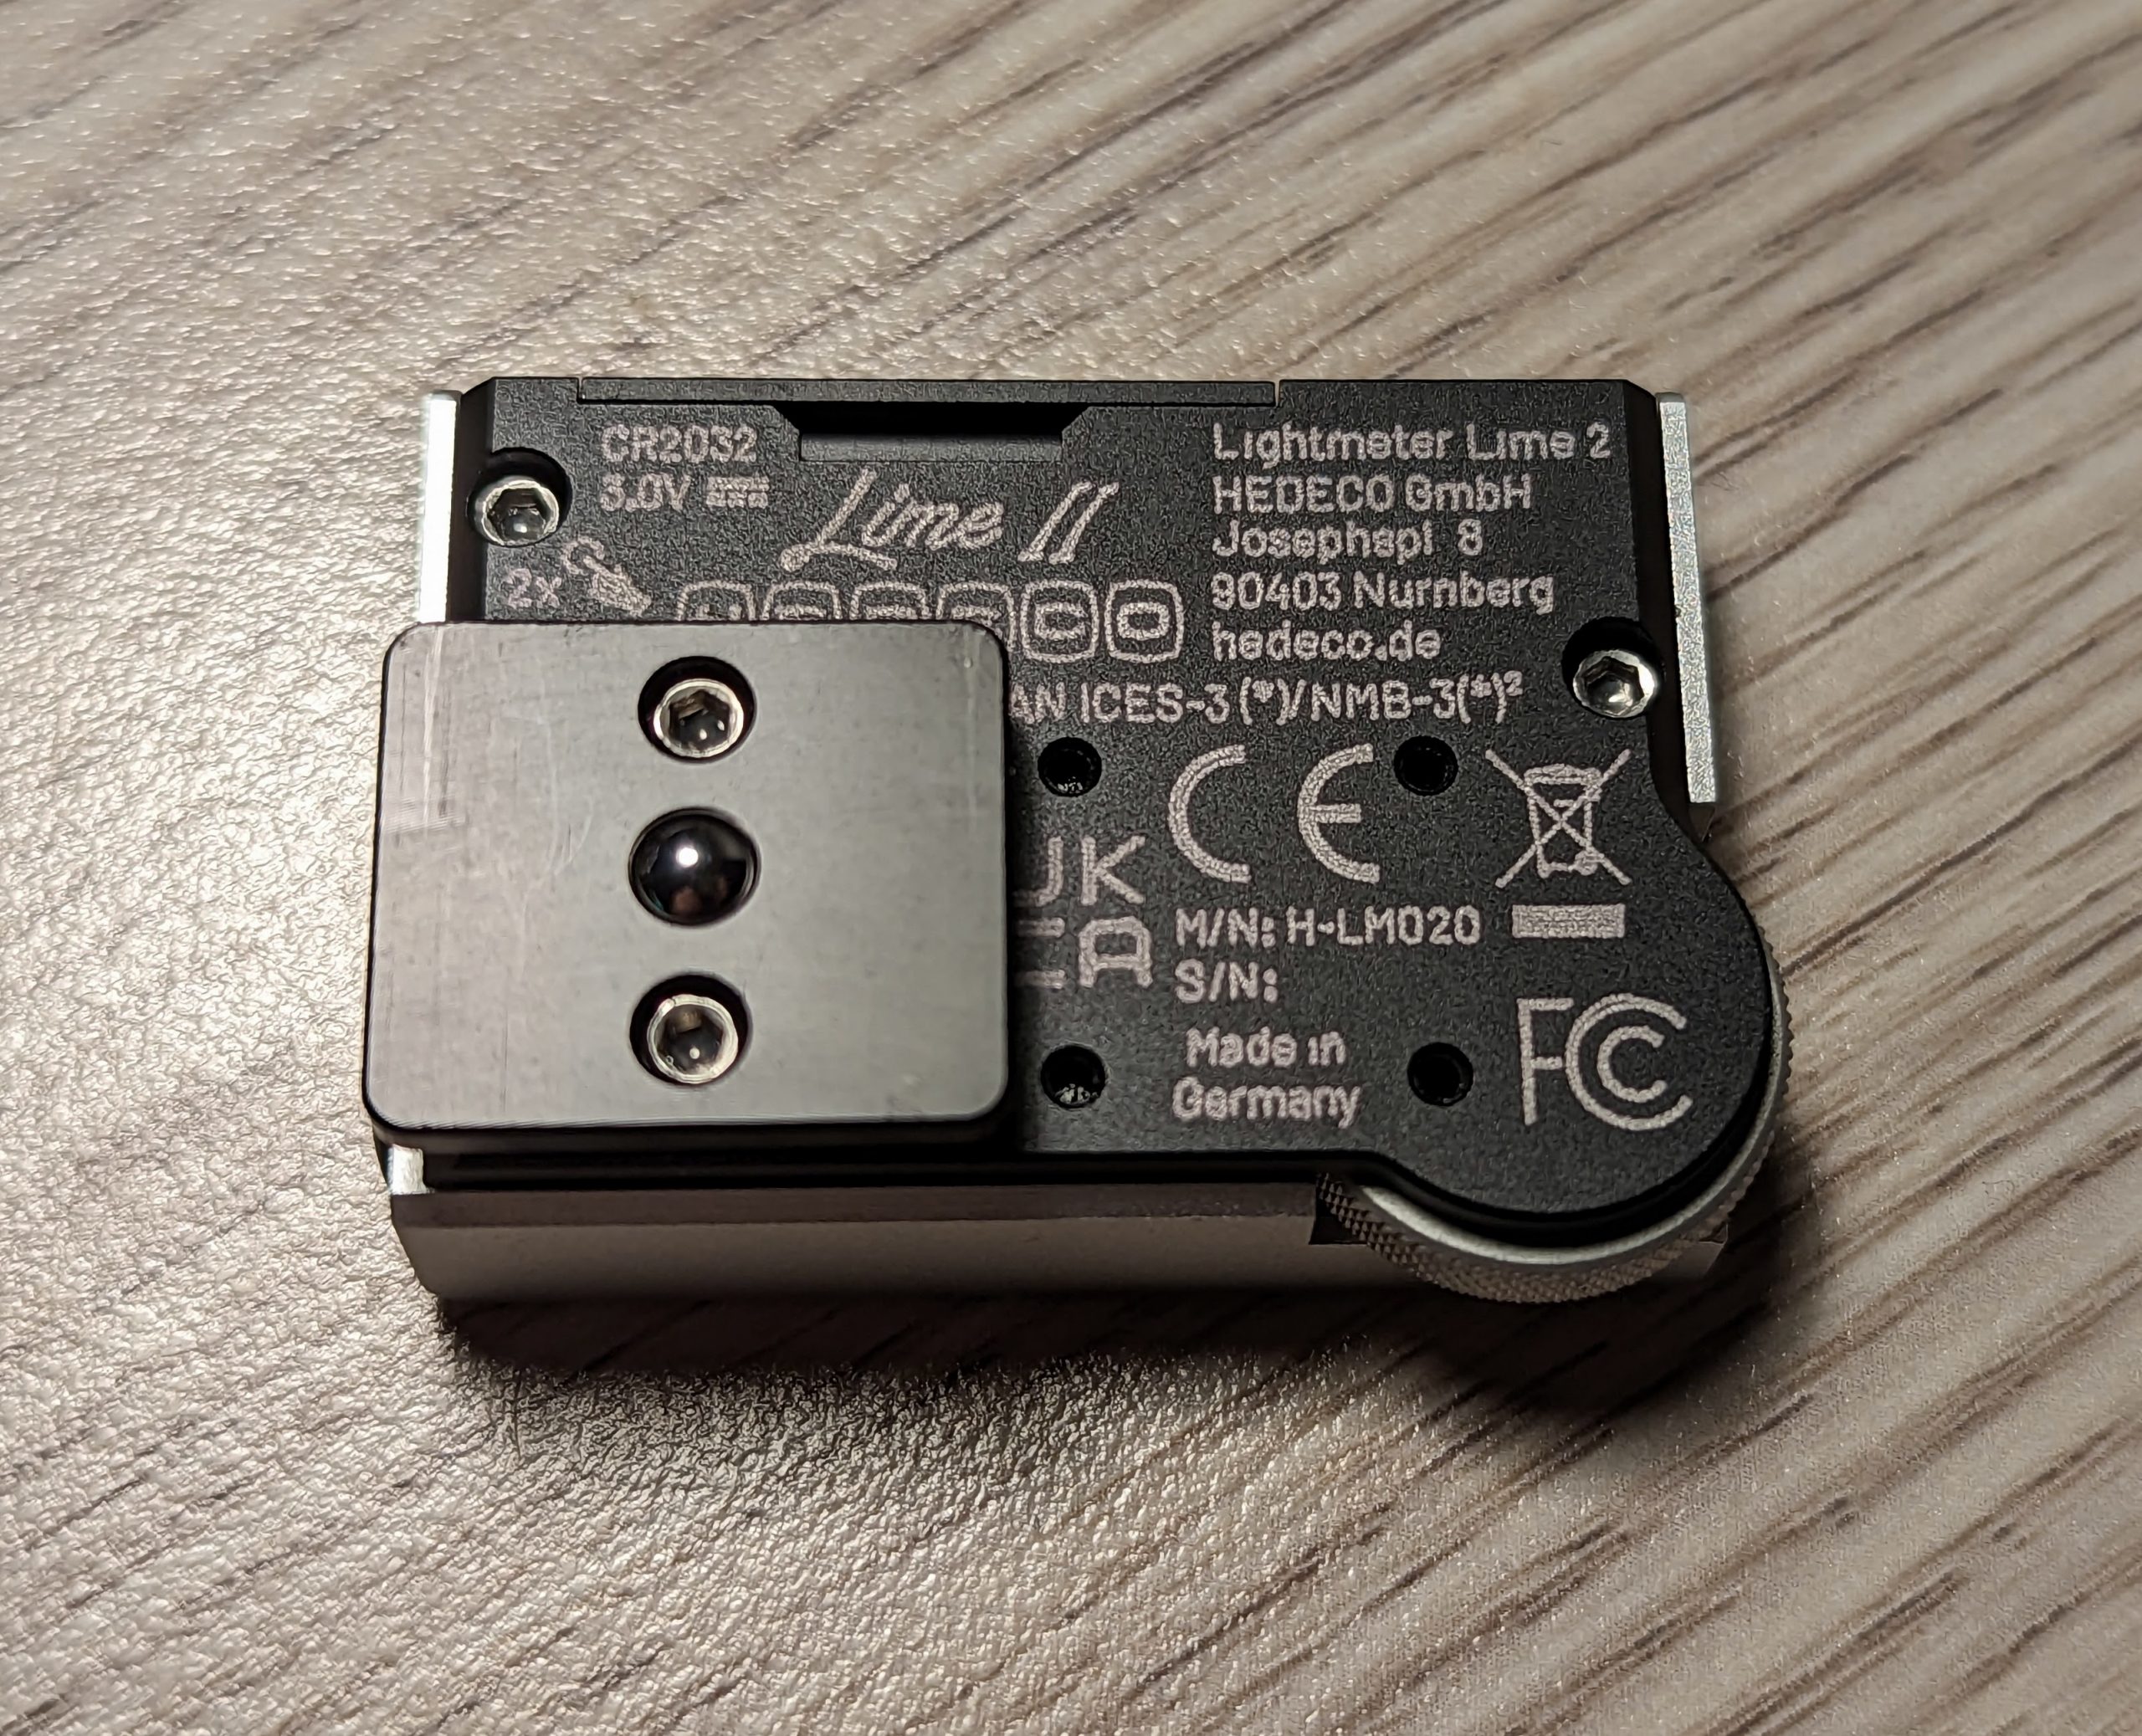
The Hedeco still looks nicely understated. It is just minorly tweaked from the original. It will be available in the two tone or an all black version pictured above. The casing is now CNC ‘d Aluminium and like newer rivals the mount can be moved on the base to accommodate different camera. It retains that lovely knurled command dial.
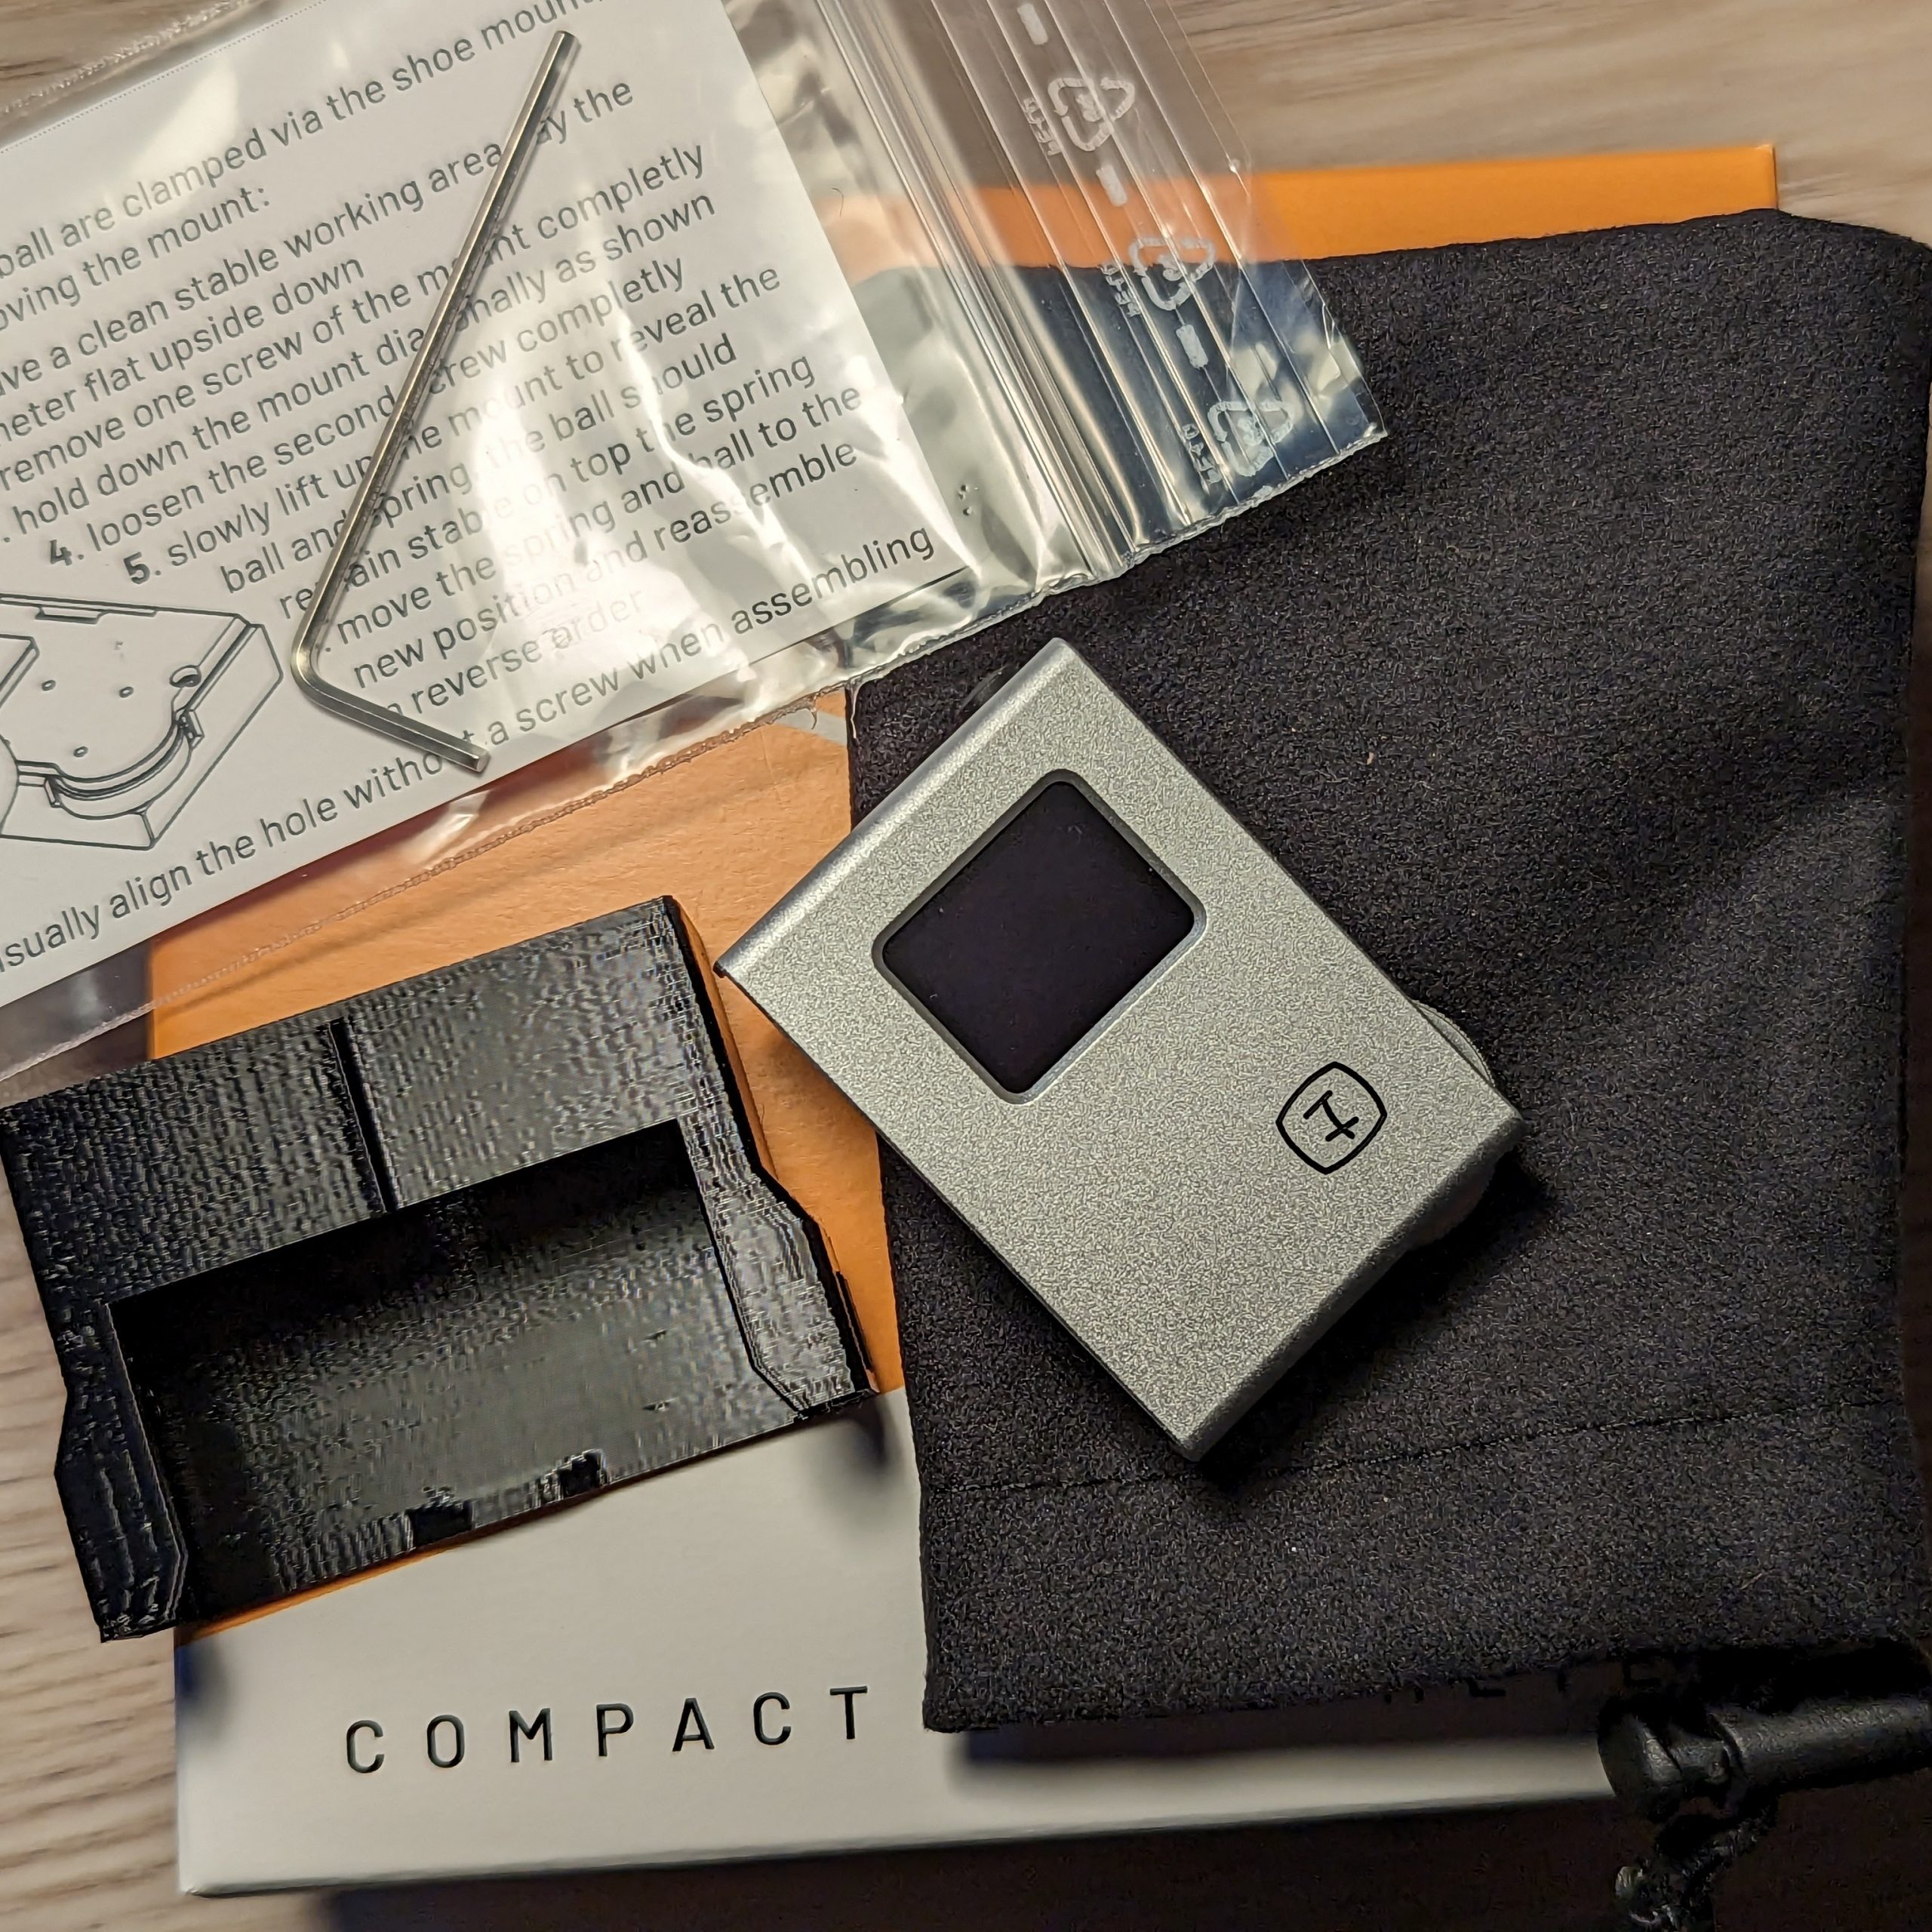
The camera will come with an Allen Key to adjust the base, hard cover and a soft pouch for €149EUR including VAT (or £114GBP) at the time of publishing.
Core features of the Lime II
Again evolution not revolution is key here. The big difference is the move from ½ to ⅓ of stops for settings. Johannes has confirmed the meter sensor is the same but both its firmware and what’s wrapped in has been updated.
So we get a meter that has:
- Field of View: 35° (matching that of a 50mm on 35mm camera)
- ISO range: 0.5-12800 ISO (in ⅓ stops)
- Shutter Range: 8hrs 30 to1/8000 (@100 ISO)
- Aperture range: f/0.7-f/1024 (@100ISO)
- EV values now measure in ⅙ EV steps (up from ⅓)
- Shutter and aperture now changeable in ⅓ or ½ or whole stops
- User Calibration: Yes
- Battery: CR 2032
You can now set increments to ⅓, ½ or full stops and you can switch to using old style shutter speeds like 1/50, 1/200 etc. which is handy on vintage cameras.
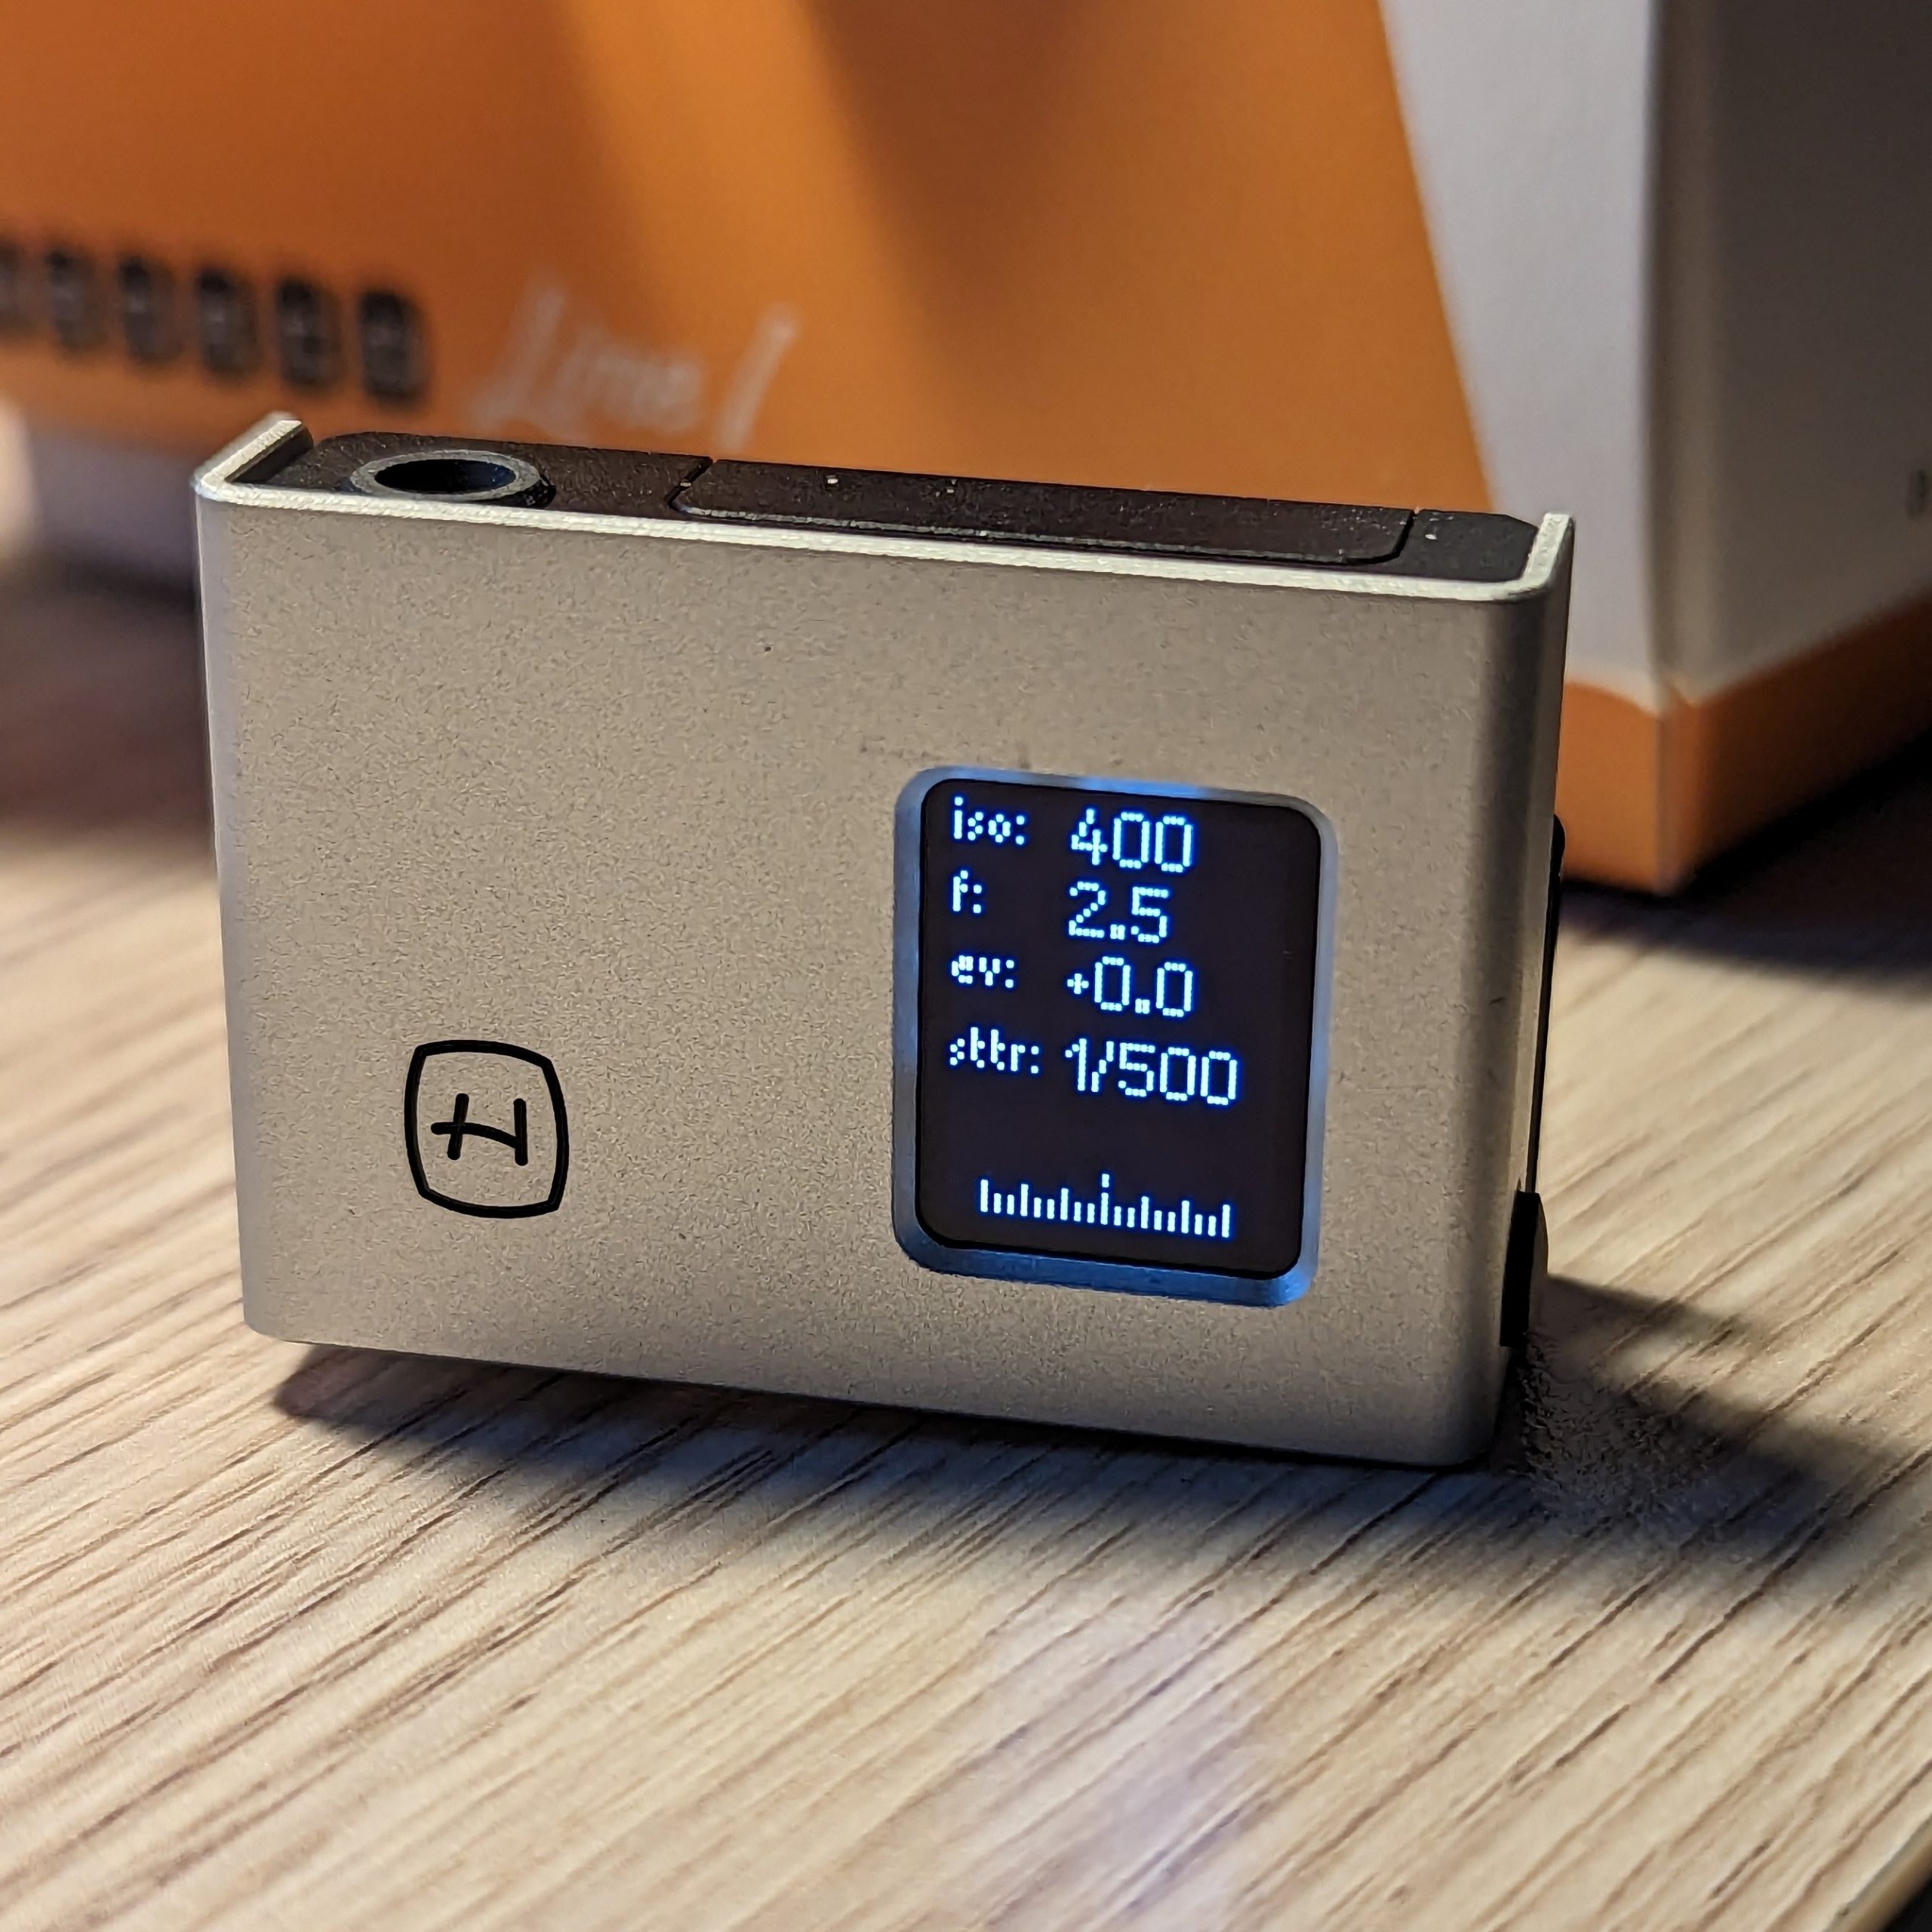
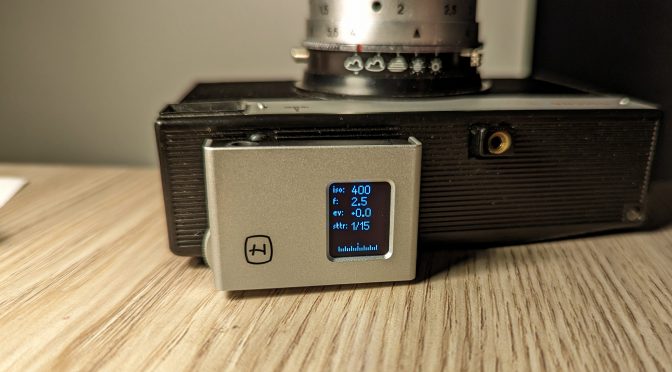
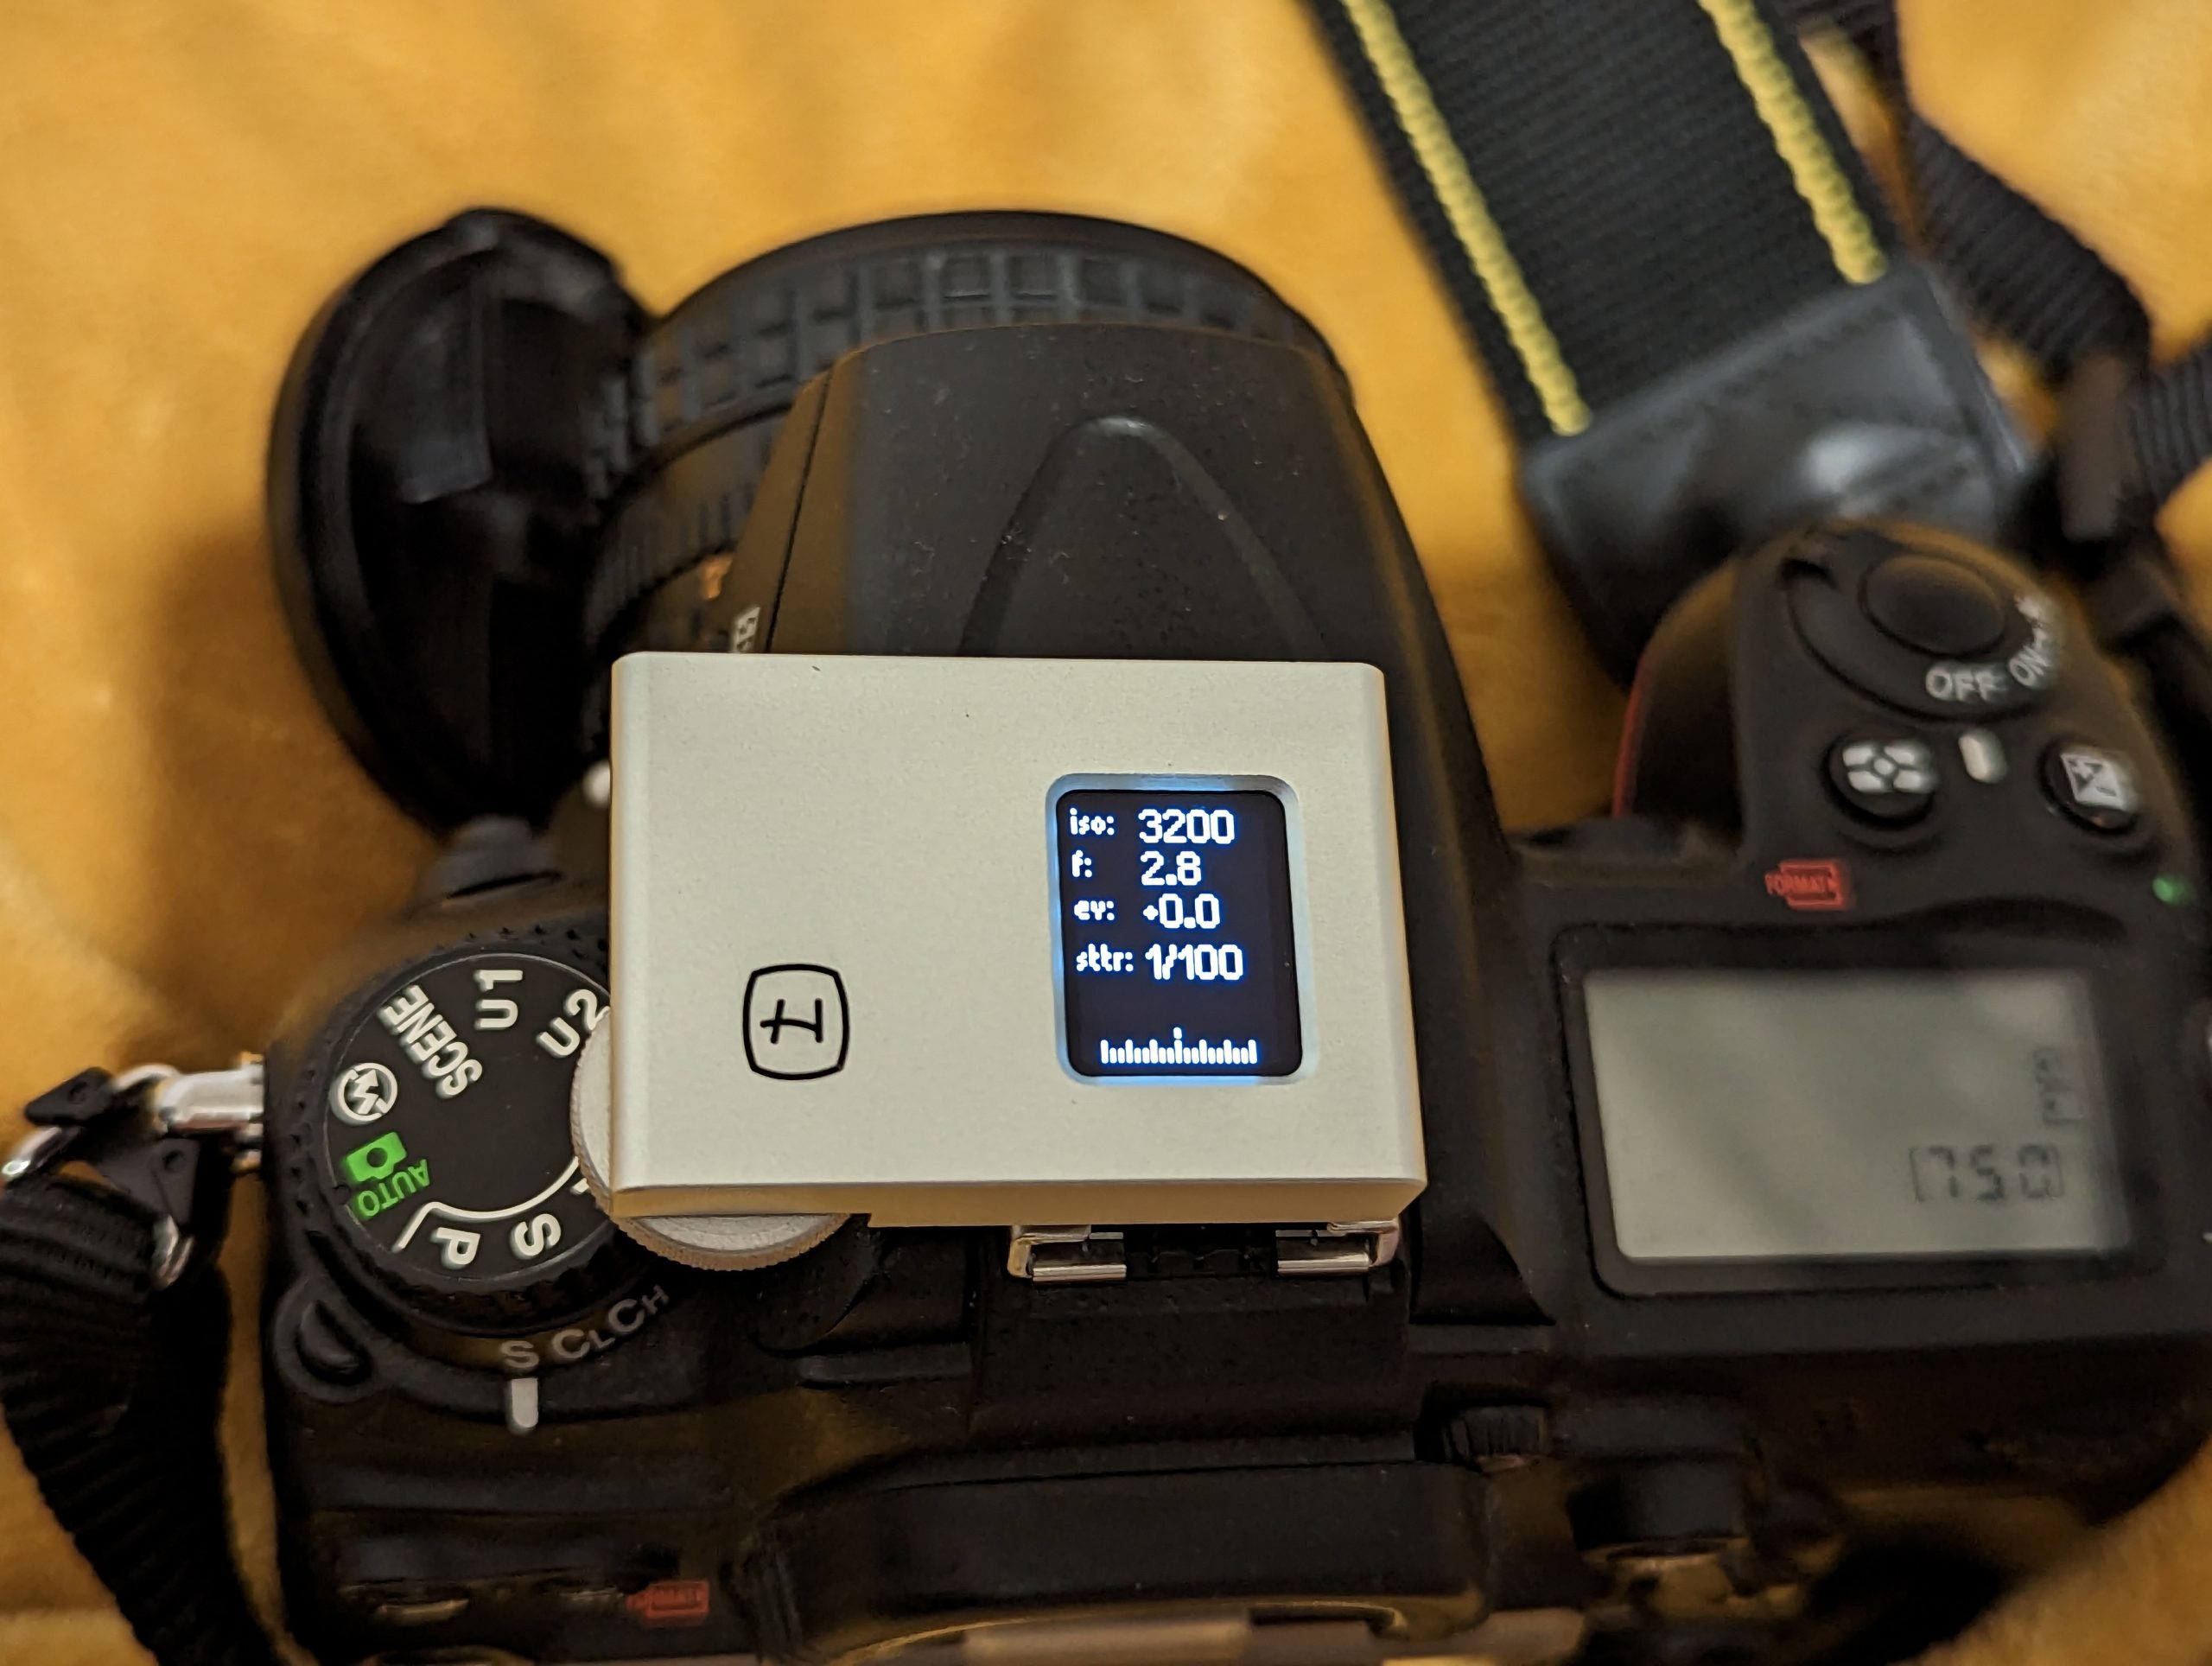
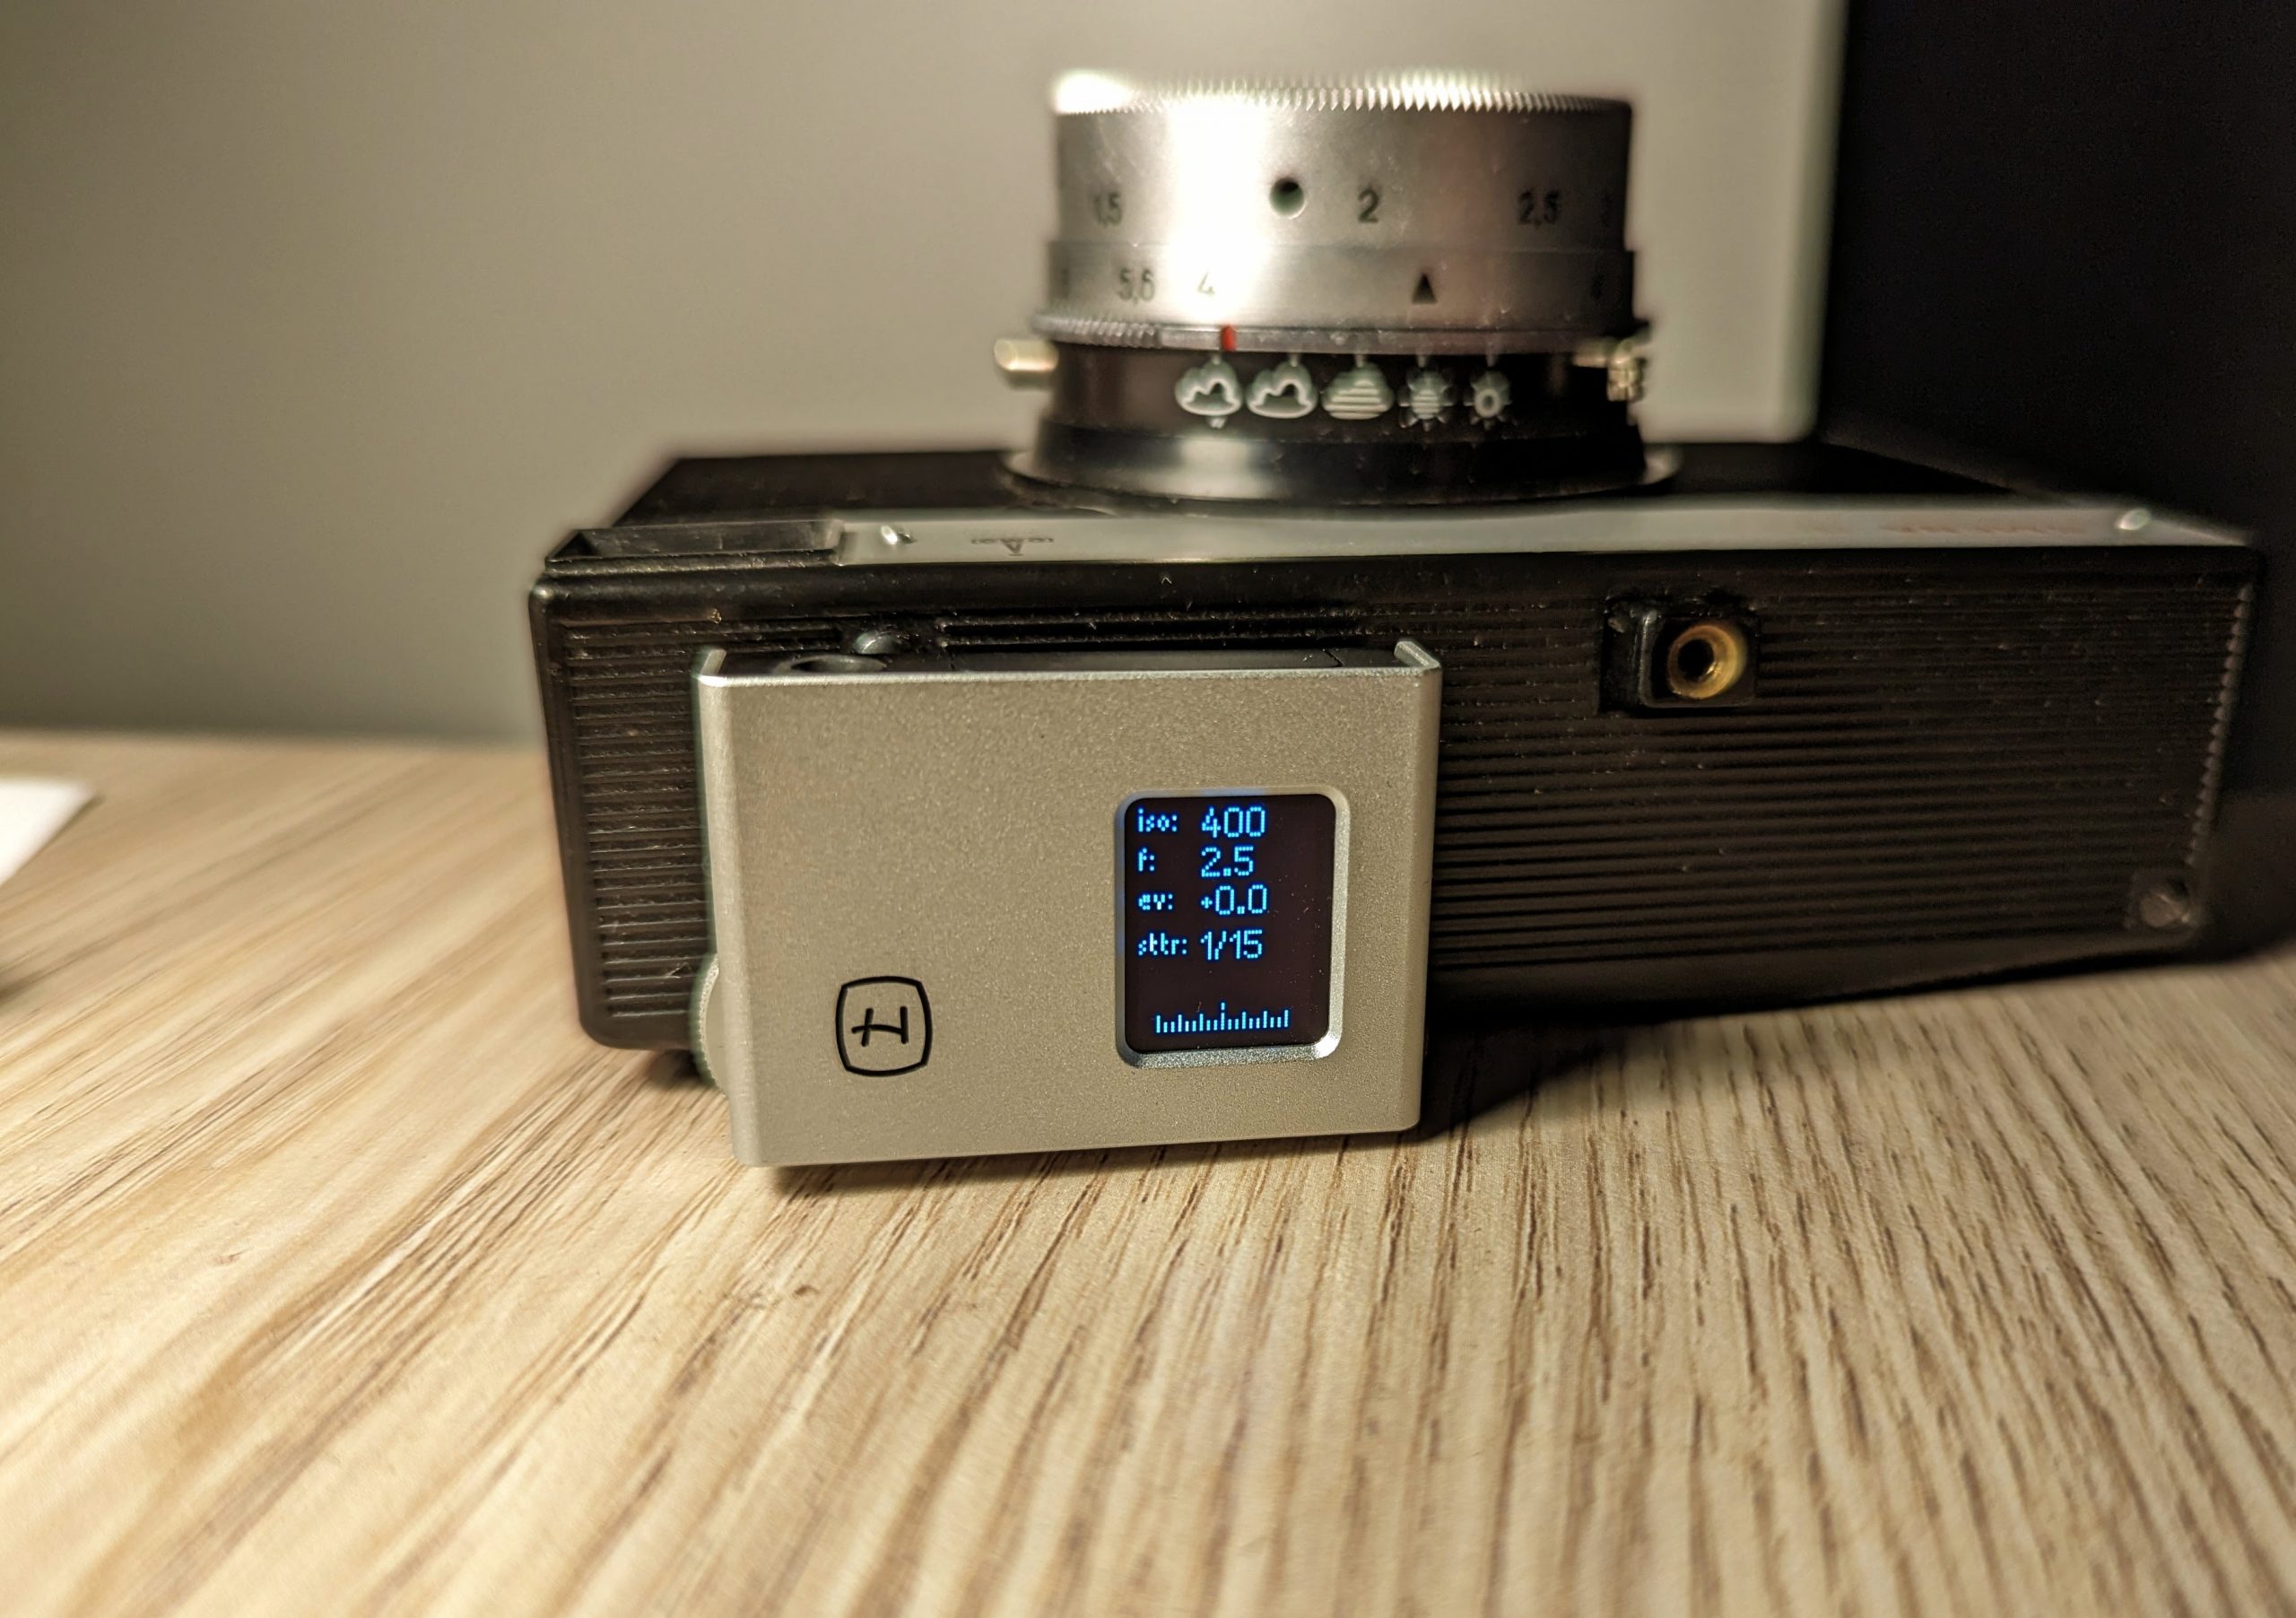
The OLED screen is large for the class and shows ISO aperture, any EV compensation and shutter speed as well as an exposure bar (useful in full manual mode). OLED are great in low light but can be hard to read in bright light (tellingly that’s why dSLR still use older LCD panels even today on their top plates). The Lime II is better than most cheap meters with the exception of the original Reveni Labs meter. However it is still visible in bright daylight with a squint. Johannes told me is contemplating an optional shade.
Accessories (there are a few)
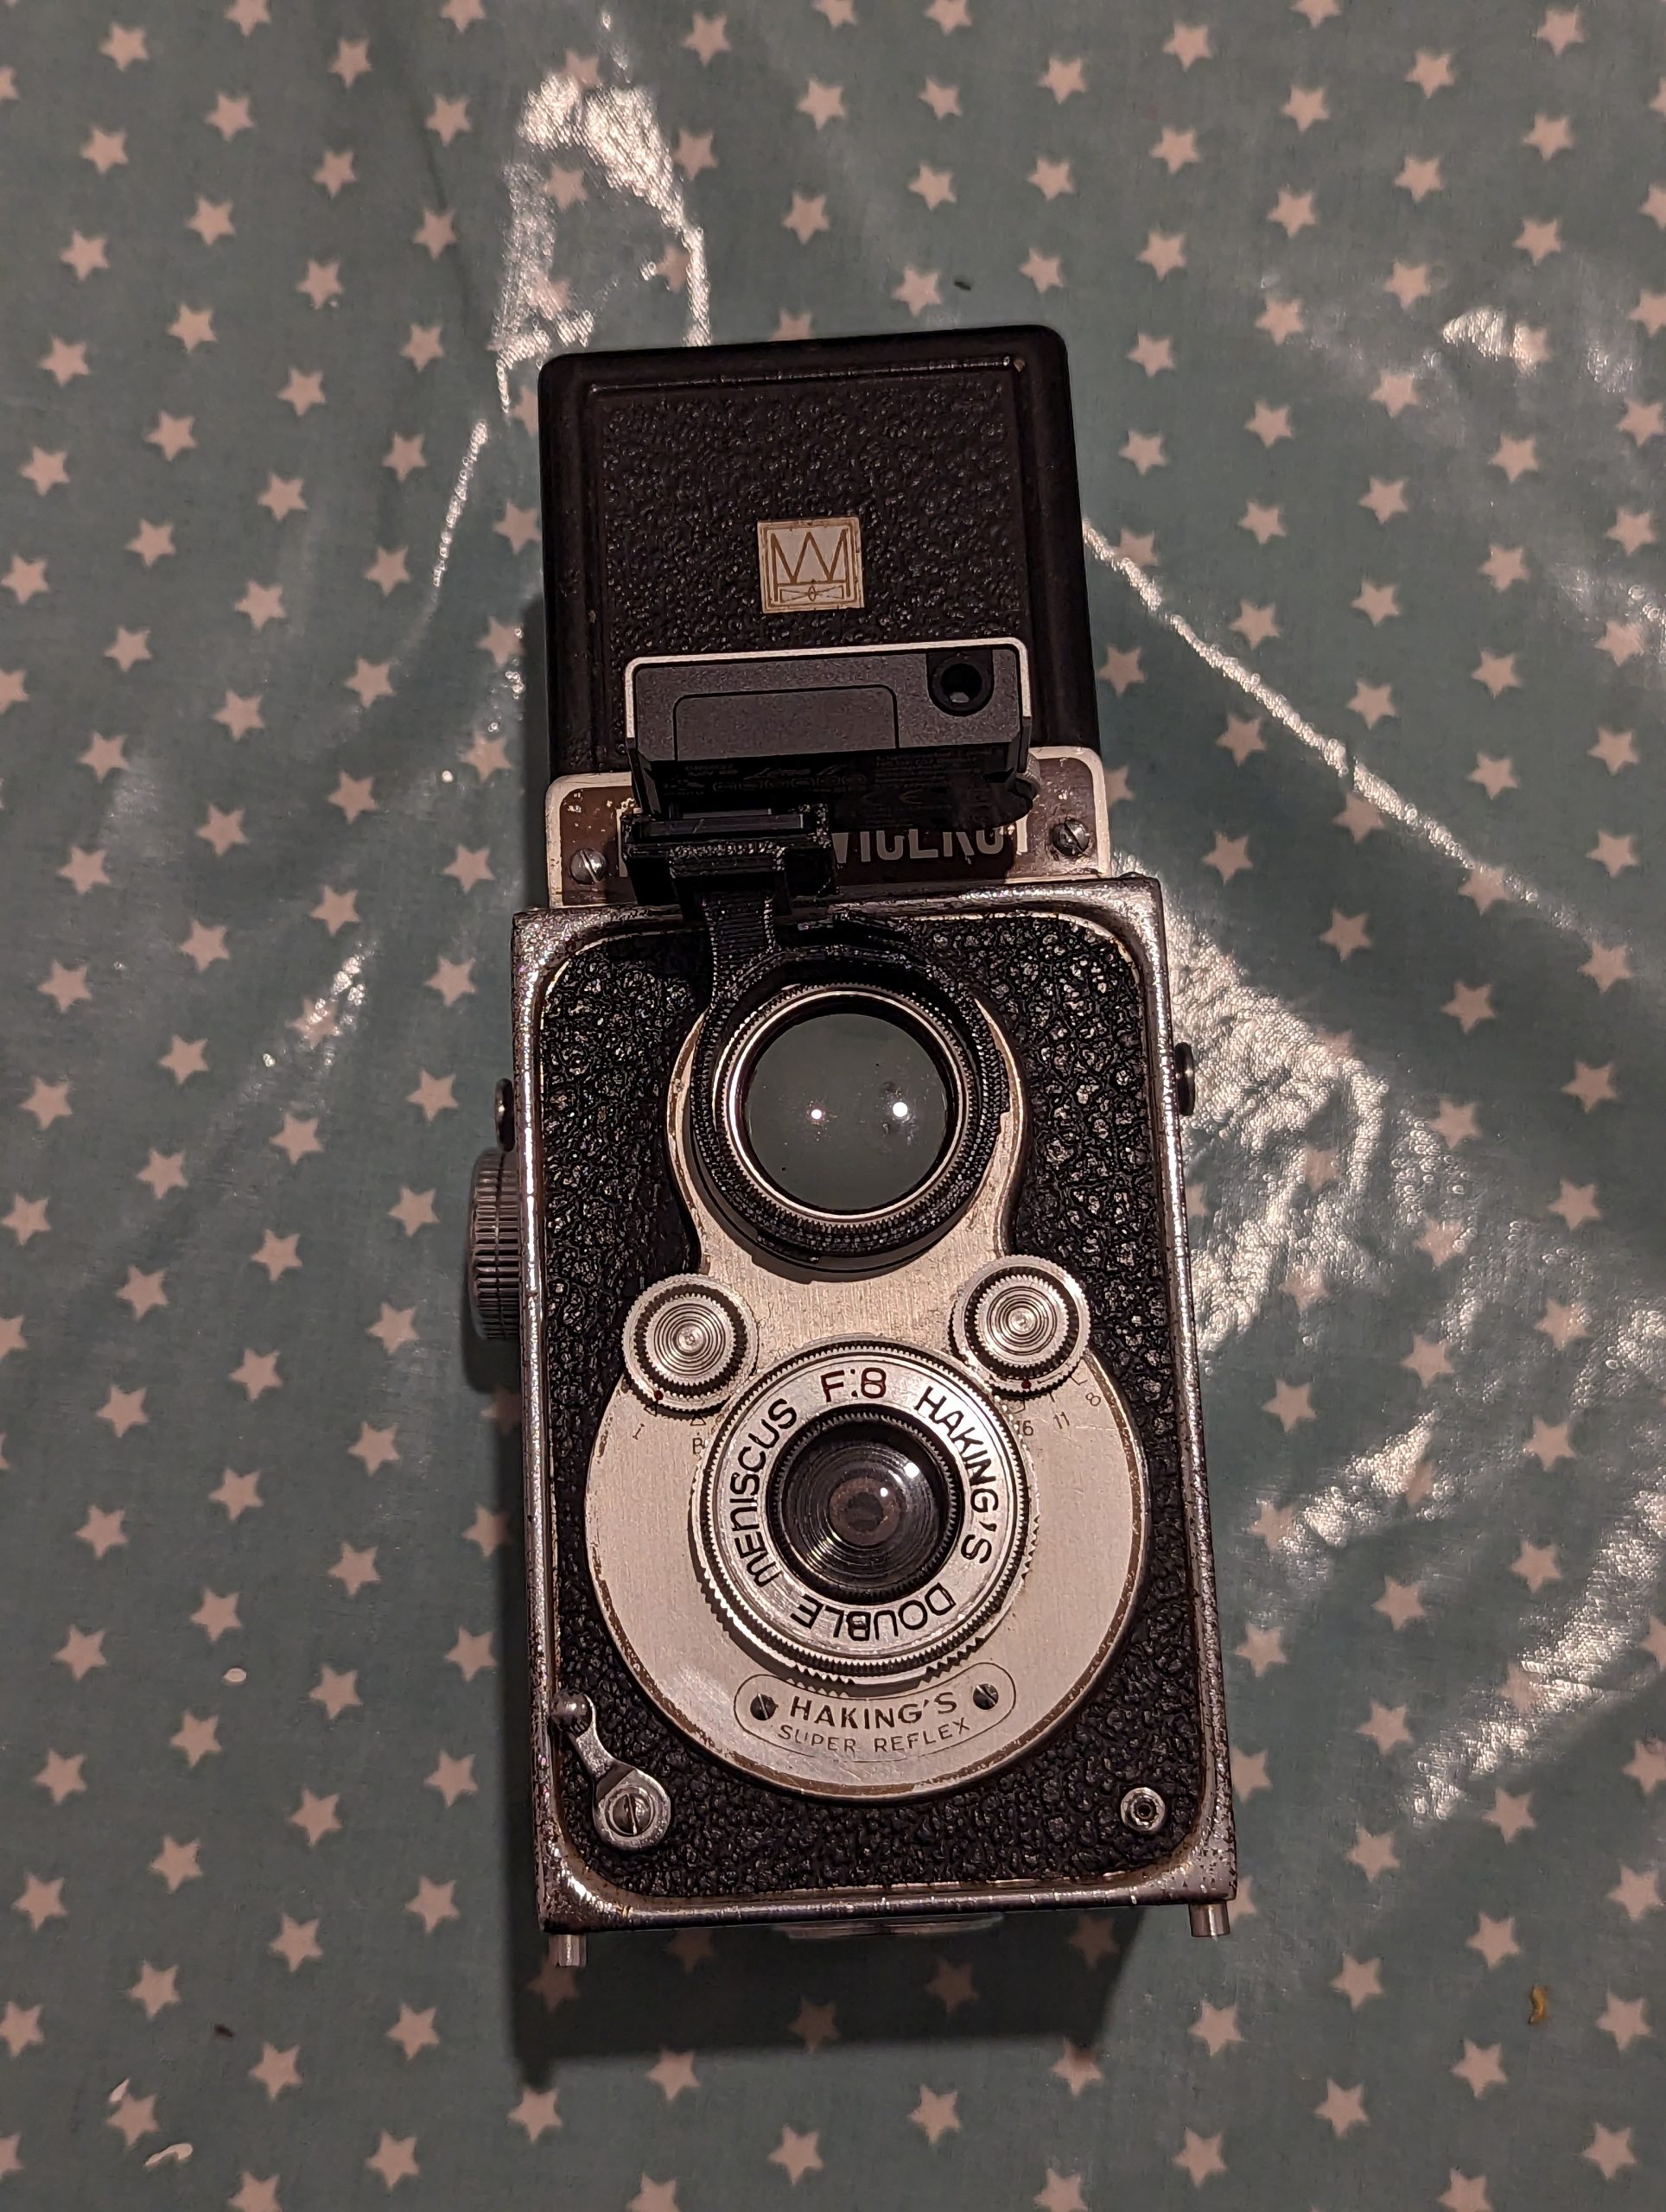
I got sent 8 different 3D printed accessory for this. It’s likely there will be more to follow. There is a spacer for wider mounts, an extender so you can use alongside an accessory viewfinder, a vertical mount, a hard case for sticking an airdrop in as well a mount to go on the lens of TLR and a dedicated Hasselblad mount.
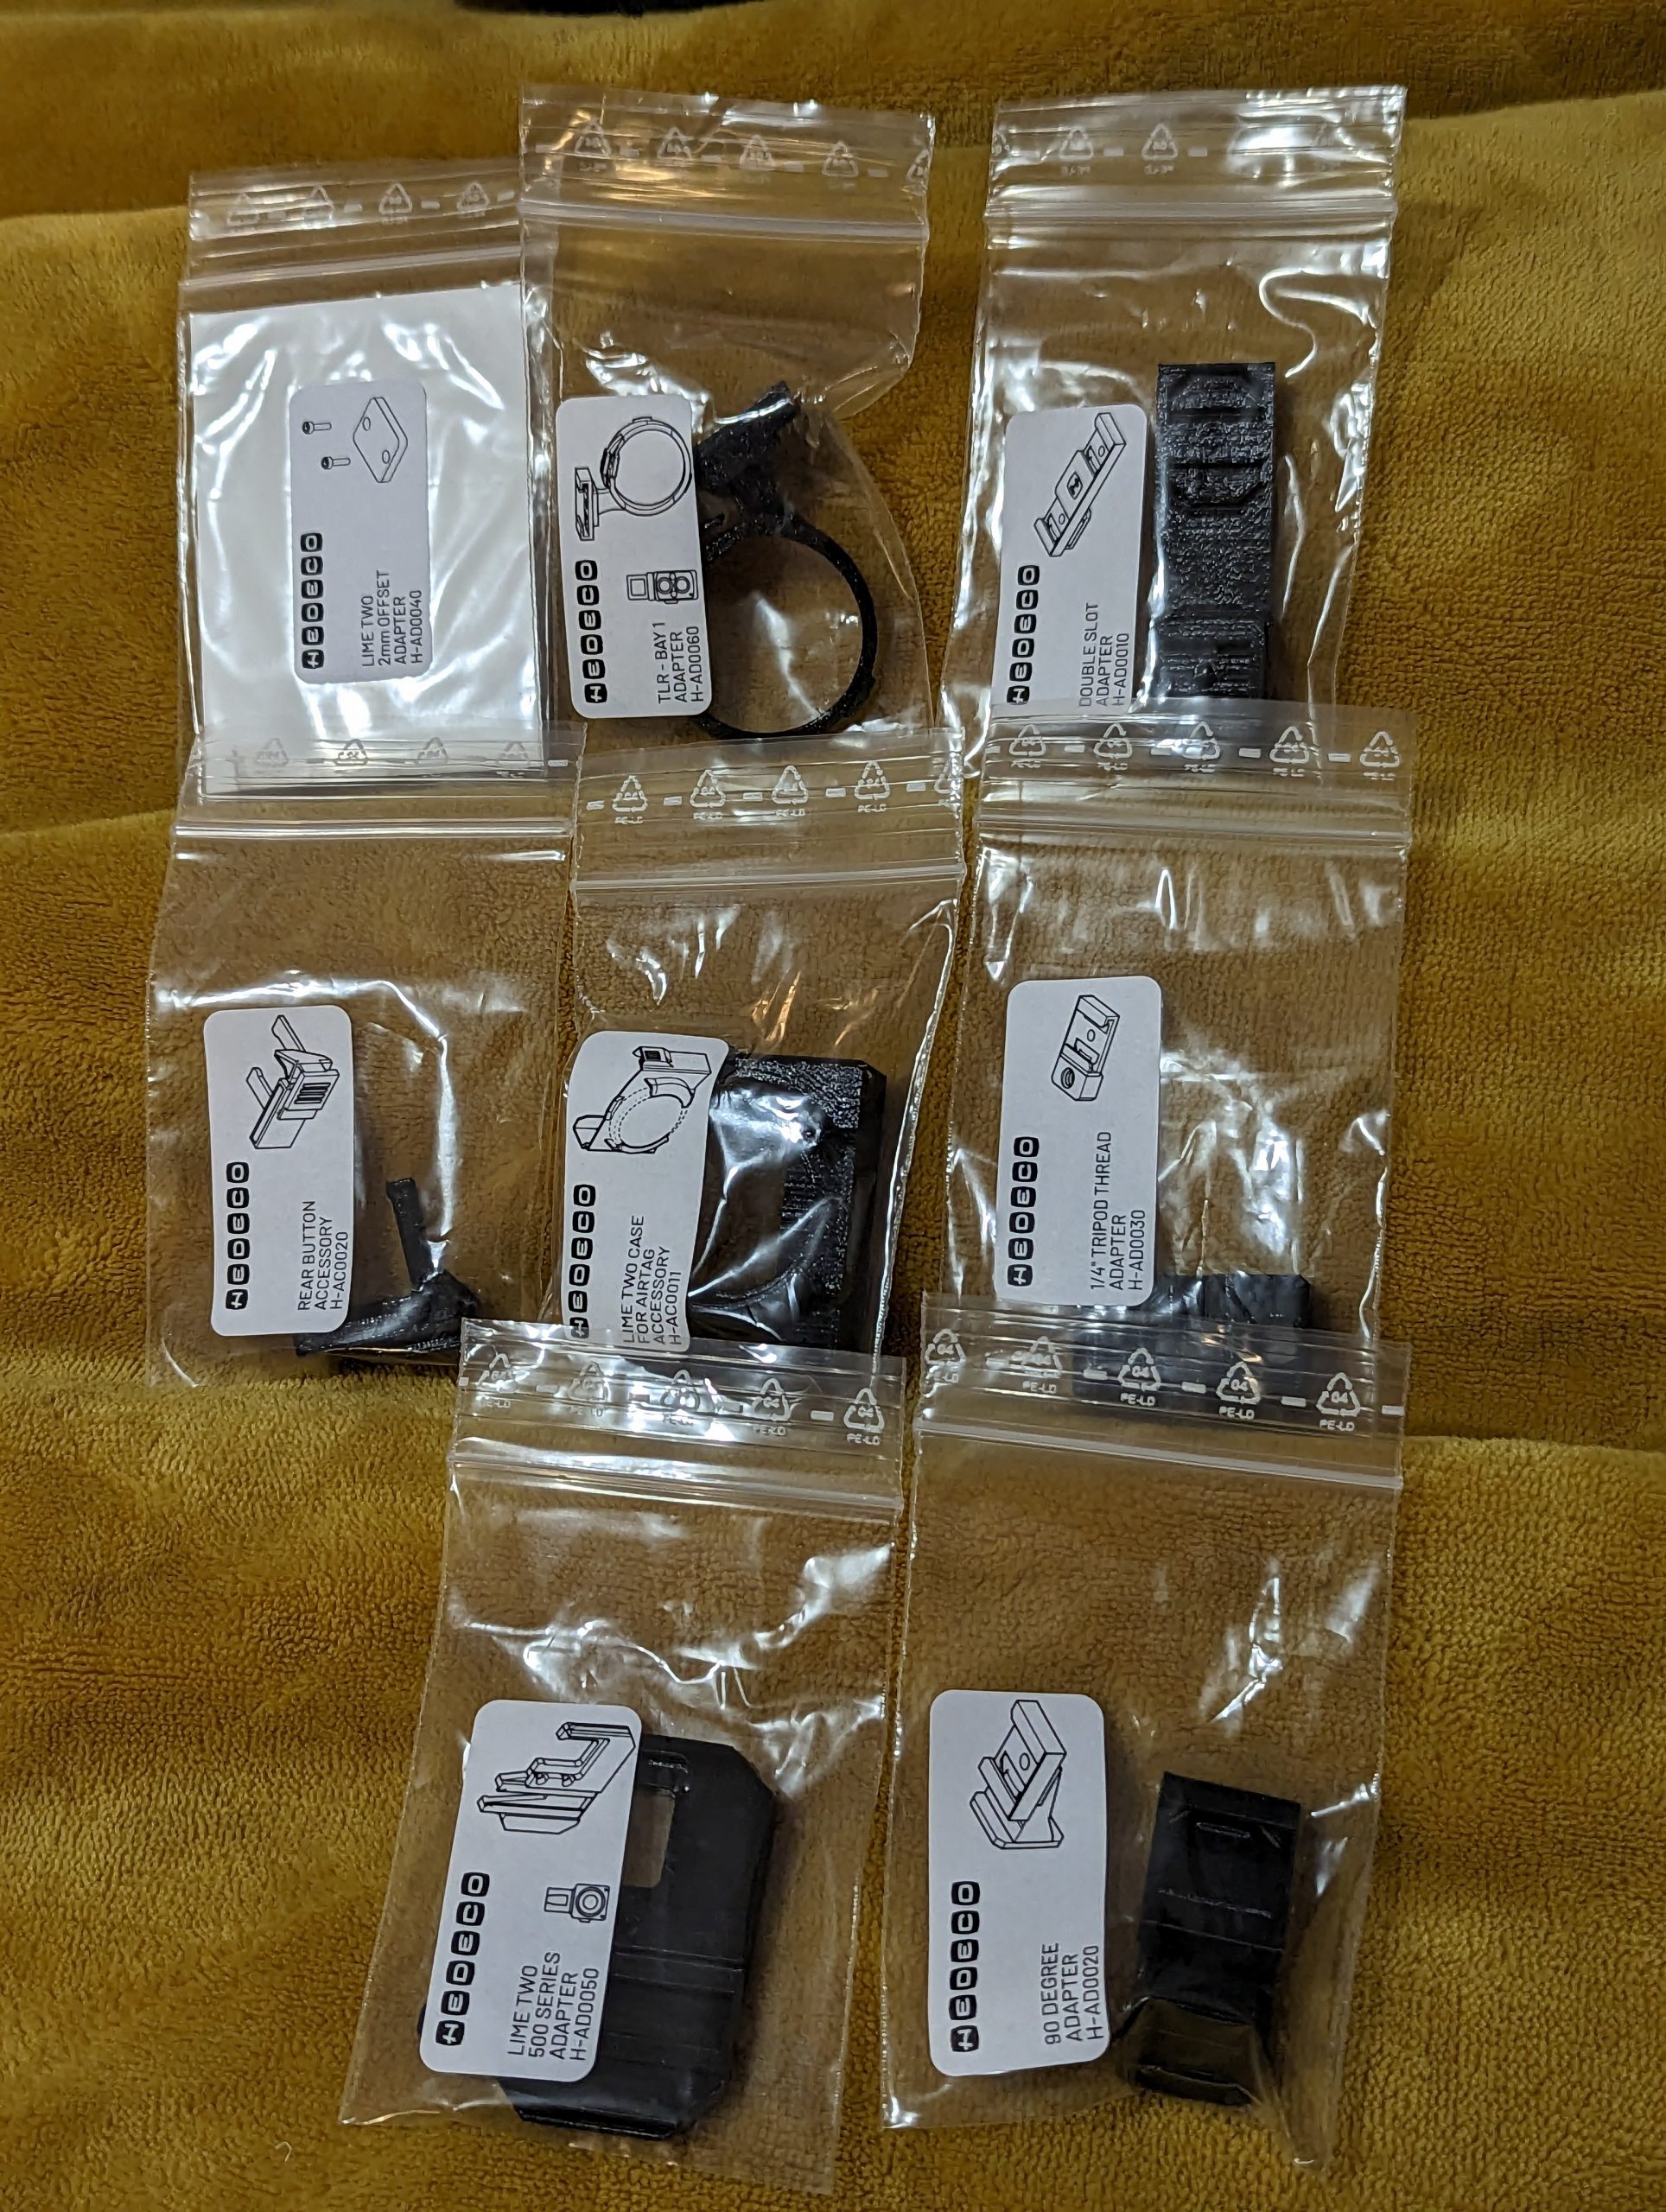
Hedeco intend to offer these for a small fee (€3-8) or you can download for free the 3D printing patterns.
The only company that offers similar are Reveni Labs but with a smaller range.
The Lime II In use
To turn on press the side button. It will revert to last settings. Depending on mode turn the command dial to adjust shutter/aperture. If you hold down the command dial you can adjust EV compensation. In manual you’ll need to use this button to do both settings.
Once on if you double press the On button you can move to the setting menu. Here you can move between setting via the command dial then press the on button to select the value you alter (with the command dial). Your options are
- Mode: Aperture priority, Shutter Priority, Manual, EV
- ISO Set: Set your ISO value
- A(peture) Stop: ⅓, ½ or full stops
- S(hutter) Stop: ⅓, ½ or full stops or ⅓, ½ or full vintage stops
- Button (when pressed) : Lock value or only update values when pressed
- Calibration
- Firmware number
The meter continually measures until it goes off. Auto off kicks in after 30 secs.
With most cameras you will use it looking down. This makes sense as you’ll often have to set aperture and shutter rings on the lens of the camera
Test Gear
To compare this is hard but like prior tests I used a Nikon dSLR. This time a D7000 in centre weighted metering with a manual focus 28mm 1:2.8 Nikon E Series lens (42mm full frame equivalent).
I shot hand held often with very low shutter speeds. And remember this is manual focus (on a AF screen) with no VR so focus issues and shake will be an issue. The E series 28mm is not that great wide either.
But I’m here for the metering not the sharpness.
Test Accuracy for the Lime II
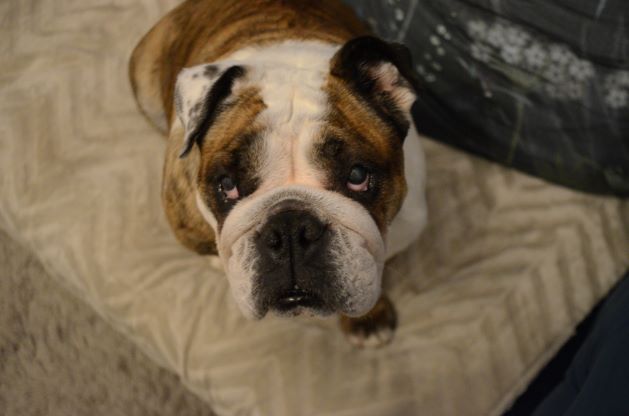
Low Light/Indoor
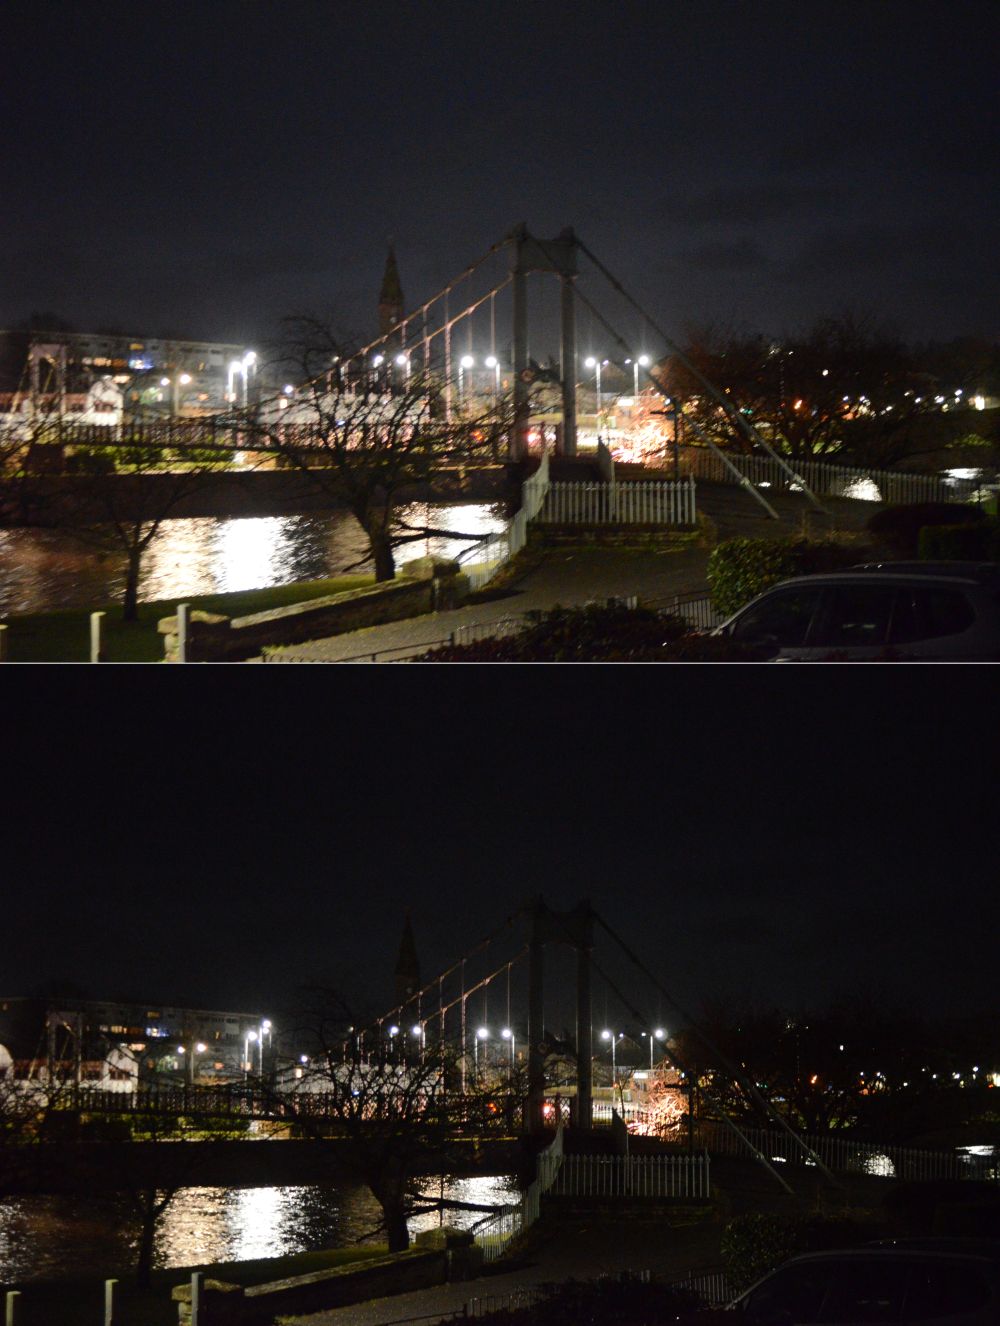
Most of these were taken at 3200 ISO although outdoor night shots were at 6400ISO. Aperture was wide f/2.8 in all
24 shots simulating different conditions
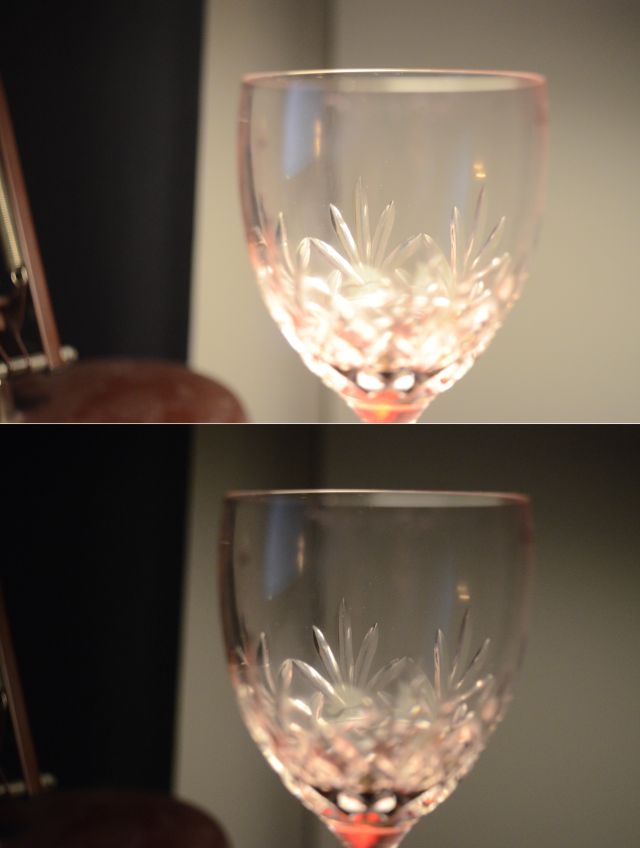
- 15 Shots were the same on both meter and Camera meter
- 4 was ⅓ stop out
- 1 was 1 stop out
- 4 were >1 stop out (but..)
That gave an impressive 62.5% (15/24) total concordance. But with a reasonable margin of error of ⅓ stop the meter and camera agreed 79.2% (19/24).
And of the outliers ?
Well all of the greater than 1 out shots were complex lighting.
Exclude those and I got 95% shots within 1/3 of a stop.
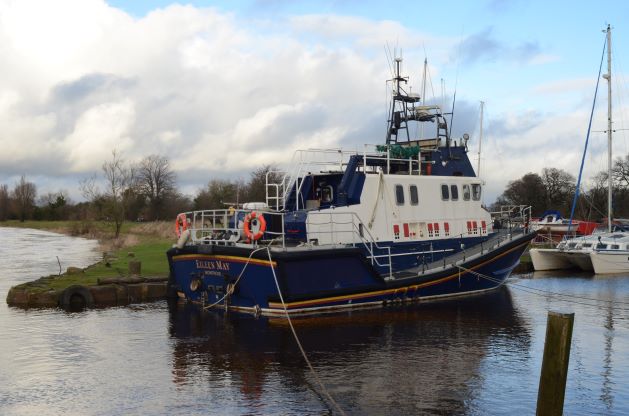
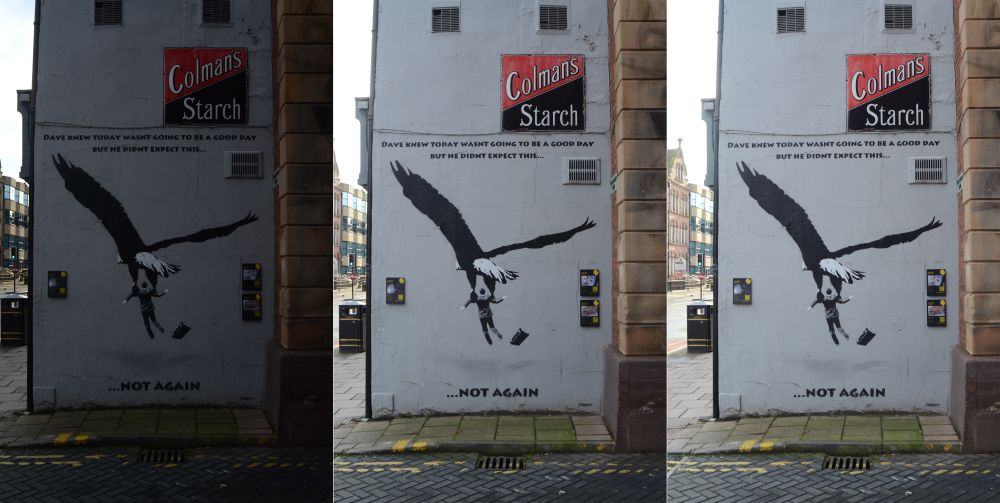
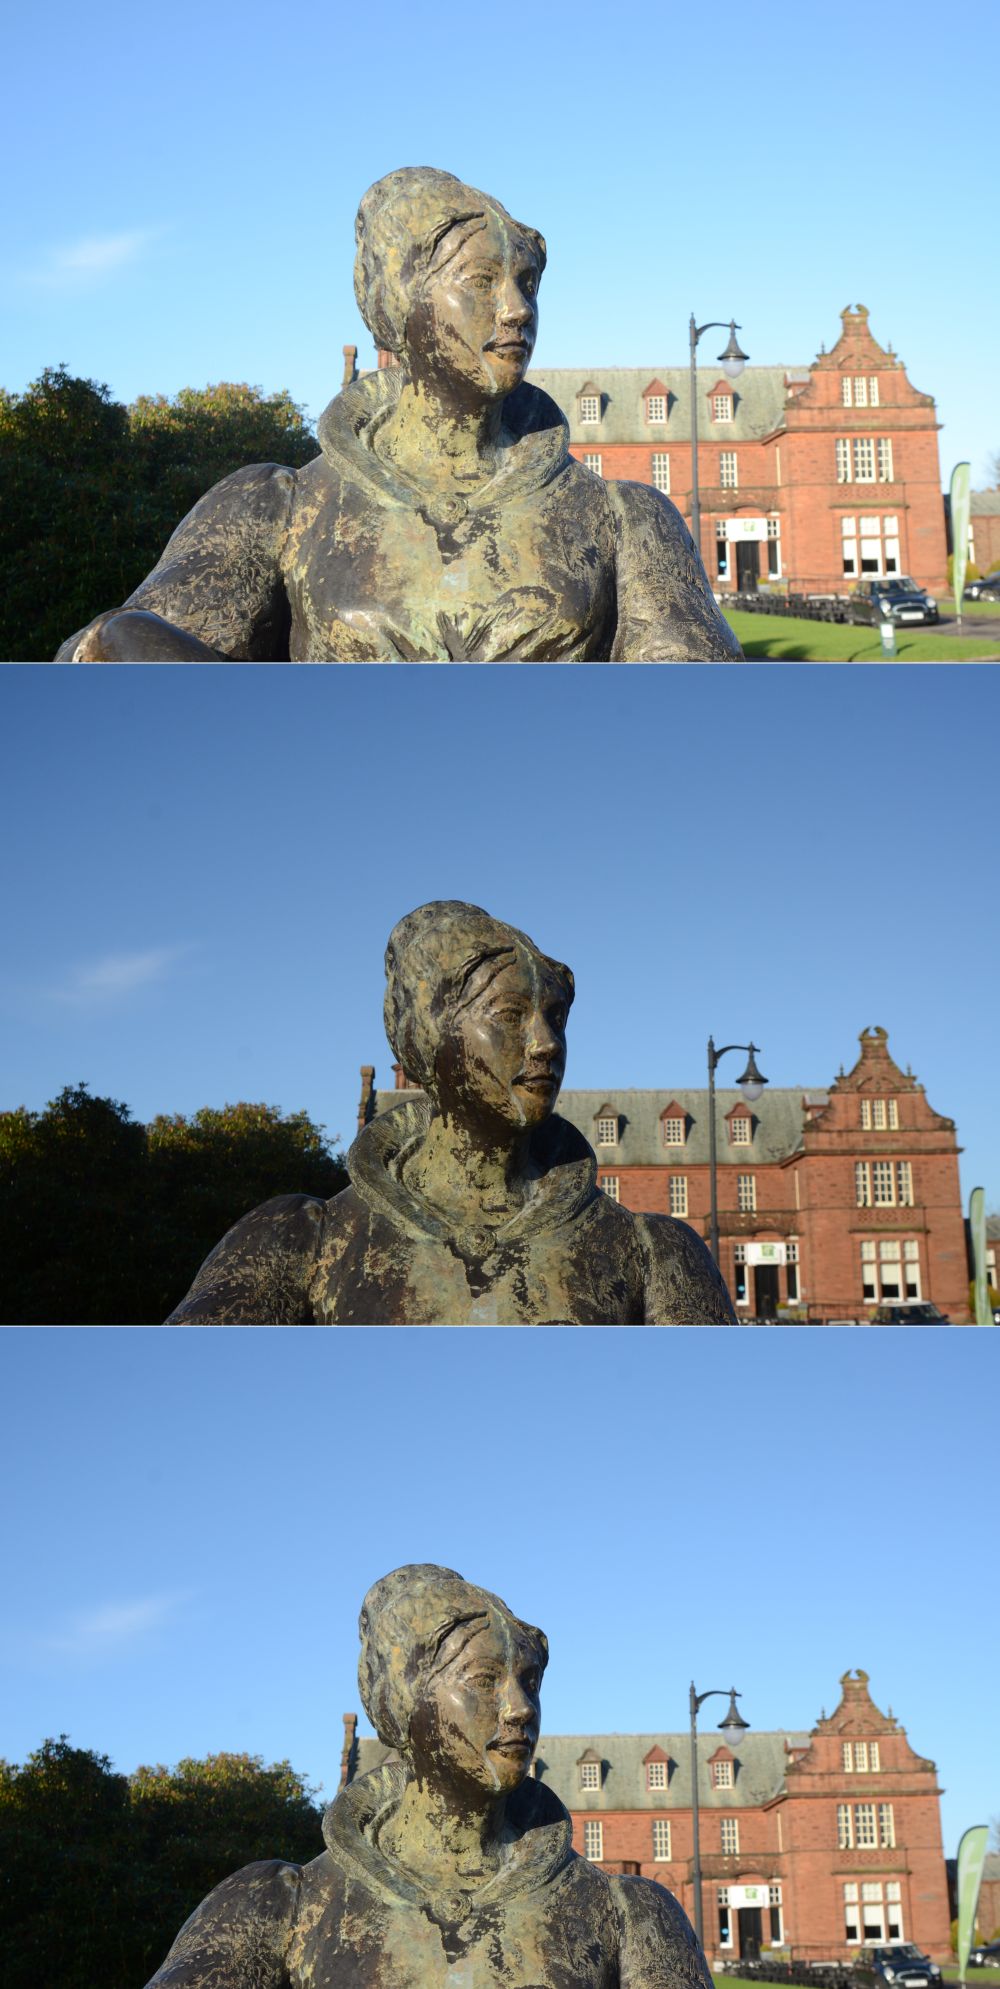
Outdoor shooting
Broadly I locked ISO at 400 here. I managed to squeeze of 50 shooting pairs. When the meters differed I often checked with matrix metering. The shots were in variable conditions to bright sun at low and high angle to dull days and dawn periods.
Broadly as we’ll see the Hedeco did well with over 85% of shots being the same or within 1/3 of a stop c.f. centre weighted. As you would expect put in a lot of backlight or other complex lighting it measure less well. But still more than half the times the 2 meters agreed.
As you would expect put in a lot of backlight or other complex lighting it measure less well. But still more than half the times the 2 meters agreed
- 24 shots were that same as the camera meter (48%)
- 19/35 simple shots were the same as meter (54.3%)
- 5/15 Complex shots were same as meter (33.3%)
- 38 shots were with ⅓ Stop of the camera meter (76%)
- 30/35 Simple shots were within ⅓ of a stop (85.7%)
- 8/15 Complex shots were within 1/3 of a stop (53.3%)
- 48 shots were a stop or less of the camera (96%)
- 1 Simple and 1 complex shots > 1 stop out
That’s actually impressive stuff for this little meter. TTL Centre weight metering is a significantly better system
Matrix Madness
I did run some shots that the camera and meter disagreed on with matrix metering. Often both meters could be significantly out compared to it Matrix is more reliable than other forms of metering especially with complex lighting. In this study it rarely goofed but
The results were a bit odd ( in fairness I only measured 18 of the 26 shots were the meters differed
- 9/18 (50%) the Matrix metering was near the Hedeco value
- At ≤ 1/3 stop the matrix was near as a rule (7/9 77.7%)
- At >1.3 stop the matrix meter was nearer the hedeco (8/9 88.8%)
My results on paper at first glance look marginally worse than the Hedeco Lime One, but I shot almost twice as many shots and really pushed the meter with a significant number of complex lighting shots. The Lime One also only had half stop differences whereas I used 1/3 stop. The lime II in total matched within 1 stop of the camera meter over 90% of the time for all shots regardless of complexity (67/74)
If I tested the 2 meters side by side I suspect they would have performed almost identically. They share the same core sensor.
Final Thoughts on the Lime II –
The Glorious Evolution
This remains one of my favourite meters and is improved by it’s upgrades. Even the before this the old Hedeco was and remains one of the better made and designed and has a wealth of feature over rivals. It also is very user friendly. The changes are tweaks to that and are for the better.
Like it predecessor it proved pretty good in realistic test conditions. It held out against a legendary TTL metering system and it only struggled with complex lighting. But all of these sorts meter would do and Hedeco is one of the best I have tested
The Lime II is an evolution of the original and as such does not have a killer feature for existing users to ditch the old model. But there is no logic for new users to go for the Lime I
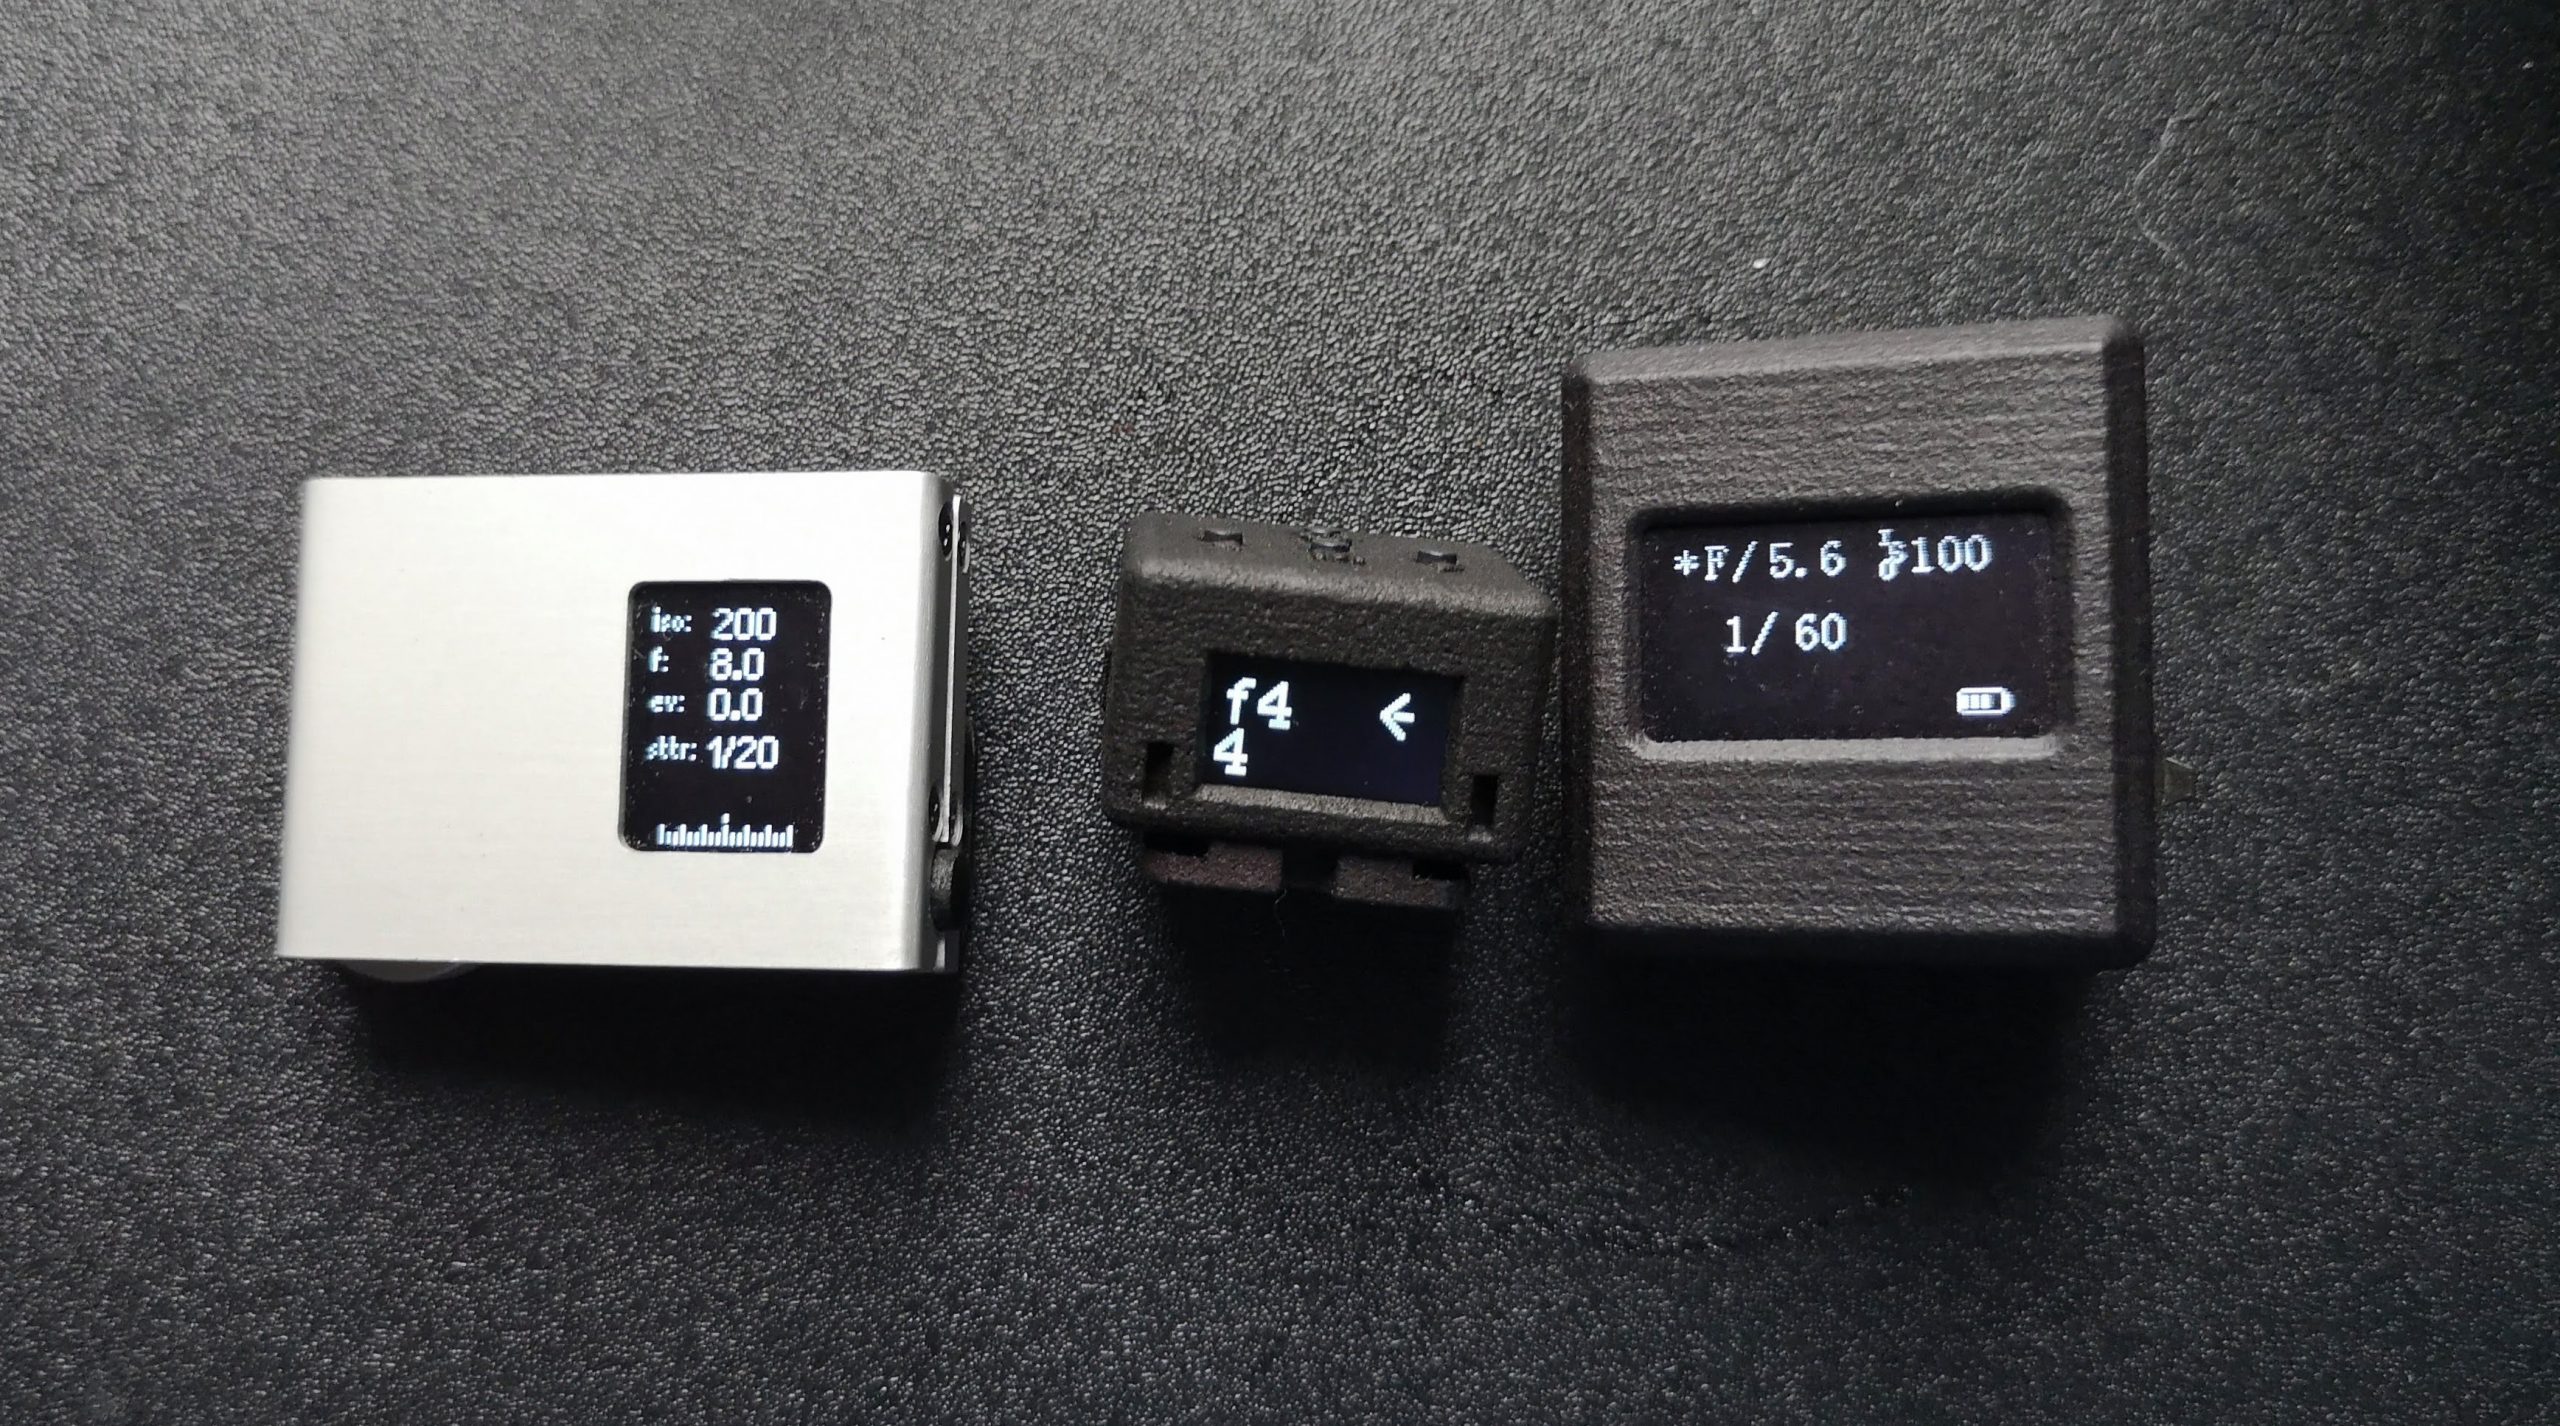
The only major issue is the screen can be hard to read in very bright light. It’s better than most with only the Reveni Labs model being more visible. Johannes is thinking of adding a 3D printed shade for the Hedeco but it really isn’t a deal breaker.
The Lime II was launched today (2nd Feb) . You can visit Hedeco’s site here to see more or order.
And it’s rivals …
It is better built than most of the Chinese models and the Reveni Labs. The chinese ones are much cheaper but you do feel you are getting a bit less and Reveni has some control flaws and a much smaller (but brighter screen) as well as a static measurement. Have a look at my review of the Lime One where I compare it to rival Reveni and V-201X meters.
It costs a little more now but it has added practicality and remains the best in it’s price range or lower.
Hello, I’ve ready a few of your articles and I love your truthfulness:) it’s refreshing. It’s my 25th birthday in March and I’m going clubbing, the club will be dark with some bright lights and flashes here and there but mainly very low light. I would like to bring a 35mm film camera, something that can fit in my handbag, preferable reusable, works well in the dark, everyone’s going to be moving and dancing too so maybe something with autofocus, any recommendations and which iso to use too?